Automotive builds Got an automotive build you want to want to document? Post it here!

SoHonda Garage. S2000 Build

Thread Tools
 
Old 02-23-2014, 07:36 PM
  #91  
Registered User

Thread Starter
 
SHG_Mike's Avatar
 
Join Date: Jun 2009
Posts: 591
Likes: 0
Received 10 Likes on 7 Posts
Default

Originally Posted by Kojo
actually...you need to go ahead and give yourself more credit lol...you can make all the DIYs you want, that stitching if I did it would come out mangled

Great work, and I really like the fact that you didn't do the typical red/recaro type stitching
Thanks
Old 02-24-2014, 04:05 AM
  #92  

 
//steve\\'s Avatar
 
Join Date: Sep 2006
Location: ATL
Posts: 10,465
Likes: 0
Received 49 Likes on 36 Posts
Default

Are you making a bolt in rollbar or is it going to be welded in?
Old 02-24-2014, 05:54 AM
  #93  
Registered User

Thread Starter
 
SHG_Mike's Avatar
 
Join Date: Jun 2009
Posts: 591
Likes: 0
Received 10 Likes on 7 Posts
Default

Bolt in. I was just unhappy with all the current offerings that are out there so I am building one the way I think it should be done. However don't look at those M6's and think thats what I plan on using haha. M12 hardware is in the mail.
Old 02-24-2014, 07:10 AM
  #94  
Registered User

 
Wannabes2k2k11's Avatar
 
Join Date: Jun 2011
Posts: 105
Received 5 Likes on 3 Posts
Default

The pro race 1.3 do have the team dynamics lettering on the face of the wheel. I know you posted the pic last page that shows otherwise. However, the 1.3 set I have does include the engraved lettering.
Old 02-24-2014, 12:06 PM
  #95  
Registered User

Thread Starter
 
SHG_Mike's Avatar
 
Join Date: Jun 2009
Posts: 591
Likes: 0
Received 10 Likes on 7 Posts
Default

Originally Posted by Wannabes2k2k11
The pro race 1.3 do have the team dynamics lettering on the face of the wheel. I know you posted the pic last page that shows otherwise. However, the 1.3 set I have does include the engraved lettering.
It seems the "first gen" has the lettering like you say and that they went to the "second gen" like pictured. Very little information on the matter.
Old 02-27-2014, 05:23 AM
  #96  
Registered User

Thread Starter
 
SHG_Mike's Avatar
 
Join Date: Jun 2009
Posts: 591
Likes: 0
Received 10 Likes on 7 Posts
Default

One more quick update until I can get a chance to upload better pics...


Name:  83dc8394-6a2b-4853-950a-c4e96e518b9e_zps988bba4b.jpg
Views: 493
Size:  504.5 KB
Old 02-27-2014, 08:07 AM
  #97  
Registered User
 
Skull&Bones's Avatar
 
Join Date: Sep 2011
Posts: 305
Likes: 0
Received 0 Likes on 0 Posts
Default

Looks awesome and functional!
Old 02-27-2014, 07:04 PM
  #98  
Registered User

Thread Starter
 
SHG_Mike's Avatar
 
Join Date: Jun 2009
Posts: 591
Likes: 0
Received 10 Likes on 7 Posts
Default

So this weekend was full of forward progress

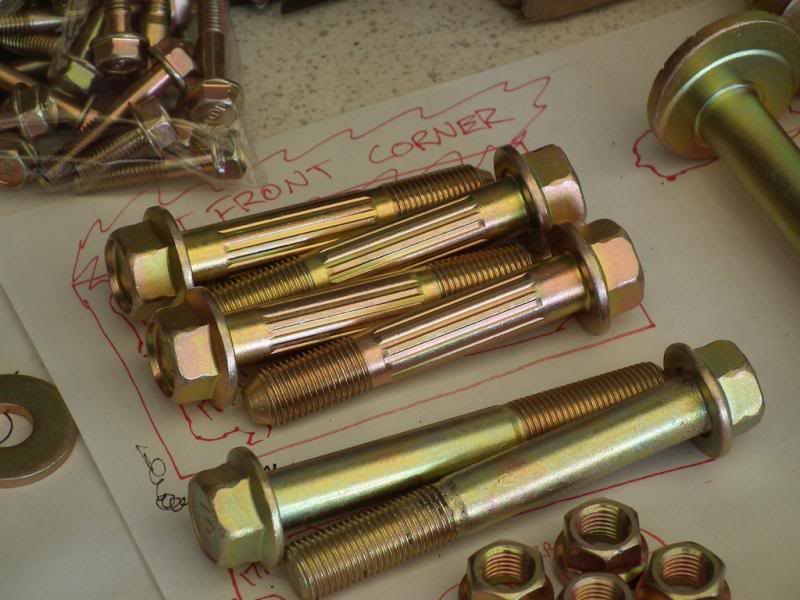
I got my hardware back from plating...
Name:  DSCF4029_zpsad6056d4.jpg
Views: 489
Size:  75.0 KB

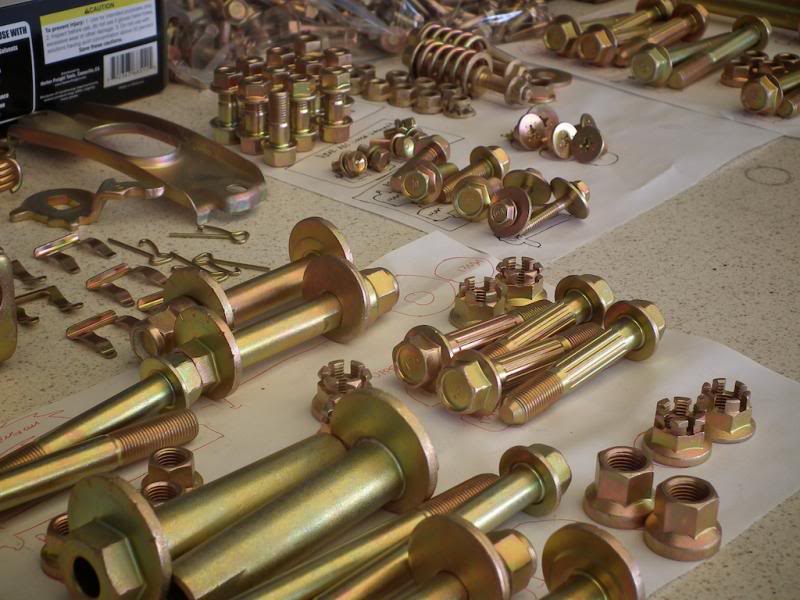
Its amazing how fresh and brand new everything looks.
Name:  DSCF4032_zpsd14c7193.jpg
Views: 494
Size:  65.4 KB

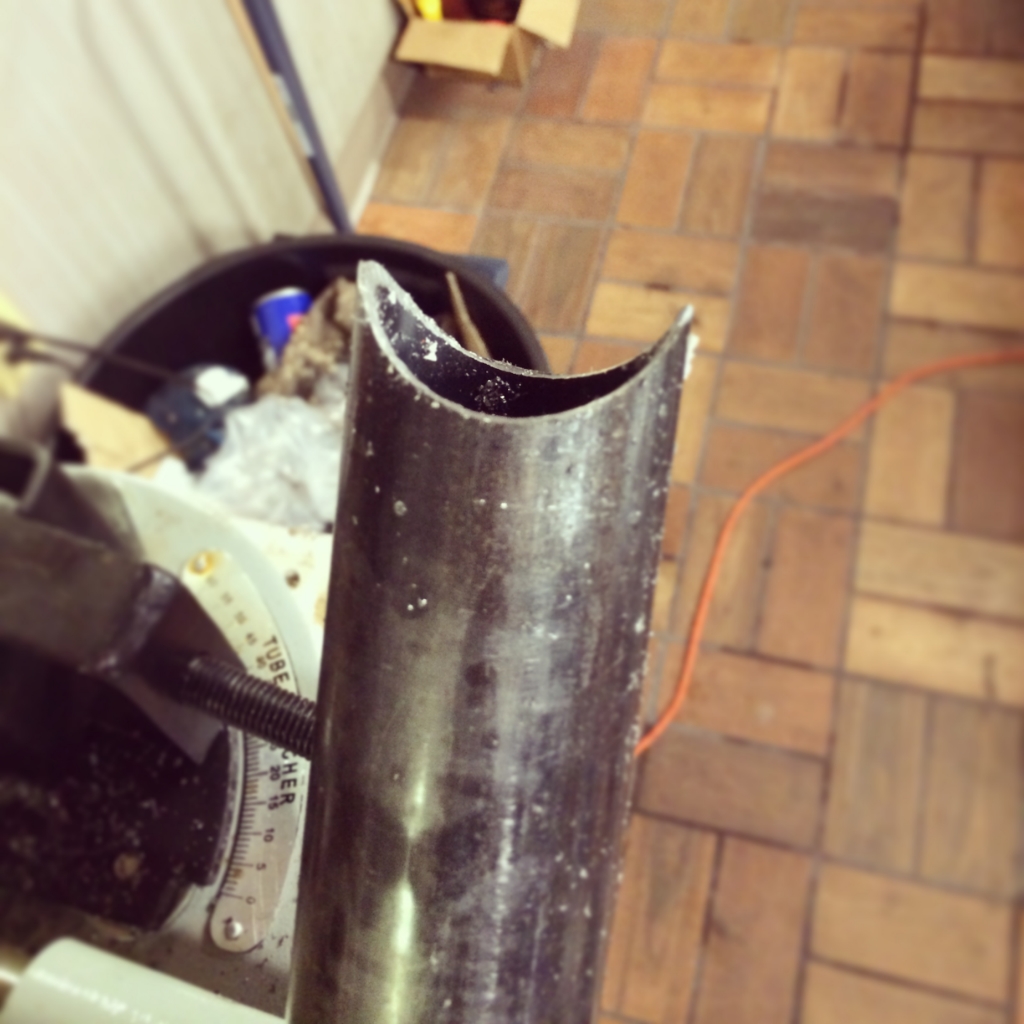
Setup the tubing notcher
Name:  DSCF4034_zpsfccebff9.jpg
Views: 485
Size:  63.5 KB

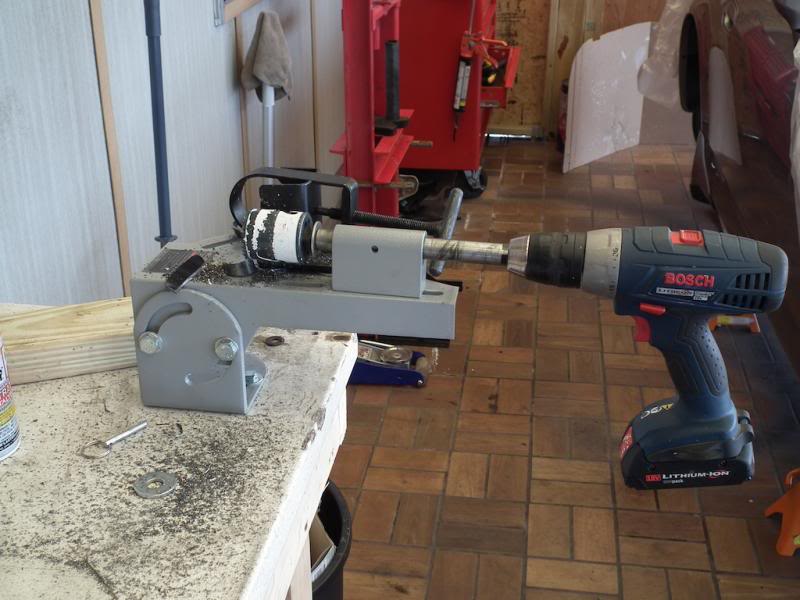
Made a few sample test cuts...
Name:  a6f01dcc-3d08-4859-a22c-26503e85c91c_zpsacf7a206.jpg
Views: 497
Size:  414.3 KB

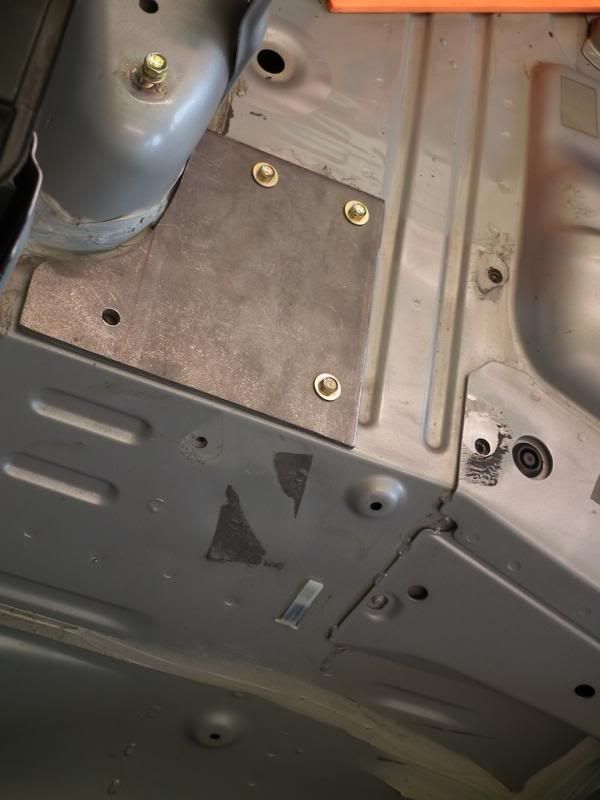
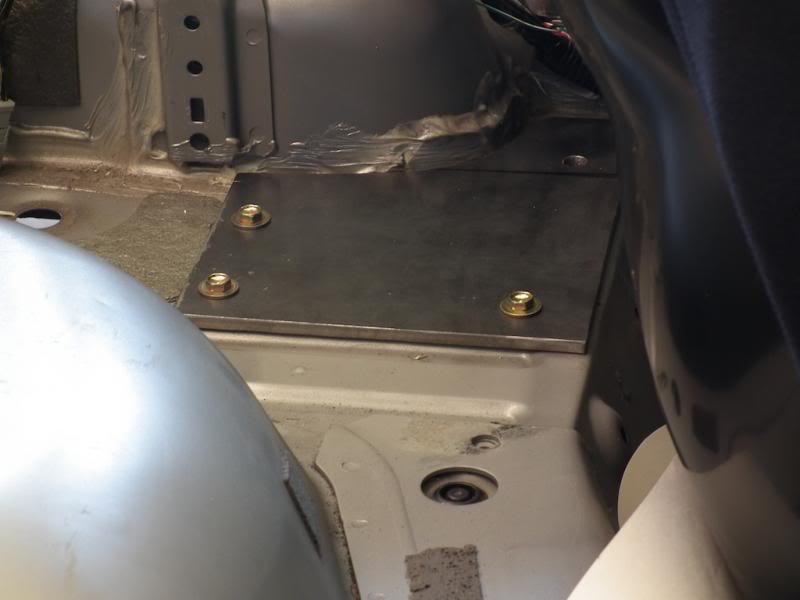
Changed the design of the main hoop base plates slightly cutting off the bent portion just keeping it simple and straight.


Name:  DSCF4038_zps79bd8655.jpg
Views: 491
Size:  32.0 KB


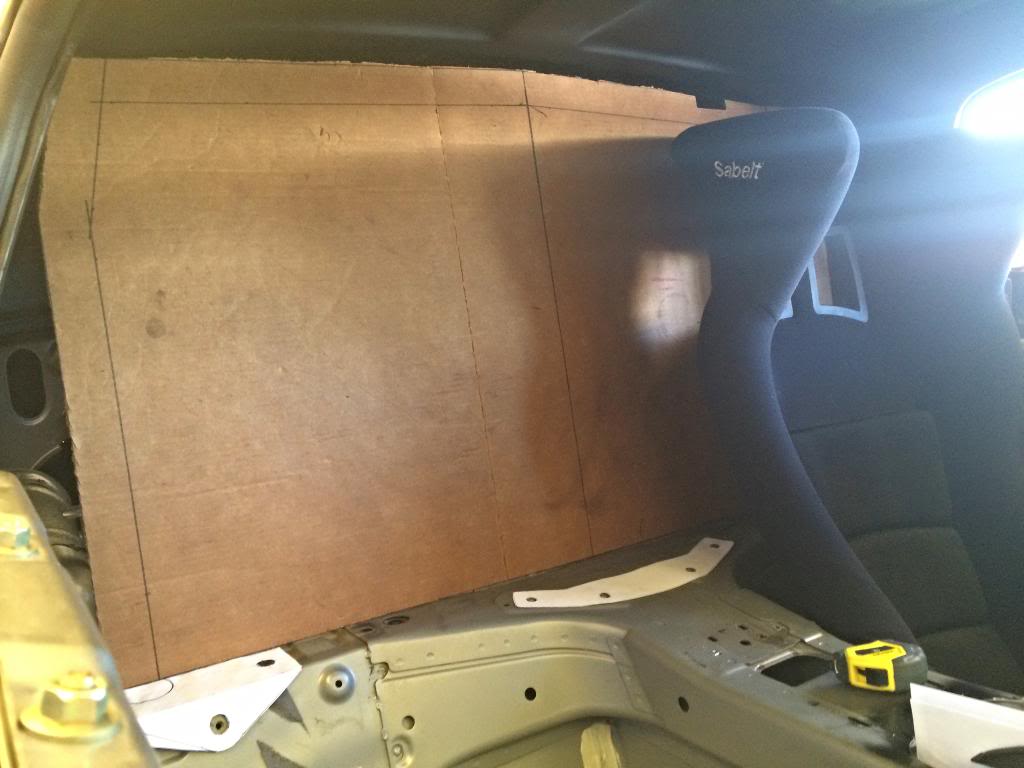
As seen before I made a cardboard template for the exterior limits for the main hoop of the cage.
Name:  29084320-d37d-41c3-b460-bdb141765e2c_zps5d6162e9.jpg
Views: 495
Size:  65.1 KB

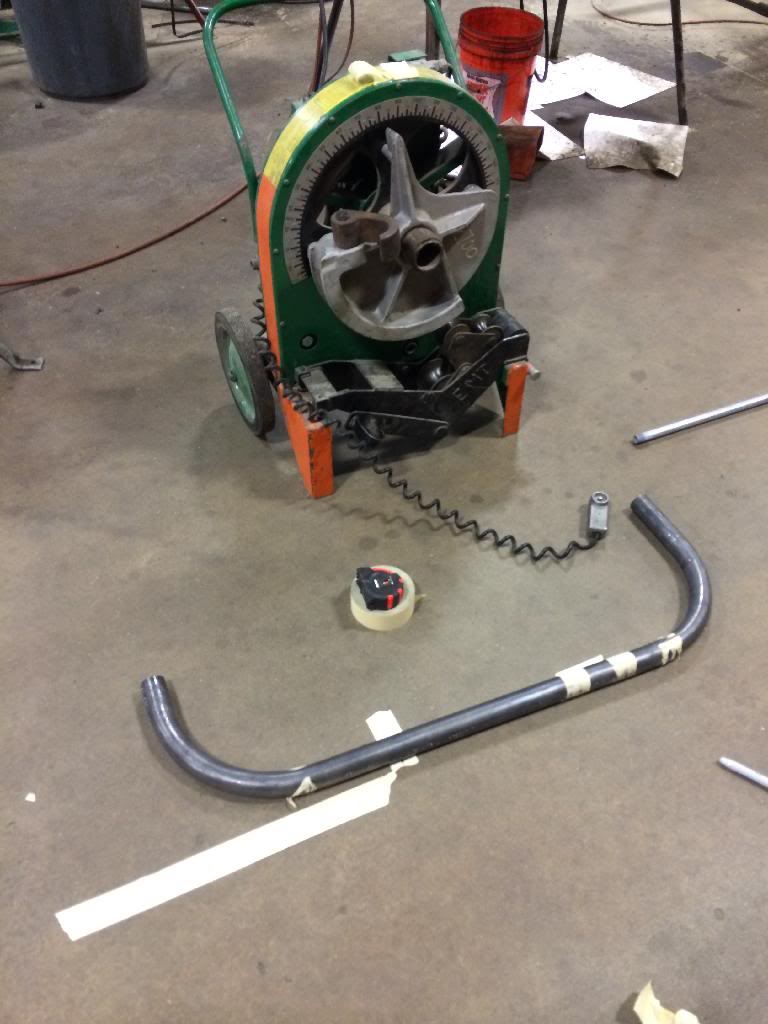
I took that template to my office/shop where luckily they allow me to use the tubing bender off the clock. EasyE was kind enough to lend his knowledge and abilities as a motorsports fabricator to bend the tube to size...


I also made a harness bar that ended up not working out...
Name:  55121249-D24A-49FE-8FE9-A9CF98C6028B_zpsgk48wsdm.jpg
Views: 496
Size:  77.0 KB

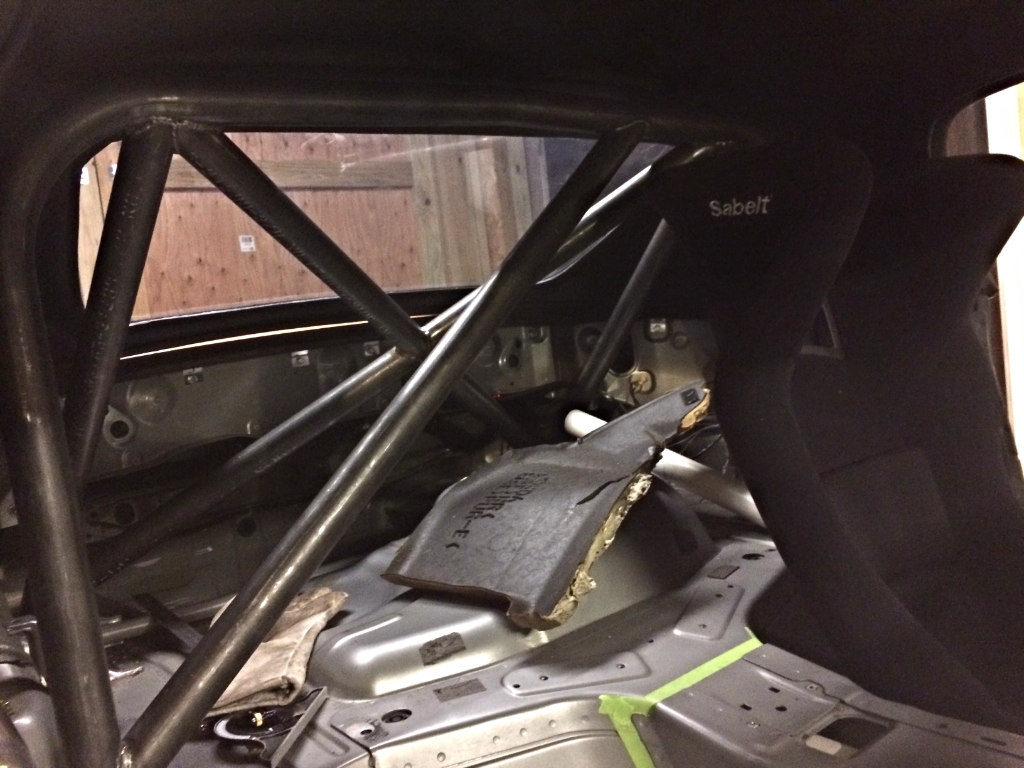
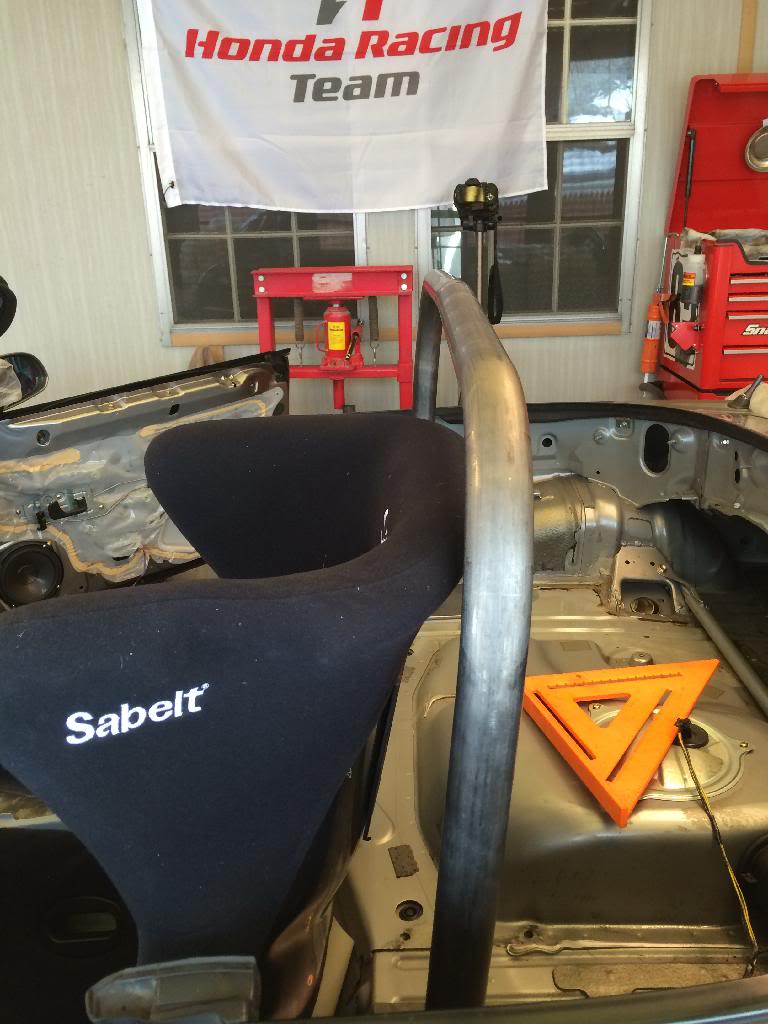
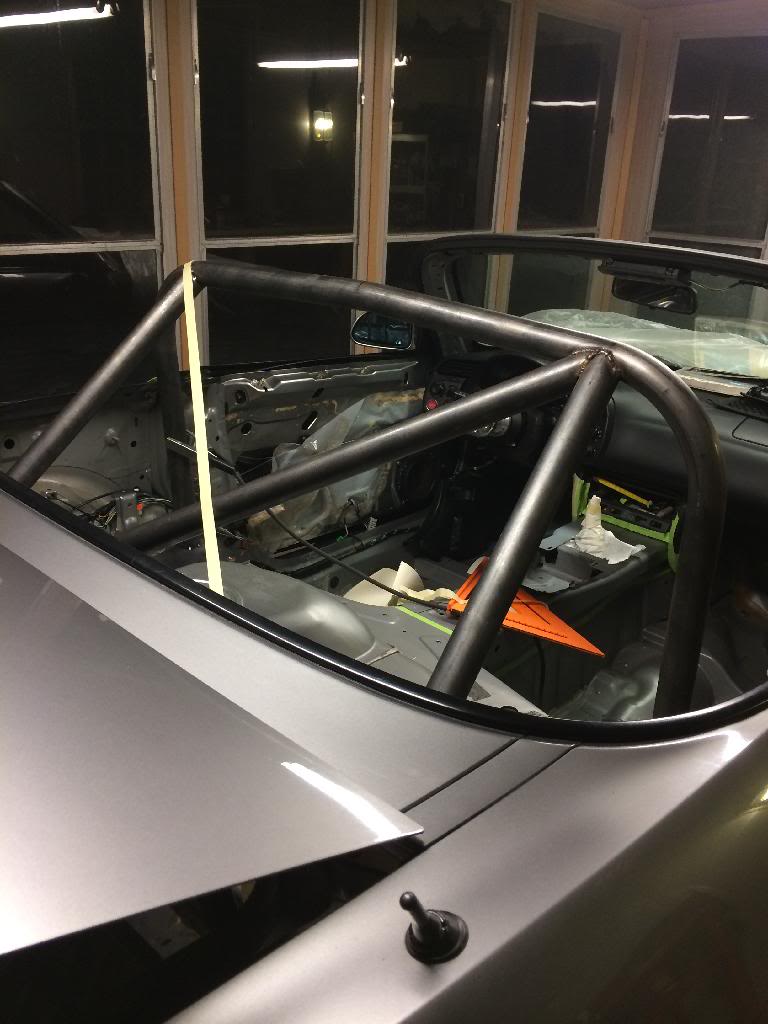
Main hoop tacked into place...
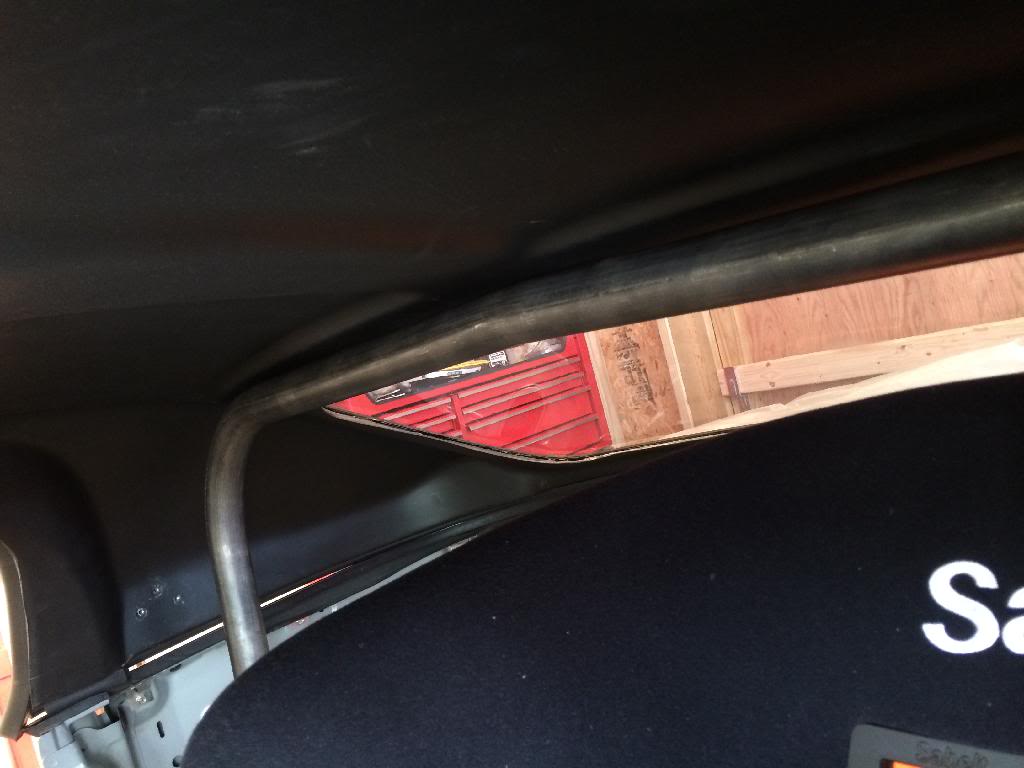
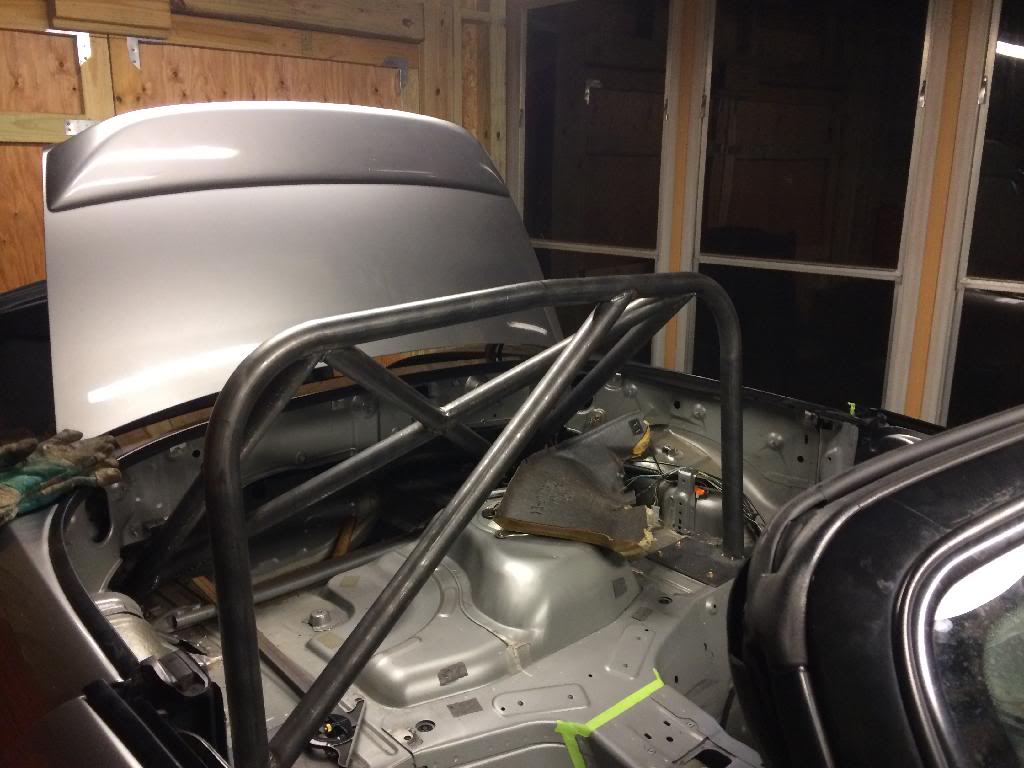
Name:  898297B7-BF16-4FD3-9219-52F47FF3F067_zpskyx2az60.jpg
Views: 494
Size:  90.8 KB

Name:  7897C2F2-335F-4476-A98A-B9EBF2B2D1F7_zpsd741ipgk.jpg
Views: 490
Size:  53.3 KB

Down tubes placed.
Name:  C071C0E0-5AC1-4123-87EC-01CFFD666064_zpspnzdjaod.jpg
Views: 496
Size:  88.7 KB

To find all the angles required I used tape to mock up the length and position of each bar.
Name:  67F92AC5-551C-4940-B421-4EBA940B57D8_zpshyuzw53b.jpg
Views: 492
Size:  68.0 KB

One side done...
Name:  20912D58-6134-4FAE-B347-1B4AD72F8574_zpsl0ypcqo3.jpg
Views: 497
Size:  77.2 KB

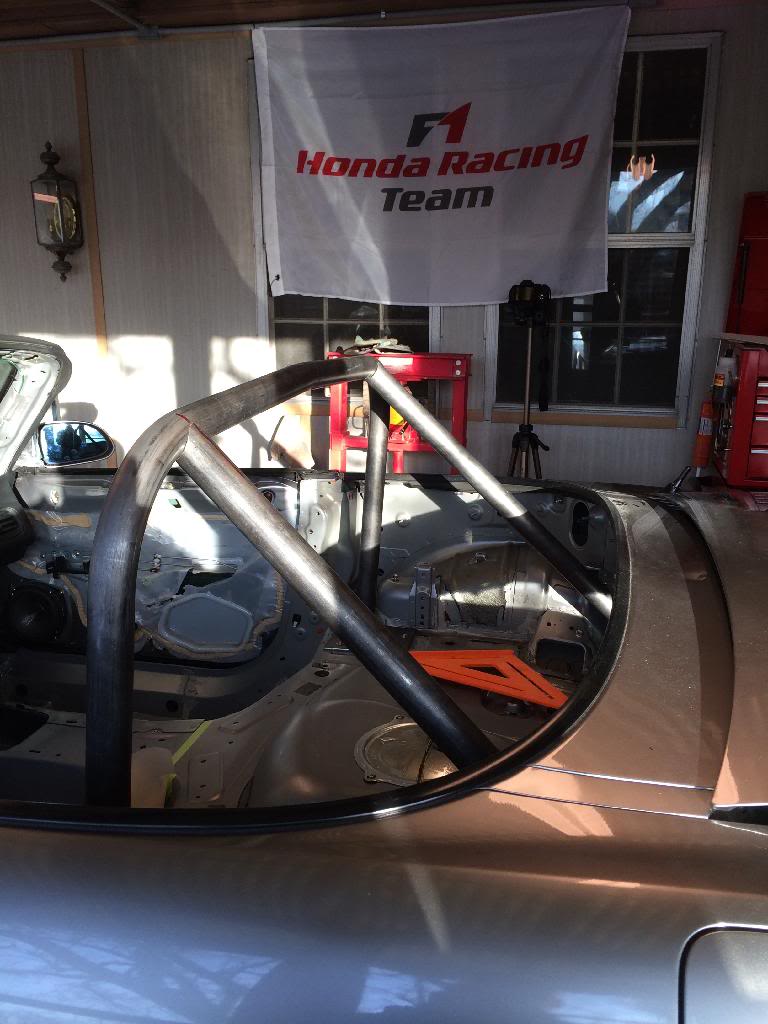
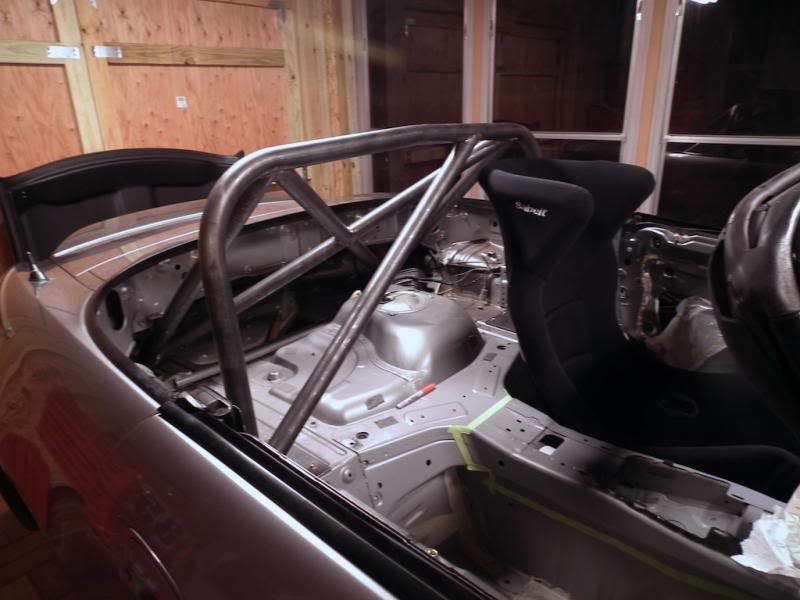
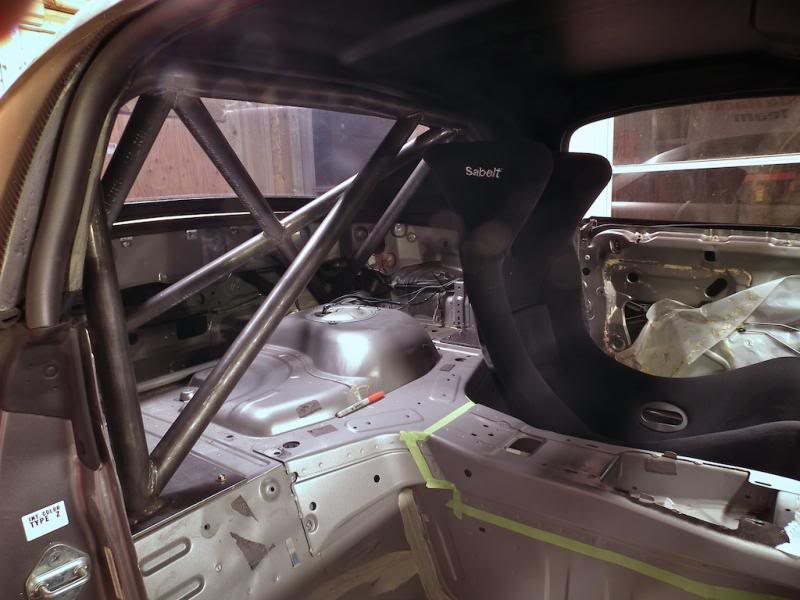
X finished and main hoop diagonal placed.
Name:  E3B5A17A-65D1-41B0-B19E-FB1ECE49D2B9_zpsc8ishy1a.jpg
Views: 490
Size:  83.7 KB

What I have done so far.
Name:  DSCF4039_zps3d8aa43d.jpg
Views: 495
Size:  54.1 KB

Name:  DSCF4041_zpsd9b71bc1.jpg
Views: 495
Size:  48.0 KB

Name:  DSCF4042_zps44627df6.jpg
Views: 491
Size:  41.0 KB

Name:  DSCF4043_zps8de6080d.jpg
Views: 501
Size:  58.3 KB

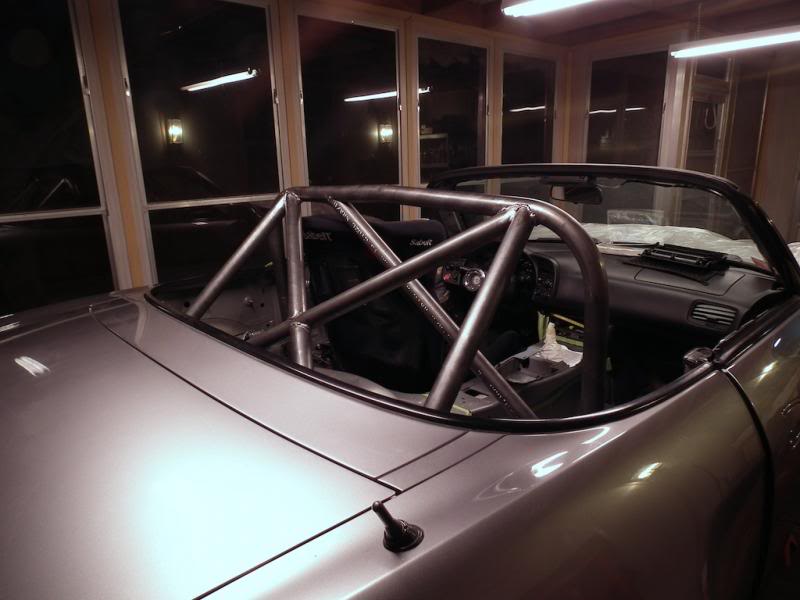
I hope to wrap everything up this weekend and prep it for paint.
Old 02-28-2014, 12:16 PM
  #99  

 
fernando.'s Avatar
 
Join Date: May 2011
Location: Great White North
Posts: 5,421
Received 158 Likes on 121 Posts
Default

What colour? Or just a respray?
Old 02-28-2014, 12:24 PM
  #100  
Registered User

Thread Starter
 
SHG_Mike's Avatar
 
Join Date: Jun 2009
Posts: 591
Likes: 0
Received 10 Likes on 7 Posts
Default

Originally Posted by fernando.
What colour? Or just a respray?
You will see. It will be just the cage which is part of the reason it is bolted in. The tunnel and small parts of the interior will be touched up with SSM.


Quick Reply: SoHonda Garage. S2000 Build


All times are GMT -8. The time now is 09:11 AM.