When you click on links to various merchants on this site and make a purchase, this can result in this site earning a commission. Affiliate programs and affiliations include, but are not limited to, the eBay Partner Network.
Several people have asked me for the 'trick' to bypassing the speed sensor and/or e-brake lockouts on the convertible top module, so I thought I'd make this post as a reference. If you've ever been stuck in a sudden rain storm, you quickly realize how stuipd it is to have to come to a complete stop to put the top up. DO NOT operate your top at speed -- you WILL break something. Do this mod at your own risk. I accept no responsibility for any damages you may cause by doing this mod or by operating your top while not completely stopped. That said, here goes:
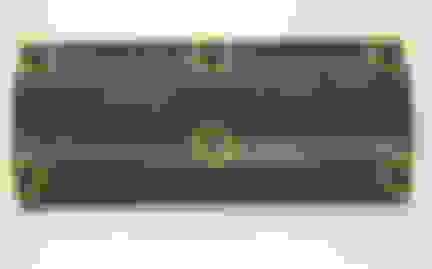
Pull the bottom dash panel on the passenger's side. Be careful, as this panel is sometimes a pain take off with out breaking a clip or the panel itself. Here's a pic of the back side of the panel. The yellow circles indicate the location of the 6 clips that hold it in place:
The box in the attached picture is the convertable top module:
The connector on the right has one of the wires you are interested in. The white w/ black stripe wire is the speed sensor. If you cut or remove that wire, you can put the top down while moving with the e-brake pulled up 'one click' -- just enough to activate the 'brake' light on the instrument console. You can actually unplug and pry open the connector and remove the wire and pin from the connector -- that way if you want to put it back to stock you can just re-insert the pin instead of pulling out the soldering iron. If you have Modifry's DCI and are using the speed-sensitive volume function, you will need to make the cut BETWEEN your splice to the DCI and the pictured connector. Removing the pin from the connector without cutting the wire will also work with the DCI.
If you want to eliminate the e-brake 'one click trick', you will need to tap a switched ground into the GREEN/WHITE wire on the left-hand connector. It is not visible in the above pic, because it is covered by the green/red wire. DO NOT CUT the green/white -- just tap into it with a switched ground. Grounding the green/white wire will cause the 'BRAKE' light on your gauge cluster to come on, and your top will operate, assuming you have also bypassed the VSS or are stopped.
EDIT: I have edited this post and the above picture to correct errors posted below as of 6/9/2005.
After over an hour of squinting with a flashlight, laying on my shoulders and cramming things into holes, I finally figured out where the screwdriver goes. I used a 1.4mm flathead.
The female end of the connector has 2 holes. The top square hole goes straight into the end of the exposed copper wire. The bottom rounded hole is the one we want.
Push the screwdriver in with the tip angled toward the square hole and the shaft resting in the rounded part. Press the screwdriver in until it stops. Pull the wire out. You should hear a clicking sound as soon as you touch the wire. Very minimal pulling force is needed.
Success! Best mod so far (had MY07 for a week ) Thanks for the AP2 tutorial jeallen!
Originally Posted by jeallen
I wanted to add some additional photos to the top down while moving thread.
This covers eliminating the brake click. The photo are from an '06.
Connector, unplugged as viewed from the underside
(in original post this wire was hidden under another wire)
Note Black ground wire (#11), is right next to the Green/White (#12). Here the G/W wire has been cut and a 3M tap/splice used to connect it to the Black wire on the connector site (black wire passes through the tap uncut). The unused end of the G/W can be insulated.
This shows the detail of the plug from the back (corrected image).
Pin out
Location of the connector behind the panel. Note the brake connection is on connector "A" on the left. The speed sensor wire (covered earlier) is on connector "B".
Back of the '06 passenger panel. Remove the screw in the center and then the pins on the left and right. Once removed, the panel snaps out with a pull.
The pins on the left and right are pretty easy to remove, but not obvious in that you press the center pin in to unlock them, and then you pull the entire fastener out.
Once removed, you press the pin in from the back so it sticks up from the top side. Then when you re-insert the fastener you press the pin down, flush to re-lock.
Great mod and cant wait to do it, been a lurker ages and put my deposit down on an S2k yesterday but probably wont have it for 3 weeks ish (DVLA logbook from private plate removal) totally doing my nut waiting!


 ) Thanks for the AP2 tutorial jeallen!


