When you click on links to various merchants on this site and make a purchase, this can result in this site earning a commission. Affiliate programs and affiliations include, but are not limited to, the eBay Partner Network.
Today I installed 20% tint at the top of the windshield. There is no AS-1 marks on my windshield, so by default 3" is all I'm allowed to legally tint (right?)
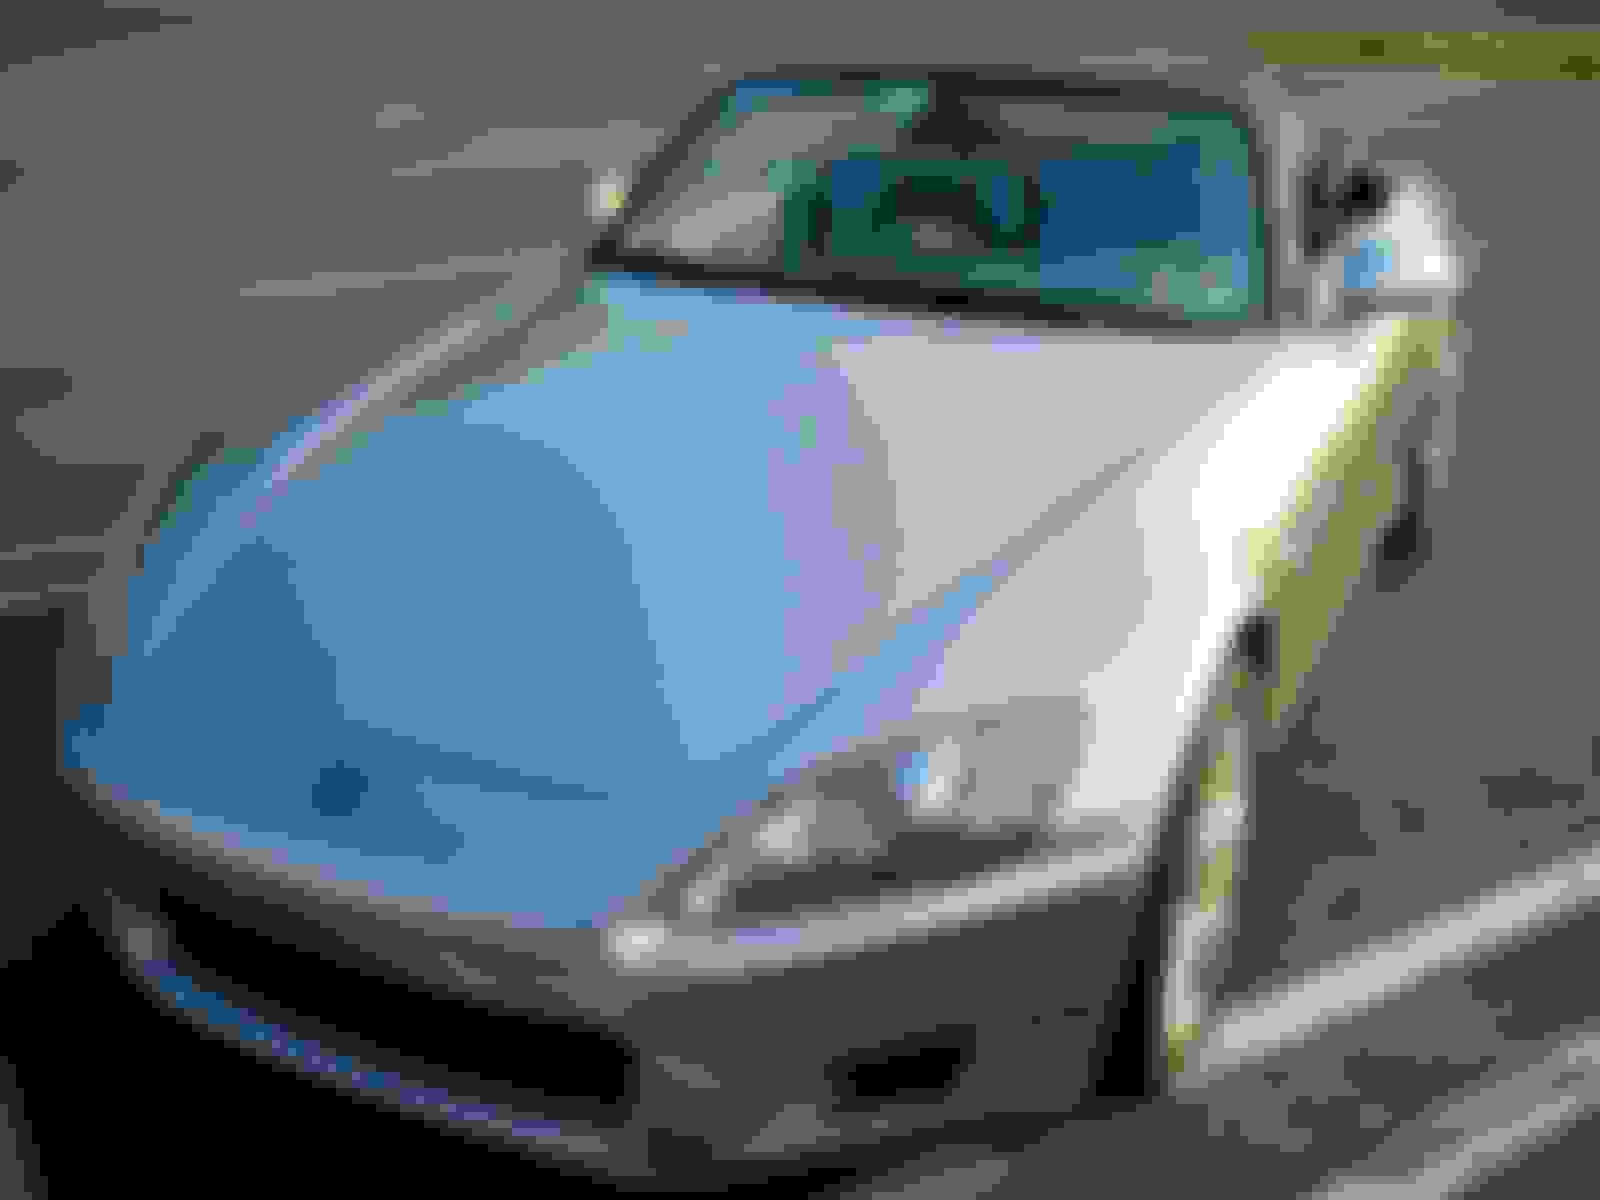
What I ended up doing is going from a heavy 3" at the A-pillars, to just under the lowest point of the mirror bracket (about 5.5") I did it by taping string at the ends, then I gave the string slack until it covered the bottom of the mirror bracket. I put masking tape along the string, and along the edge of the window (just beyond where all the dots are). I proceeded to put the tint on top of that masked outline, and put more masking tape on the removeable side of the tint, exactly above where the masking tape was on the windshield. Then I took it inside, and cut neatly with scissors. By leaving the masking tape on the outside I had a good reference while installing the tint inside.
Despite the fact the height of the tint varies from ends to middle, it looks very good. I think this is because of the shape of the windshield. When I sit in the car it looks quite level. I think I would probably still use the height taper if I was installing the tint without trying to cover up the mirror bracket. (See below and judge for yourself).
While I had the mirror off, I used a dab of black silicone sealant around the exposed colored wires near the mirror connector. This final touch made everything black behind the tint and shouldn't fade over time.
The tint not only covers up the unsightly back side of the mirror, it also should protect the mirror itself from a significant amount of direct sunlight heat.
I hope to have daylight pictures with a new camara. For now, here is garage pictures with the old camera I am nursing along...
Installed mine, they are awesome. There is no adapter you can buy, so removing or modding the stock button is the only option.
I took the "cam style (Japanese) to wedge style (American)" adapter to a local machine shop where he drilled and tapped it for a new bolt that fits with the stock button. Lots of shims hold it in place with the bolt. I'll take a picture of it when I re-assemble it next week.
Originally Posted by AaronCompNetSys,Aug 16 2008, 06:22 AM
Installed mine, they are awesome. There is no adapter you can buy, so removing or modding the stock button is the only option.
I took the "cam style (Japanese) to wedge style (American)" adapter to a local machine shop where he drilled and tapped it for a new bolt that fits with the stock button. Lots of shims hold it in place with the bolt. I'll take a picture of it when I re-assemble it next week.
I love mine as well. Since the 07s already have the O/S temp gauge, I went w/ compass, Homelink, + mood lighting (think Audi).
It's great. Since the S is so low, any SUV's headlights used to be an issue w/ the stock mirror. The autodim works very, very well. And with the Homelink, I don't have to worry about where to put the silly garage door opener!
Originally Posted by pyrocpu,Sep 18 2008, 02:48 PM
I love mine as well. Since the 07s already have the O/S temp gauge, I went w/ compass, Homelink, + mood lighting (think Audi).
It's great. Since the S is so low, any SUV's headlights used to be an issue w/ the stock mirror. The autodim works very, very well. And with the Homelink, I don't have to worry about where to put the silly garage door opener!
I have a slightly different one form a 2000 ish suburban i believe. For mine i used epoxy to mount a Chrysler button our stupid cam lock button. This was my 3rd try at mounting the mirror without an expensive mount and it works great.
I wish mine had the homelink like a lot of these other mirrors though.


 Hard to tell how dark the tint is in the garage..looking fwd to some daylight pics