
Dynamat install

Thread Starter

Joined: Jun 2002
Posts: 2,465
Likes: 30
From: NorCal
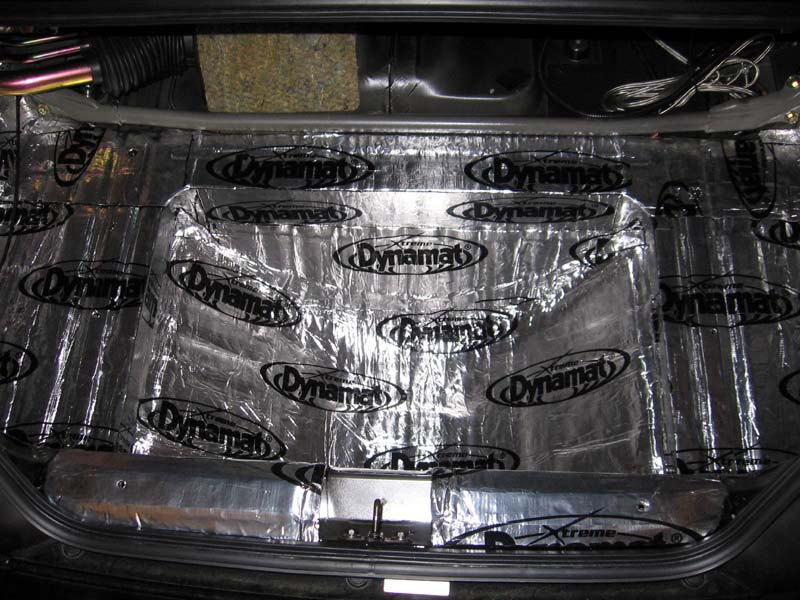
Thought I would share another Dynamat trunk install. At first I was trying to get the largest pieces to fit but when I encountered the odd curves and shapes, it was harder than I thought. How do you guys make it look so good? Anyways everything will be hidden so I don't mind.  Next up will be the passenger area and then the doors. Here are some pics.
The trunk.
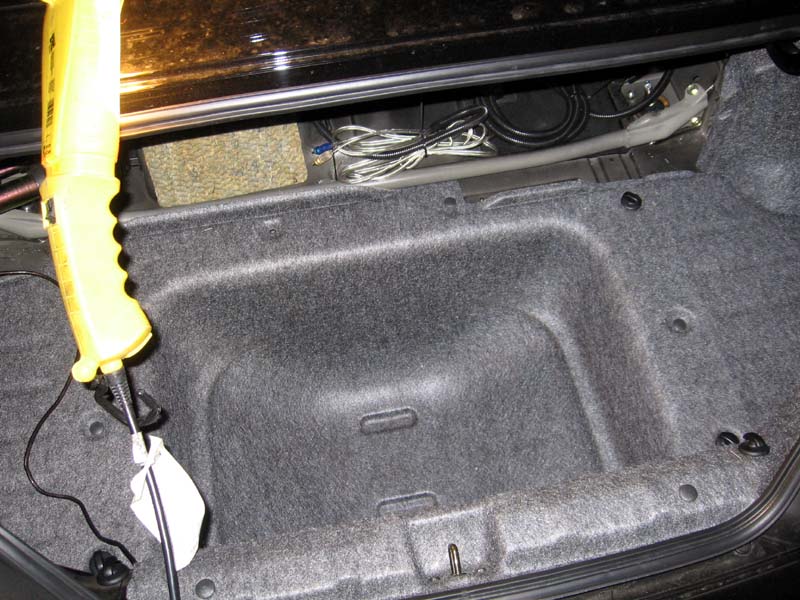
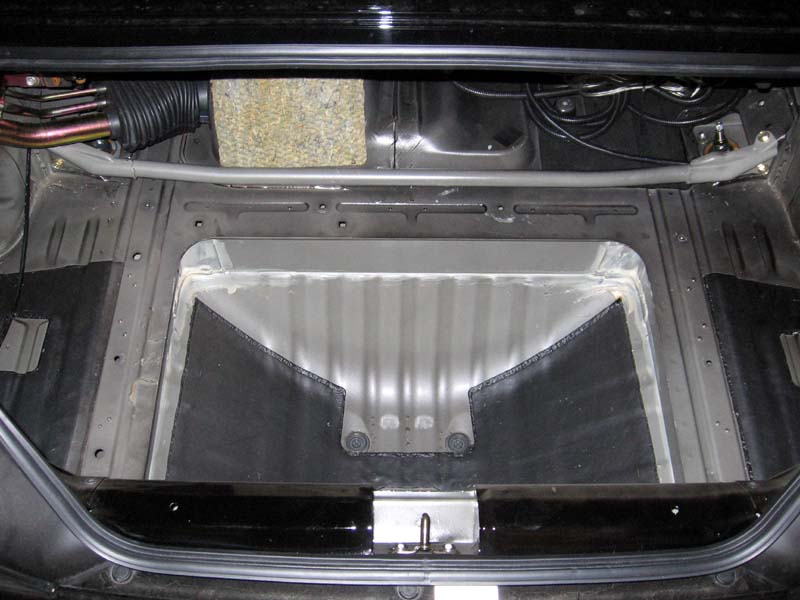
The naked trunk.
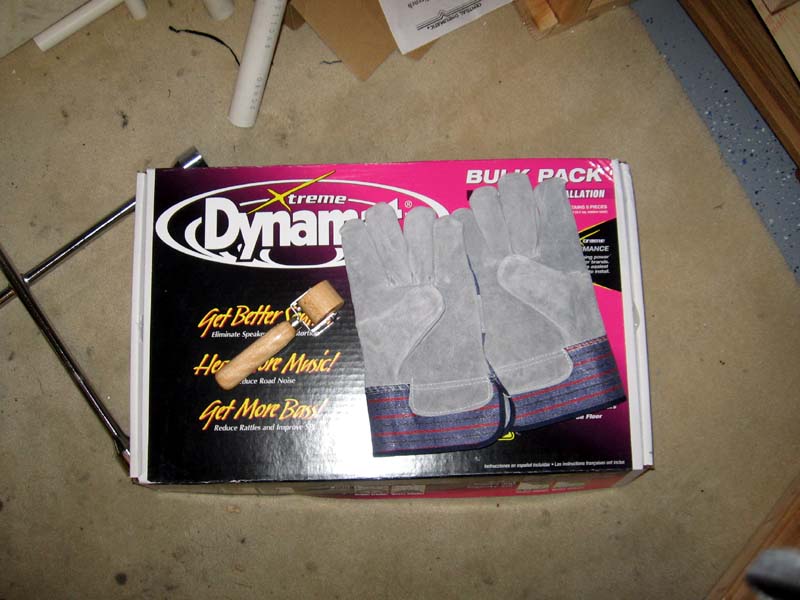
The stuff.
The start with a large piece of Dynamat.
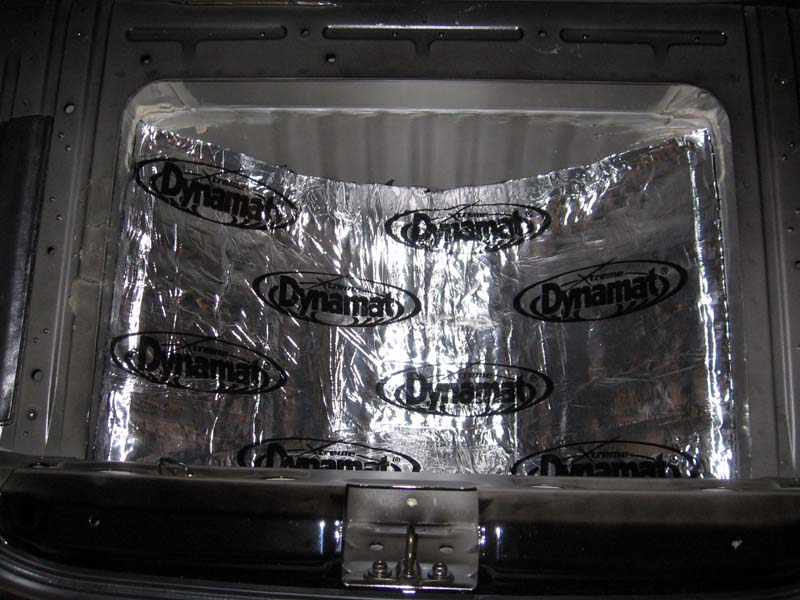
The Dynamatted trunk.
Next up will be the passenger area and then the doors. Here are some pics.The trunk.
The naked trunk.
The stuff.
The start with a large piece of Dynamat.
The Dynamatted trunk.


Joined: Jan 2002
Posts: 1,065
Likes: 10
From: Skopje
how much dynamat do we need?
I plan to do this and the Softop panel to stop the rattle when the the softop is up and the doors...
Will one bulk kit do it?
And should i dynamat the soft-top rear panel from both sides?
Any opinions on this or pics?the panel rattles when the sub hits of course....And any observations on how much improvement did the dynamat did to your stereo?
Stefce
Thread Starter
Joined: Jun 2002
Posts: 2,465
Likes: 30
From: NorCal
I believe there are 9 pieces in the bulk pack and I used up 6 and a half pieces just for the trunk. Unfortunately, I still need to apply Dynamat to the passenger areas and doors so I will definitely need to get more.


Thread
Thread Starter
Forum
Replies
Last Post