Kraftwerks SC inbound, advice would be helpful.
#131
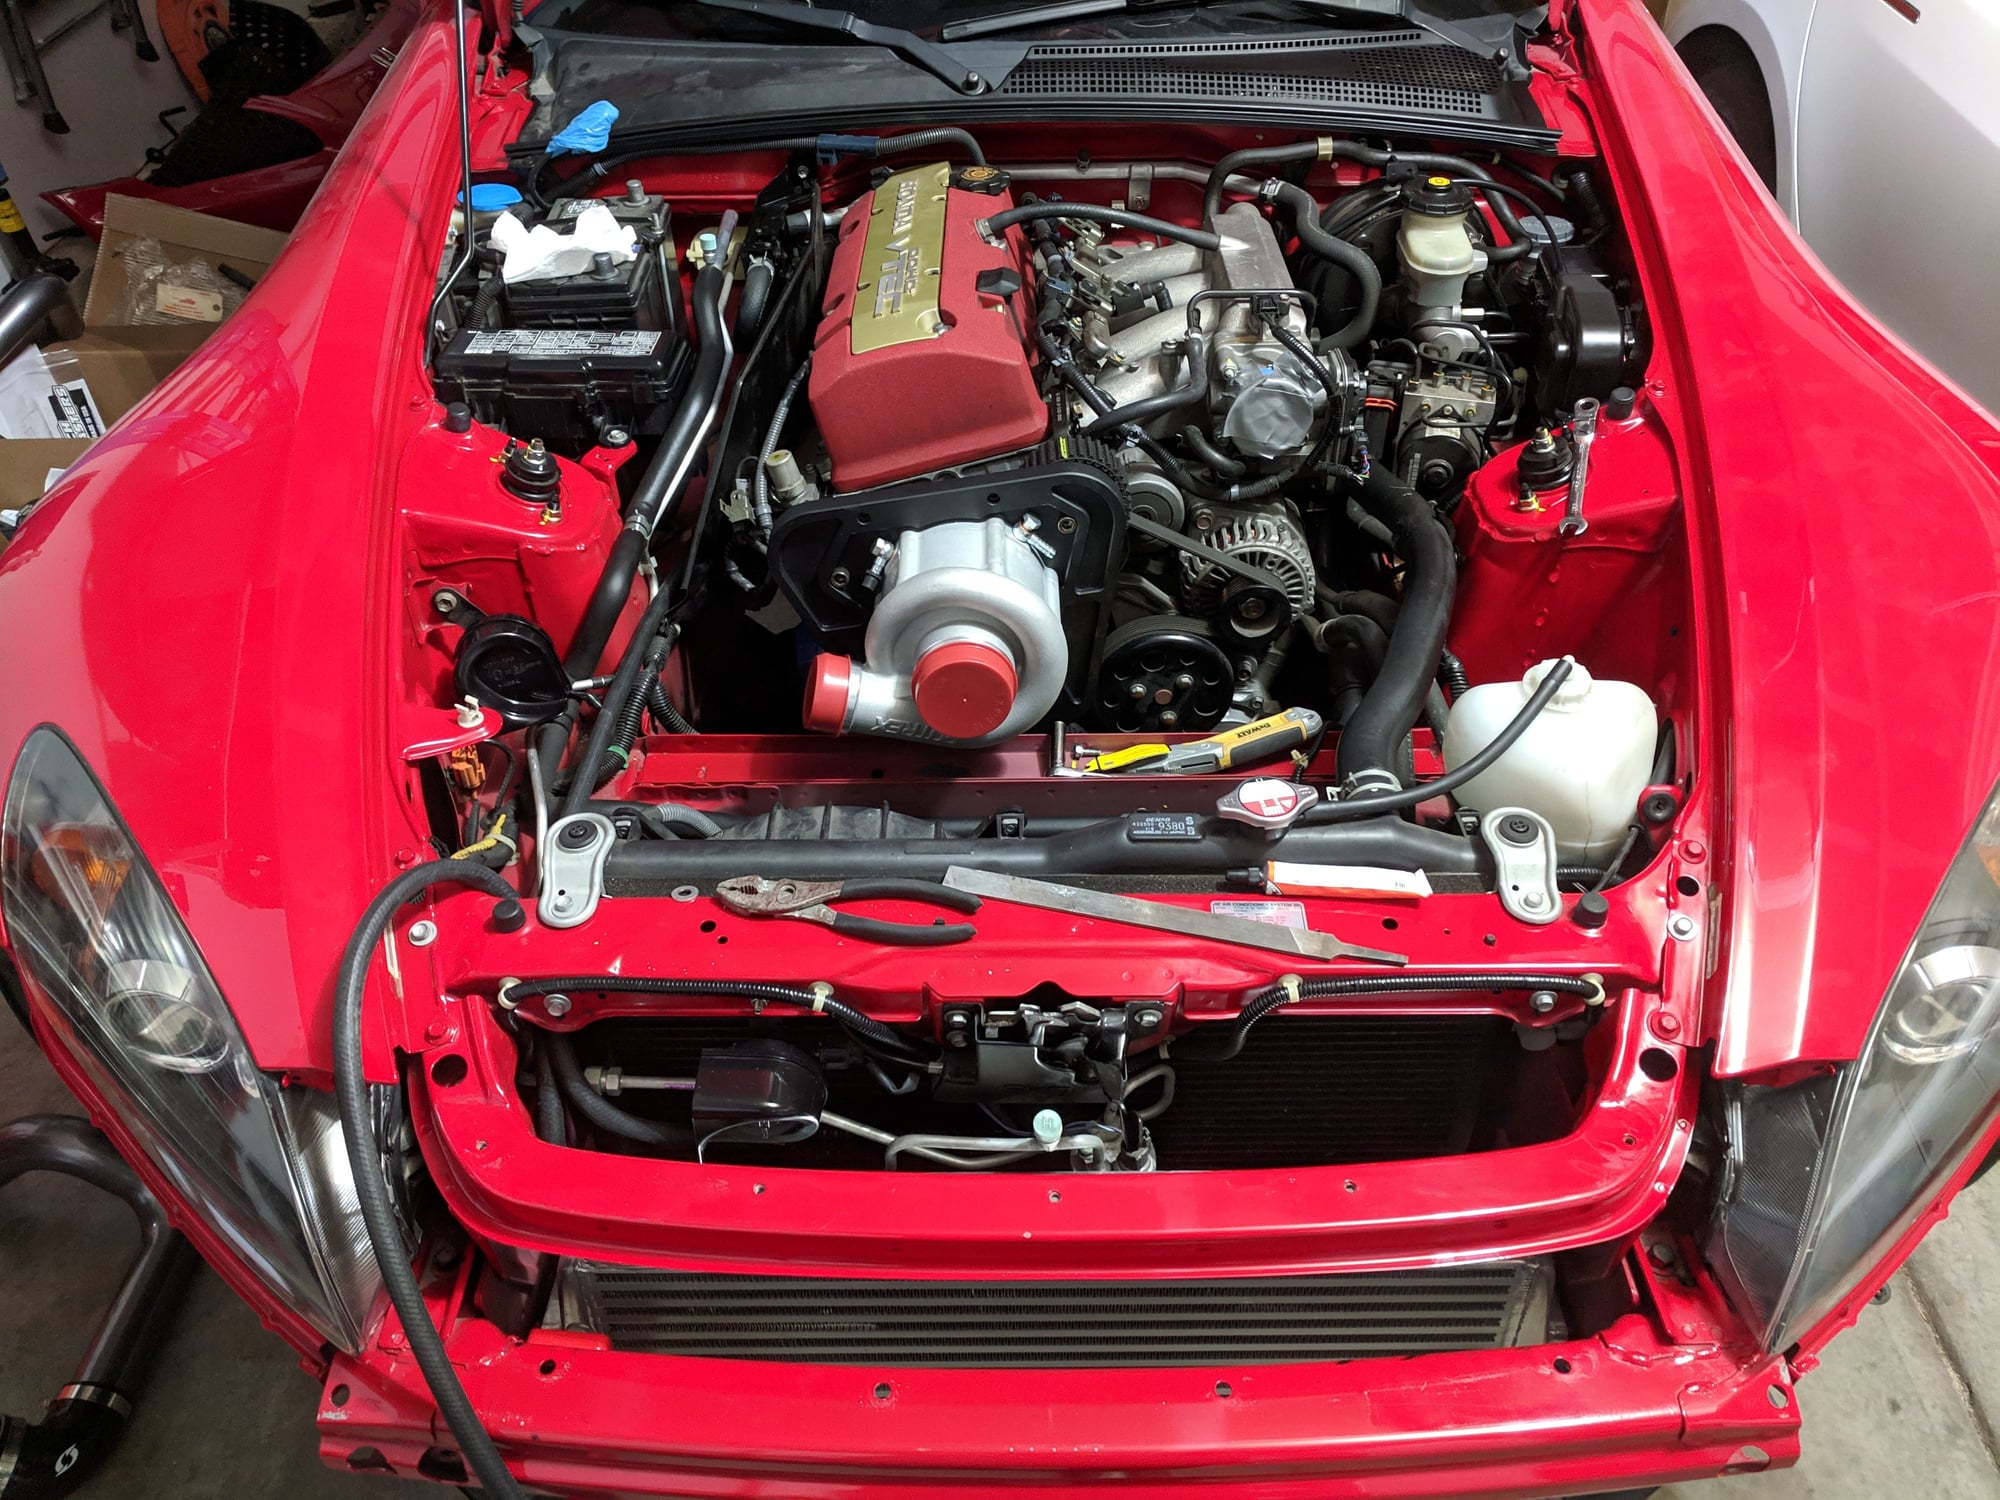
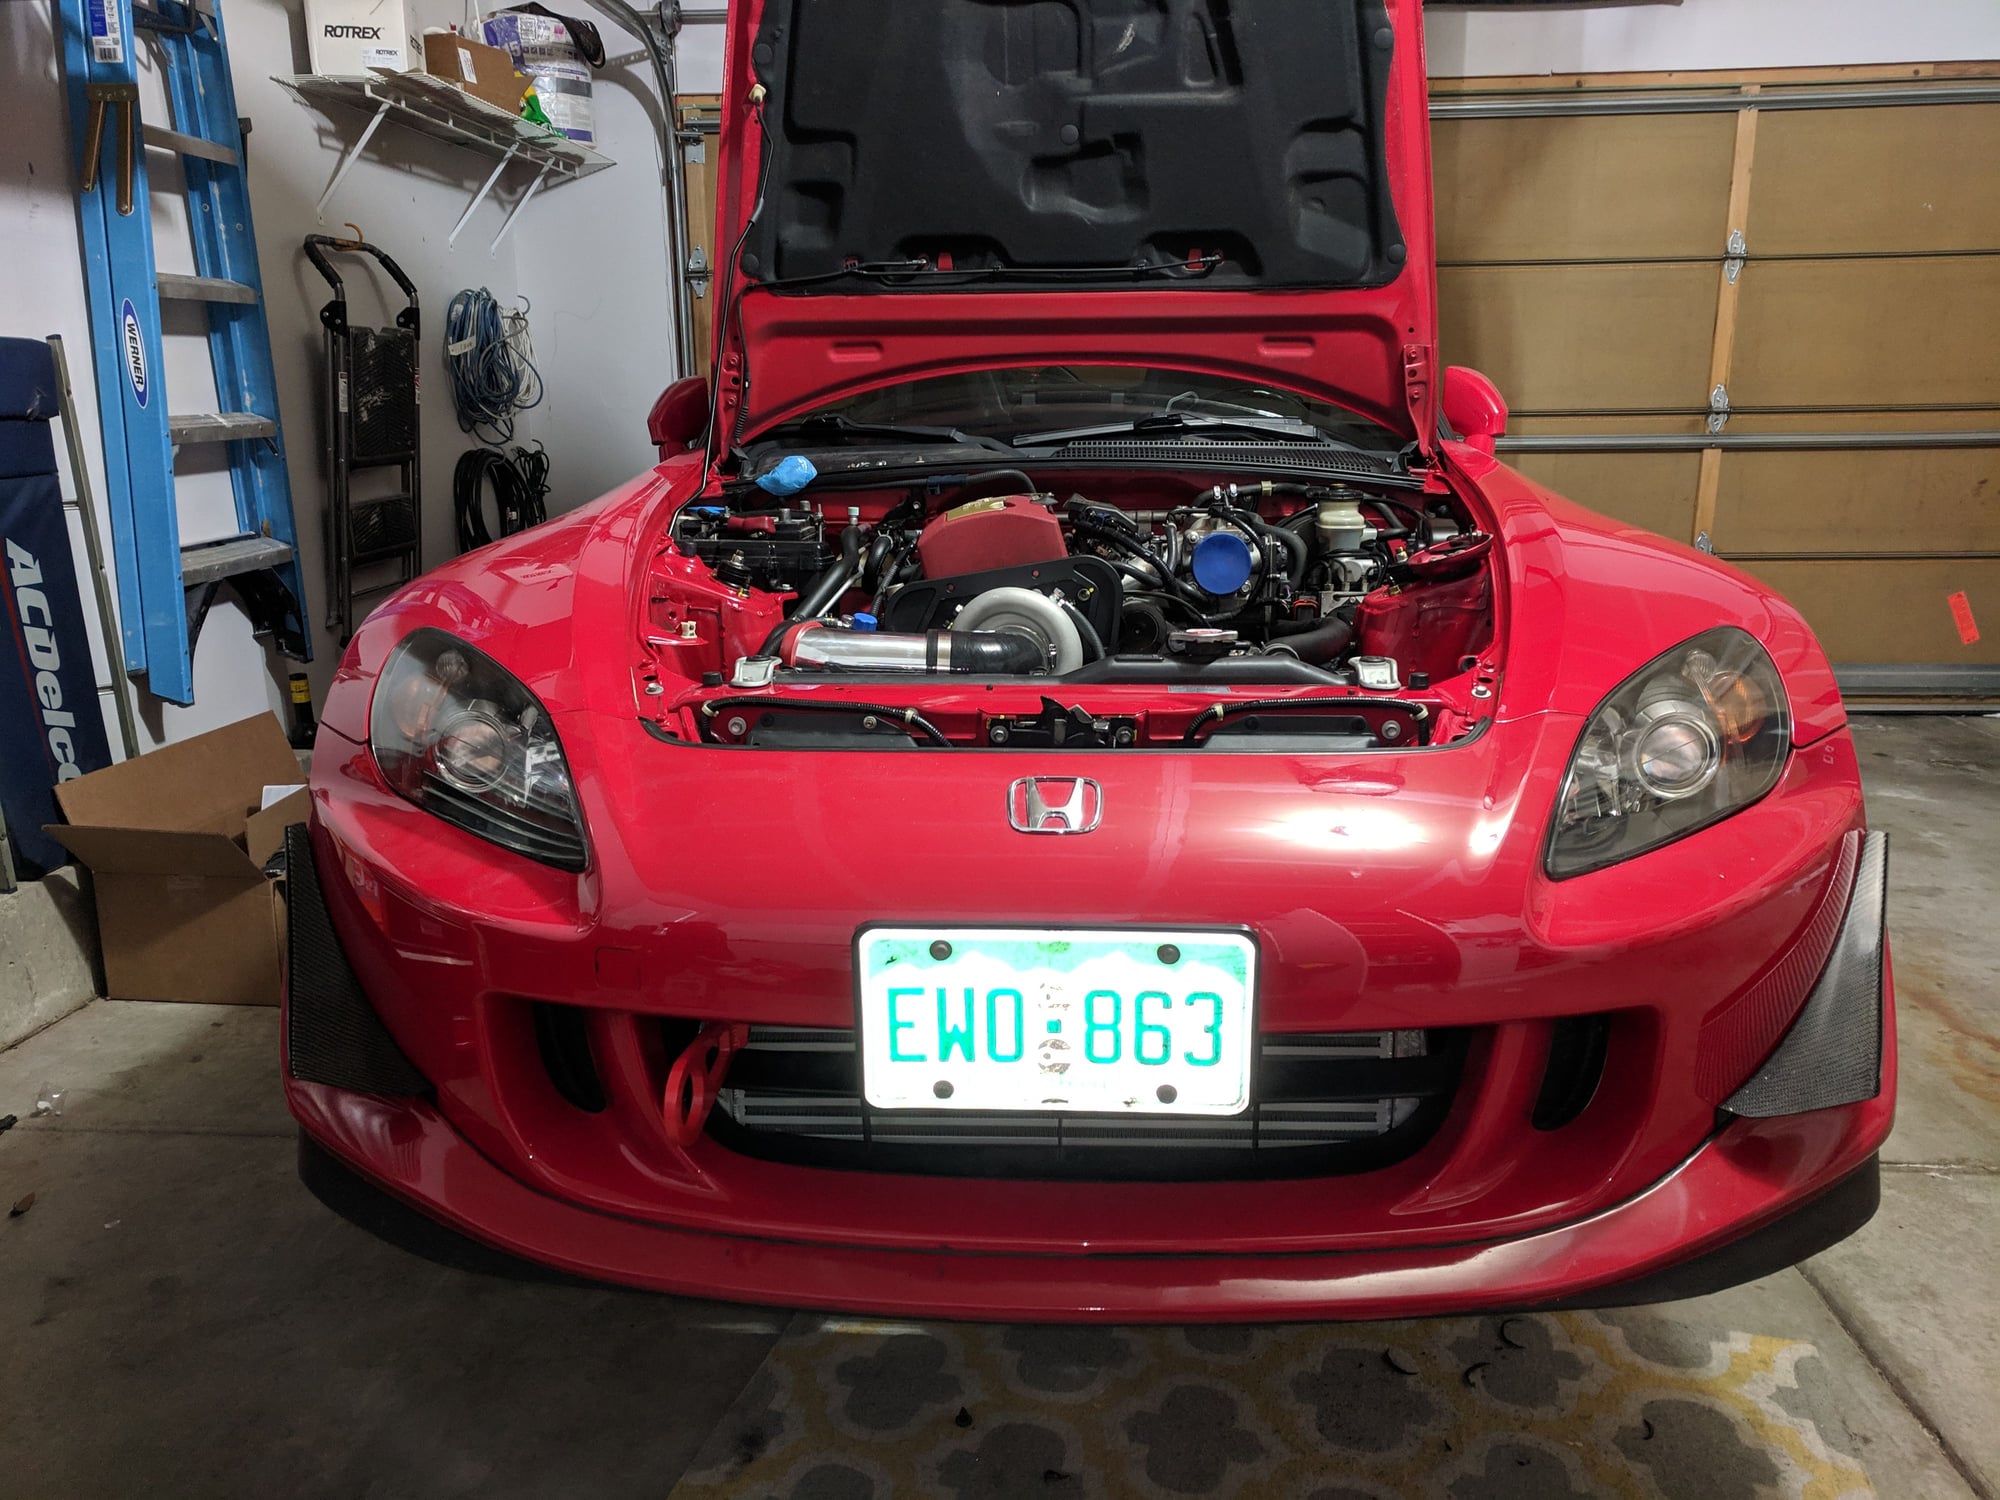
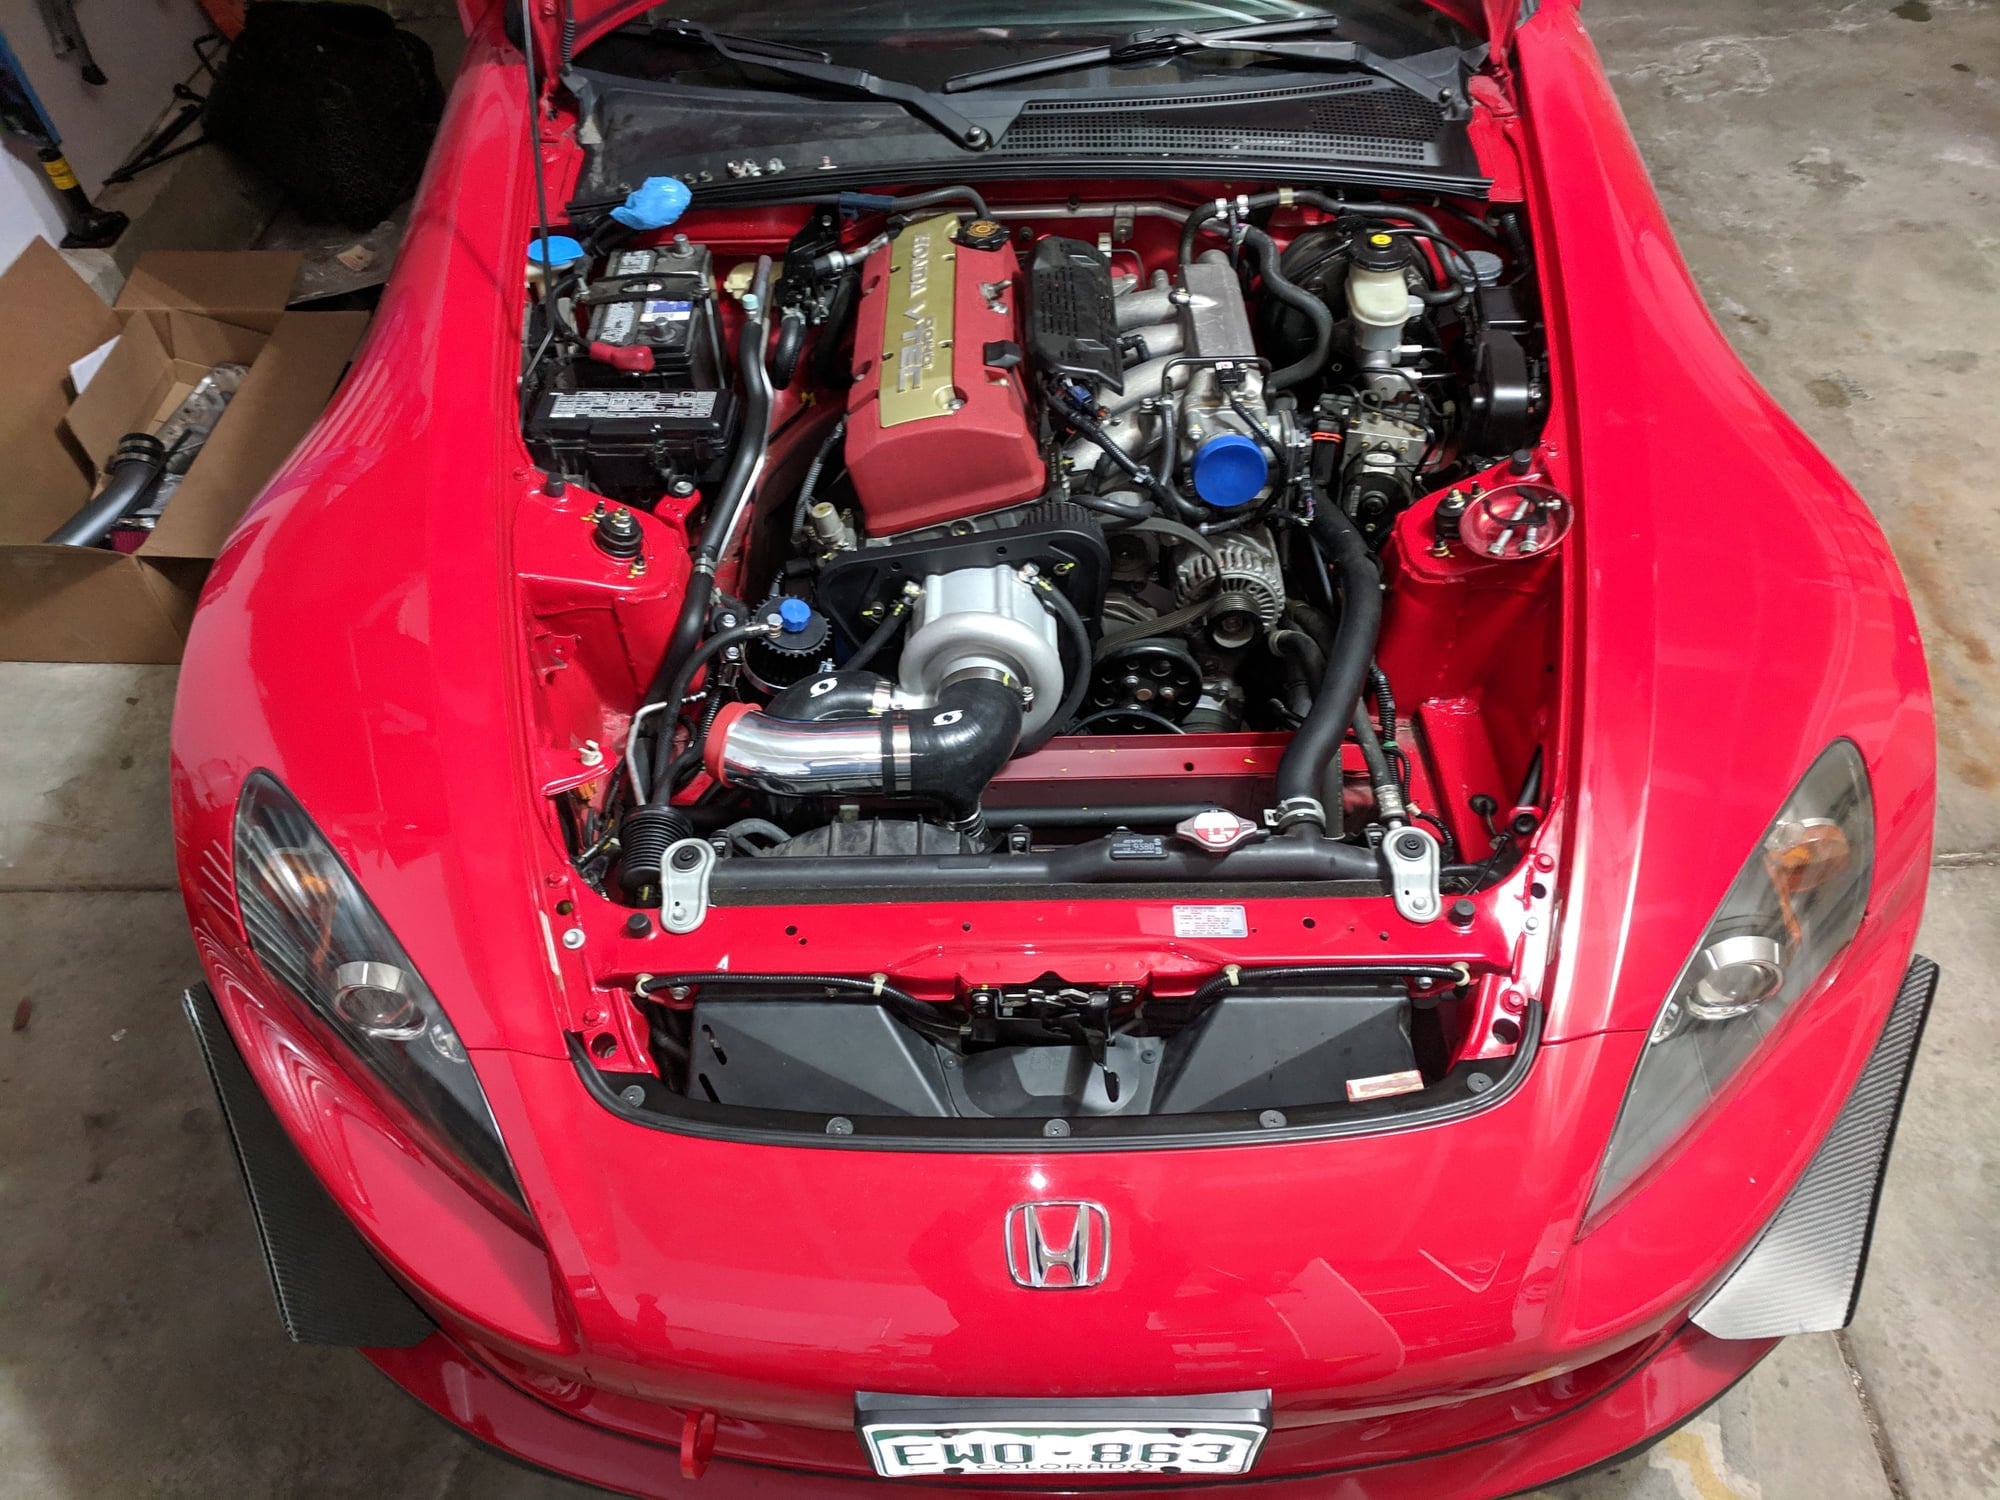
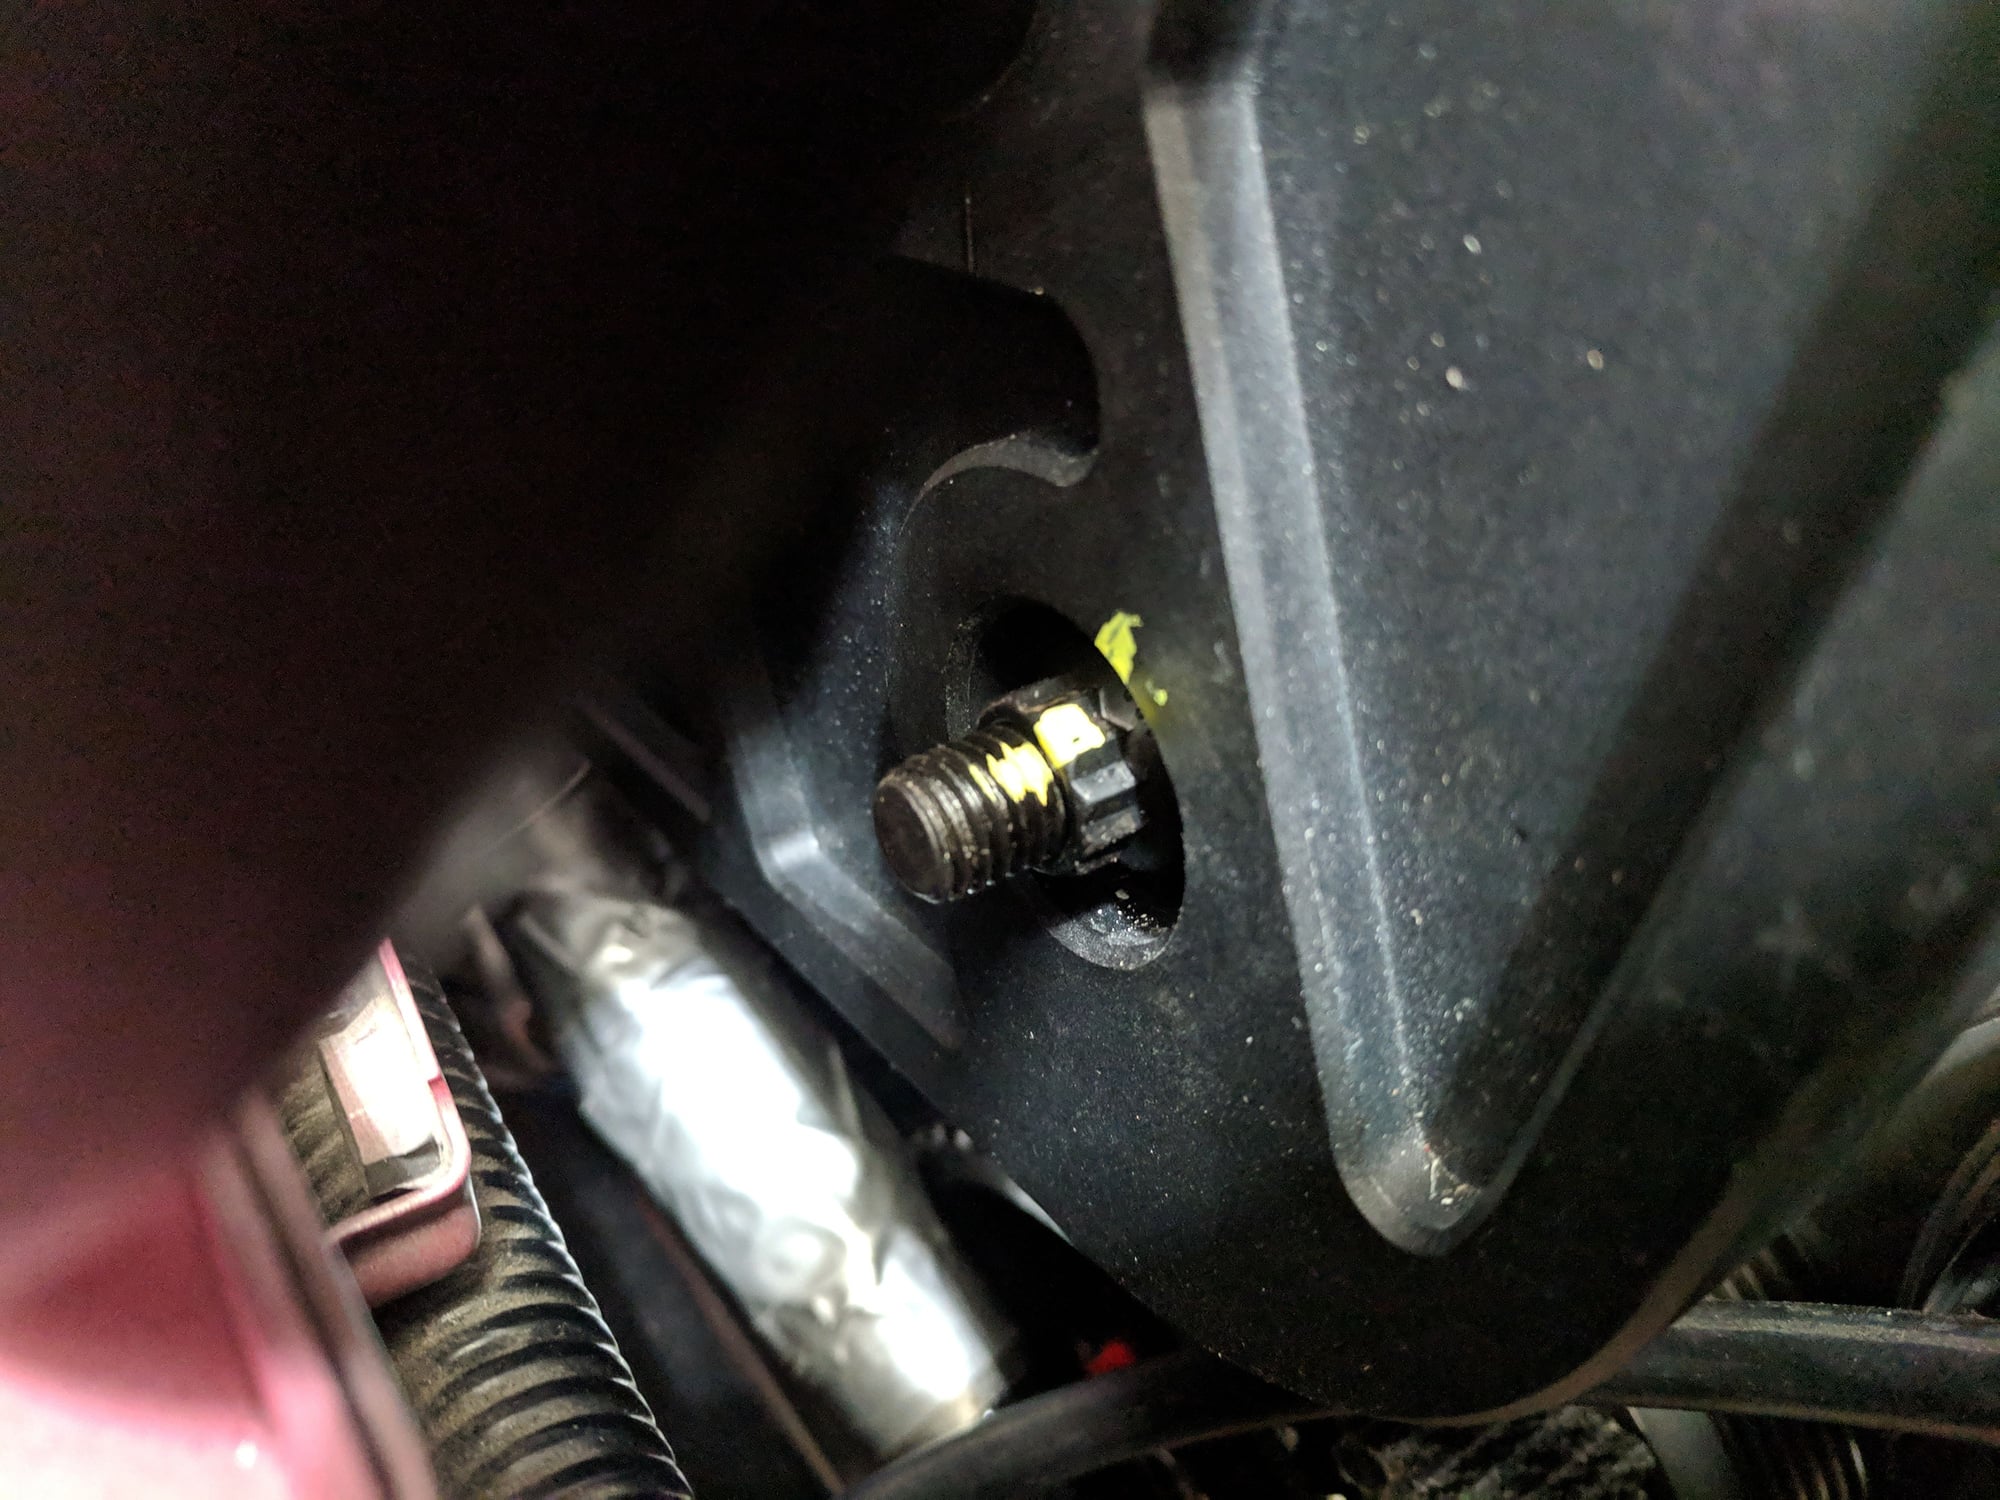
Ok, got my new injectors in, intercooler and oil cooler in, and all pulleys, new stud, and the supercharger hard mounted. It's freaking solid on there. I did vtec side, stud, them IM side. All lines up perfectly, now all torqued to spec! Getting closer!
#133
#136
Ok more notes, random ones, but worth knowing...
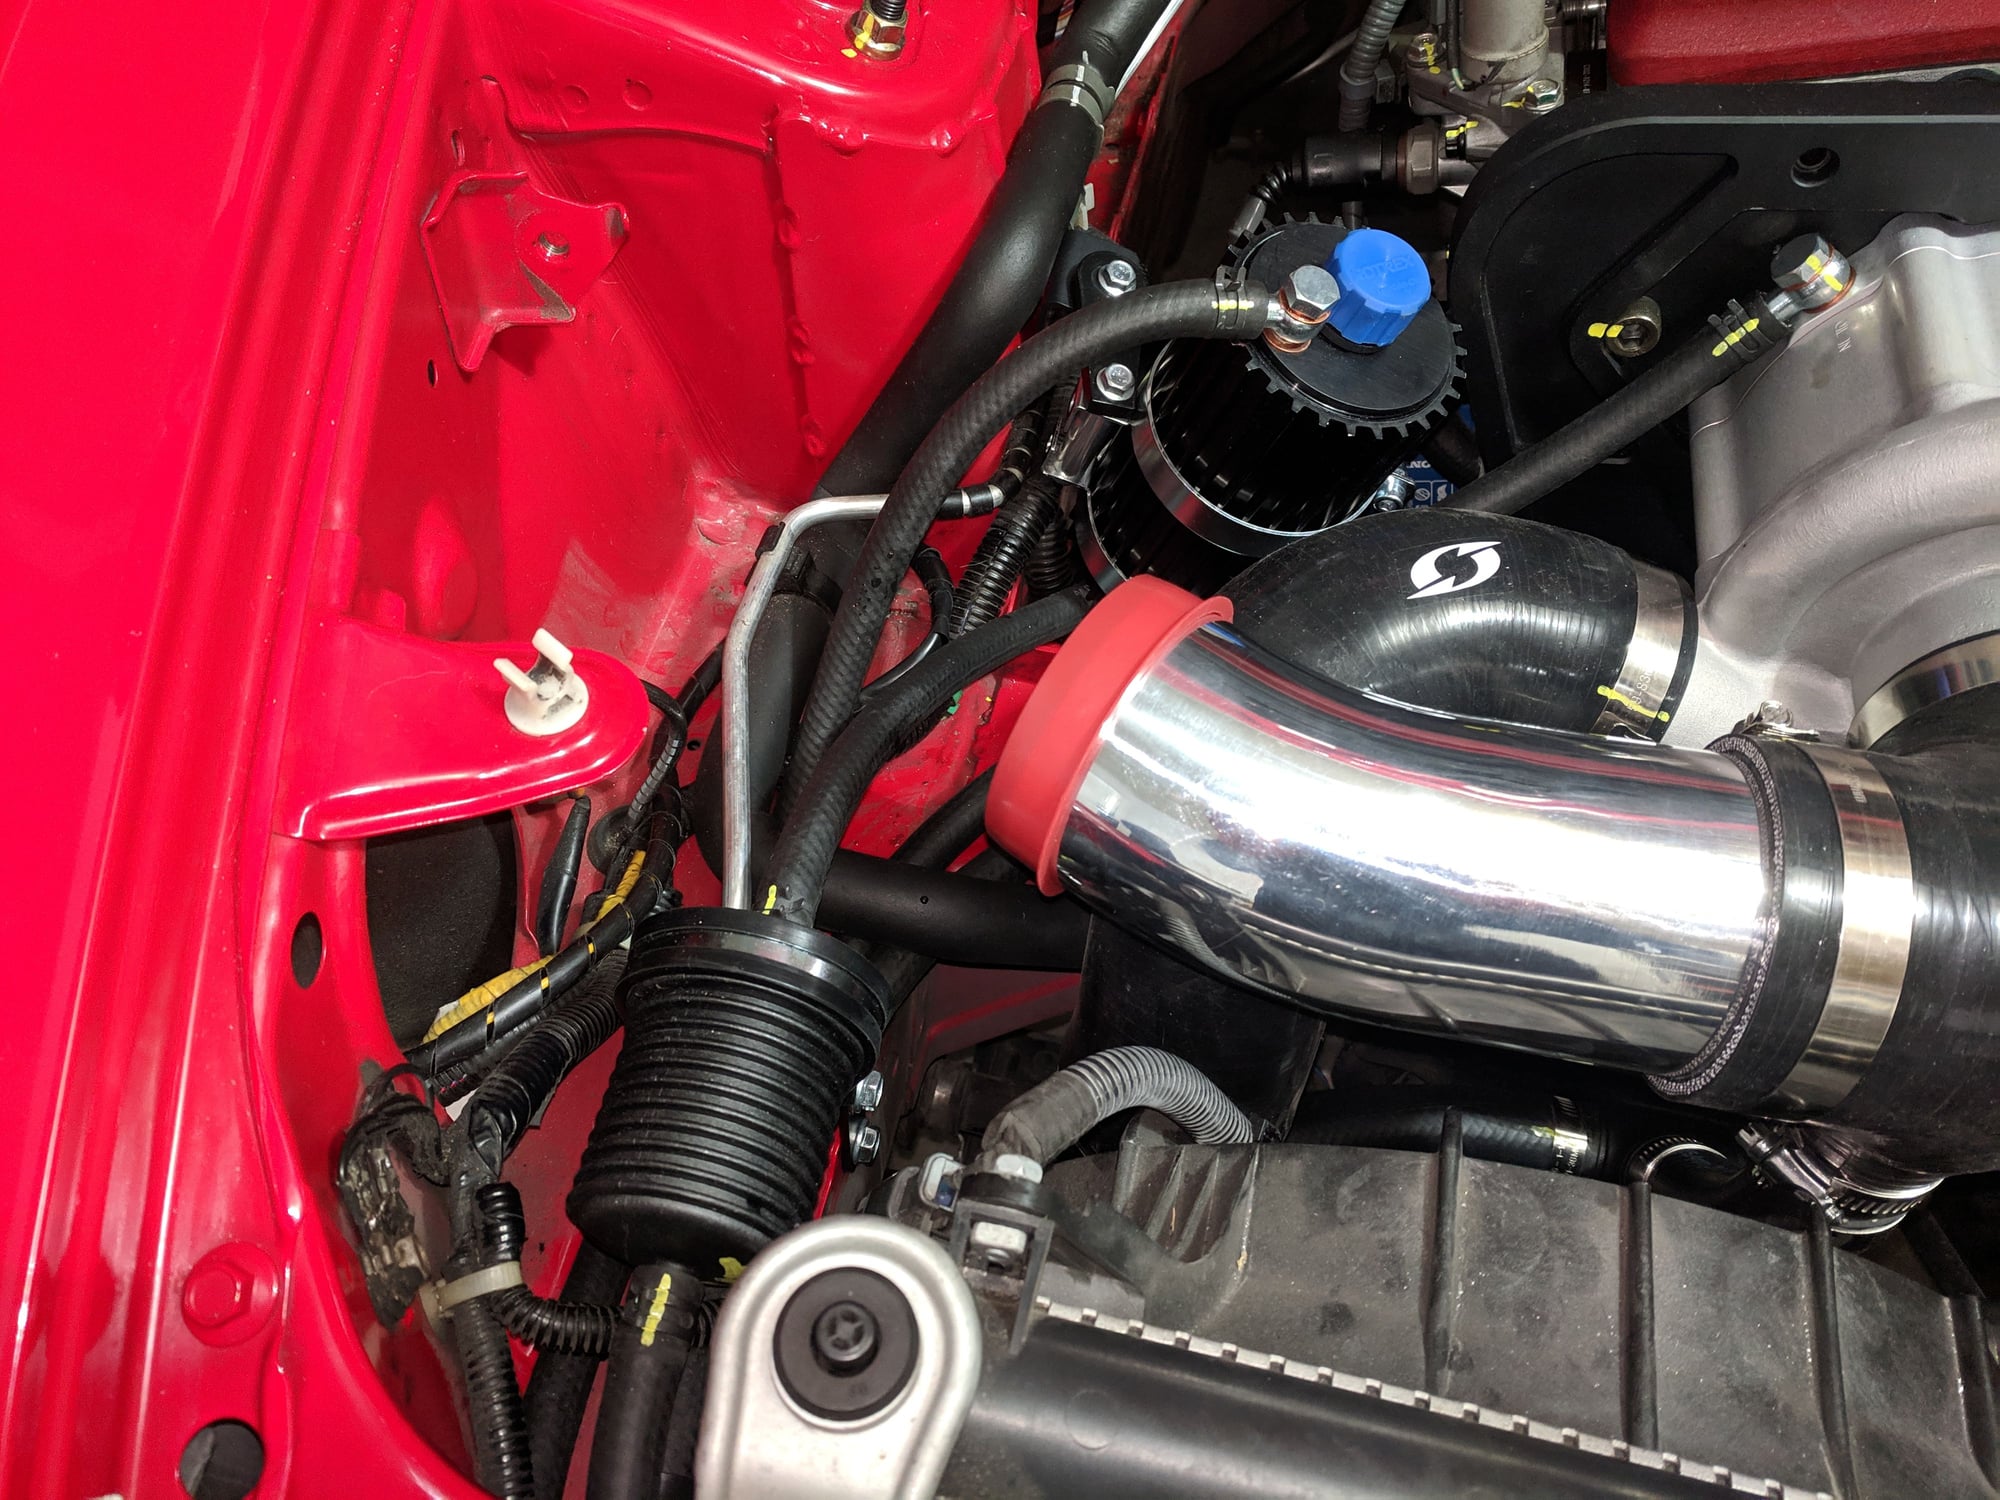
- the 29 and 52 inch hoses are great, but the order is wrong with the instructions. You should use the 29" hose instead of the 52" hose for the top of the resivoir to top of the oil cooler. It's just long enough and allows you to use the 52" hose to make the "loop" in another step. You cannot make the loop with the 29" hose without risking kink.
--you can move the horn in the engine bay down on the frame rail below which allows space for you to flip the intake and use the intake 3" extension and put the filter on so it faces the passenger side, like lht does. You will need to likely extend the horn wires.
-hole saws make quick work of the plastics for the intercooler piping. Follow the pictures you see in lhts video, not so good install on the Laguna blue s2000. I just eyeballed my customer based on this video and they came out perfect. Again, I uses a hole saw and it took two minutes.
---- notice with many parts of this kit, not critical ones that they ship the brackets, piping, mounts, etc with the necessary bolts zip tied in place. That's awesome. I've noticed though that many times these bolts are in the bracket backwards, the bracket itself is backwards, or it could be mounted differently and fit better. Case in point, my intercooler piping that connects to throttle body had the coupling on the opposite sides of where they should be. I spent an embarrassing amount of time trying to get it to work until I realized they needed to be switched and all is well. Just remember to think openly and know that you need to likely swap some things around .at the end of the day you have some slack to install this a bit more openly or as you see fit. Don't take the intsructions for the final word on the matter.
--use a paint marker on every damn bolt, clip, line, etc. Yes it's not speed racer cool but it's SOoooooooo helpful to know what you have touched and what you haven't. After a few days of open heart surgery in there it gets hard to simply remember. Also, I use dykem cross-check now in conjunction with a paint pen so I know it's all tidy. I also write on the hoses and the oil filter "in/out/upper/lower" etc. Makes life way easier when you have 6 identicle hoses.
#137
Ok more notes, random ones, but worth knowing...
- the 29 and 52 inch hoses are great, but the order is wrong with the instructions. You should use the 29" hose instead of the 52" hose for the top of the resivoir to top of the oil cooler. It's just long enough and allows you to use the 52" hose to make the "loop" in another step. You cannot make the loop with the 29" hose without risking kink.
--you can move the horn in the engine bay down on the frame rail below which allows space for you to flip the intake and use the intake 3" extension and put the filter on so it faces the passenger side, like lht does. You will need to likely extend the horn wires.
-hole saws make quick work of the plastics for the intercooler piping. Follow the pictures you see in lhts video, not so good install on the Laguna blue s2000. I just eyeballed my customer based on this video and they came out perfect. Again, I uses a hole saw and it took two minutes.
---- notice with many parts of this kit, not critical ones that they ship the brackets, piping, mounts, etc with the necessary bolts zip tied in place. That's awesome. I've noticed though that many times these bolts are in the bracket backwards, the bracket itself is backwards, or it could be mounted differently and fit better. Case in point, my intercooler piping that connects to throttle body had the coupling on the opposite sides of where they should be. I spent an embarrassing amount of time trying to get it to work until I realized they needed to be switched and all is well. Just remember to think openly and know that you need to likely swap some things around .at the end of the day you have some slack to install this a bit more openly or as you see fit. Don't take the intsructions for the final word on the matter.
--use a paint marker on every damn bolt, clip, line, etc. Yes it's not speed racer cool but it's SOoooooooo helpful to know what you have touched and what you haven't. After a few days of open heart surgery in there it gets hard to simply remember. Also, I use dykem cross-check now in conjunction with a paint pen so I know it's all tidy. I also write on the hoses and the oil filter "in/out/upper/lower" etc. Makes life way easier when you have 6 identicle hoses.
- the 29 and 52 inch hoses are great, but the order is wrong with the instructions. You should use the 29" hose instead of the 52" hose for the top of the resivoir to top of the oil cooler. It's just long enough and allows you to use the 52" hose to make the "loop" in another step. You cannot make the loop with the 29" hose without risking kink.
--you can move the horn in the engine bay down on the frame rail below which allows space for you to flip the intake and use the intake 3" extension and put the filter on so it faces the passenger side, like lht does. You will need to likely extend the horn wires.
-hole saws make quick work of the plastics for the intercooler piping. Follow the pictures you see in lhts video, not so good install on the Laguna blue s2000. I just eyeballed my customer based on this video and they came out perfect. Again, I uses a hole saw and it took two minutes.
---- notice with many parts of this kit, not critical ones that they ship the brackets, piping, mounts, etc with the necessary bolts zip tied in place. That's awesome. I've noticed though that many times these bolts are in the bracket backwards, the bracket itself is backwards, or it could be mounted differently and fit better. Case in point, my intercooler piping that connects to throttle body had the coupling on the opposite sides of where they should be. I spent an embarrassing amount of time trying to get it to work until I realized they needed to be switched and all is well. Just remember to think openly and know that you need to likely swap some things around .at the end of the day you have some slack to install this a bit more openly or as you see fit. Don't take the intsructions for the final word on the matter.
--use a paint marker on every damn bolt, clip, line, etc. Yes it's not speed racer cool but it's SOoooooooo helpful to know what you have touched and what you haven't. After a few days of open heart surgery in there it gets hard to simply remember. Also, I use dykem cross-check now in conjunction with a paint pen so I know it's all tidy. I also write on the hoses and the oil filter "in/out/upper/lower" etc. Makes life way easier when you have 6 identicle hoses.
My kit also had the charge pipes with the wrong couplers attached to them. I was confused at first. I thought they sent me the wrong pipes lol. I eventually figured it out.
Im kinda nervous bc I’m gonna start my car for the first time since I changed the clutch/adjusted the valves/changed the header and changed the oil. I’m afraid that I forgot to attach/clip/bolt/torque down something, even more afraid that I did something wrong installing the clutch lol. Oh man that would suck. Anyways, once i start it and take it for a test drive I can start working on installing the supercharger. Excited.
#138
My take is that the line is there for one of a few reasons, extra oil capacity in system, allowing settling of any contaminates, cooling, or something about volume producing a slight pressure in the lines. It's not for no reason at all, so I'm keeping it. Also, I made mine very tidy but I like keeping these critical things accessible vs "tucked" or hidden. Easier to maintain and check on often. It's not too cluttered.


