
GP Fabrication DIY + Input


Thread Starter
Registered User
Joined: May 2010
Posts: 1,408
Likes: 1
From: Columbia, South Carolina
Monday i will have them showing up so i will be writing the Installs and a little review of each as i did for his mater cylinder covers and diffuser:
https://www.s2ki.com/s2000/topic/903...stallsreviews/
GPFAB Website as per several requests: http://gladfab.myshopify.com/
I figured i would see if anyone wanted to post questions or anything they would like a better picture of before i do the installs. this would make it easier to have the questions as i write the DIYs and can address anything asked better.
RESERVED BELLOW FOR:
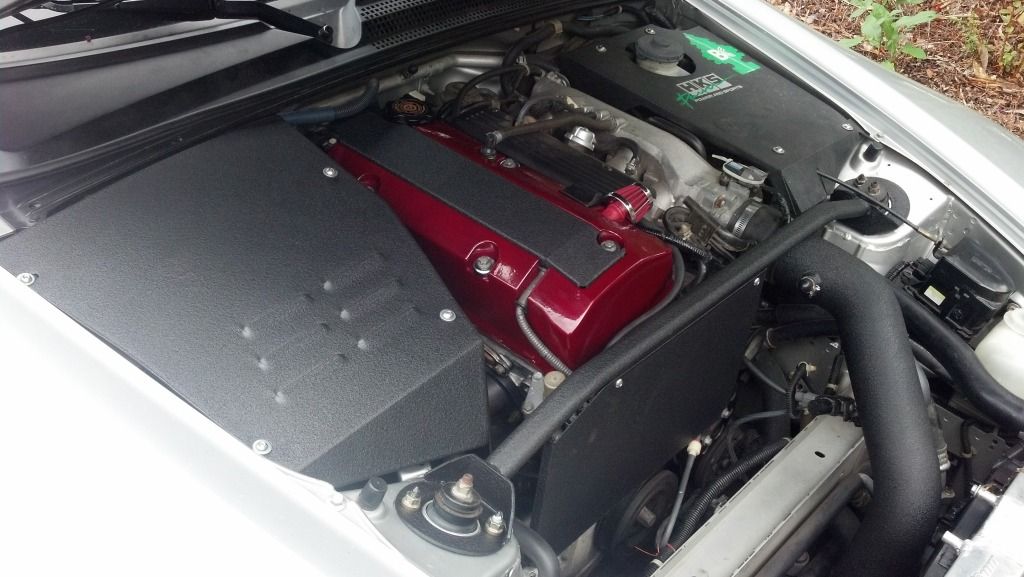
Battery Shield:
Alright, tools you need:
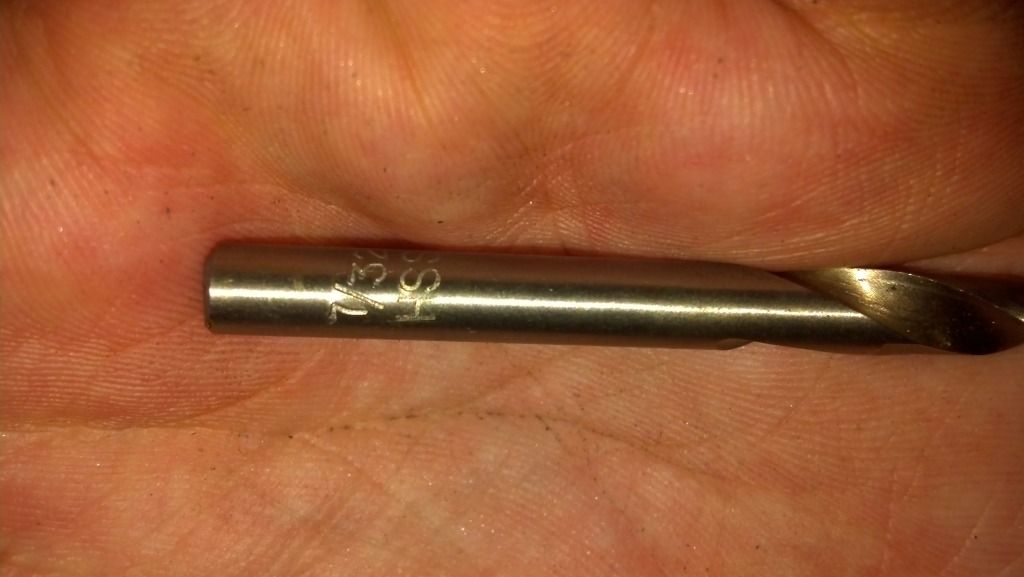
Drill
7/32 or larger drill bit
5/32 allen wrench
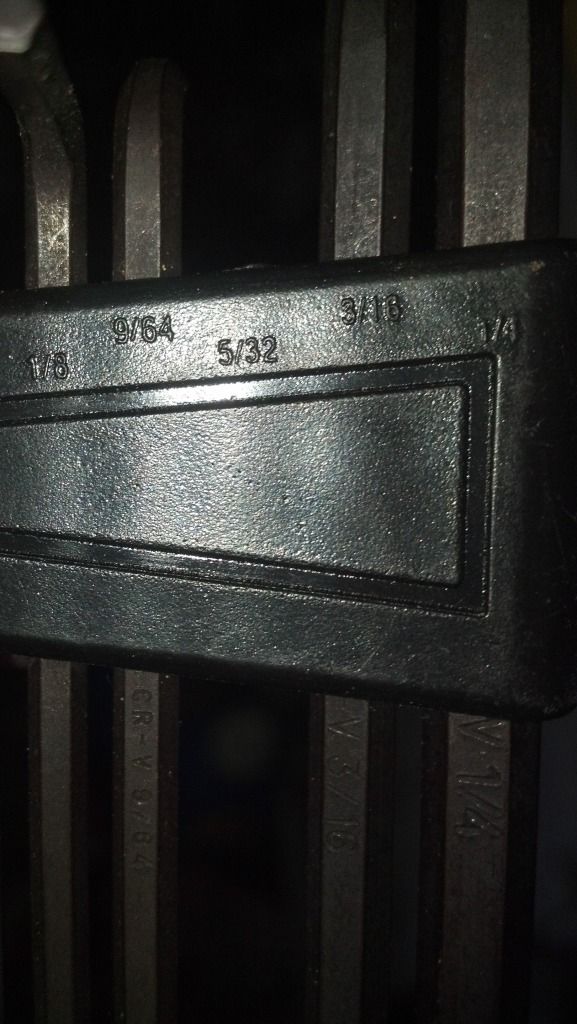
12mm socket/wrench
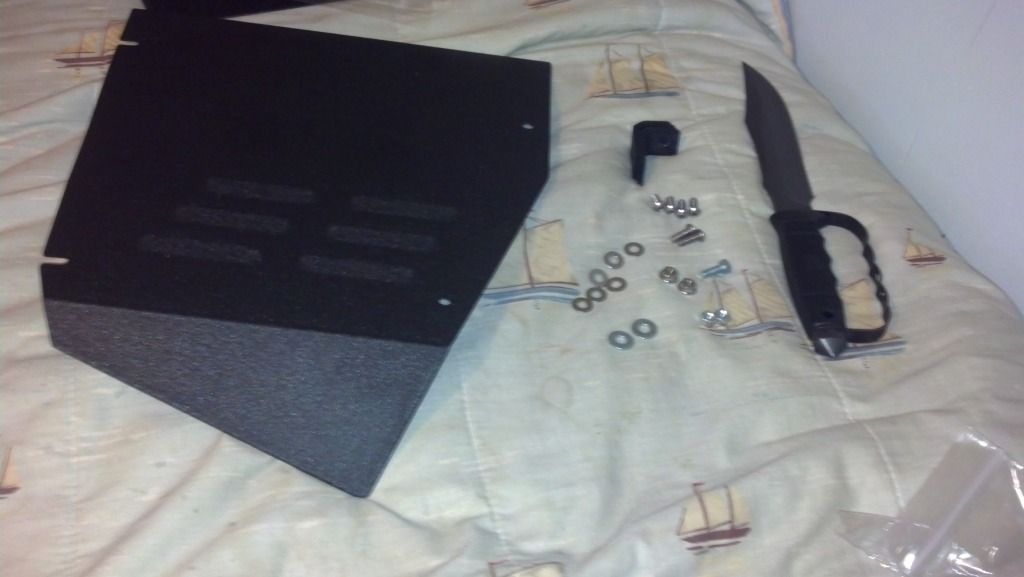
Unboxed:
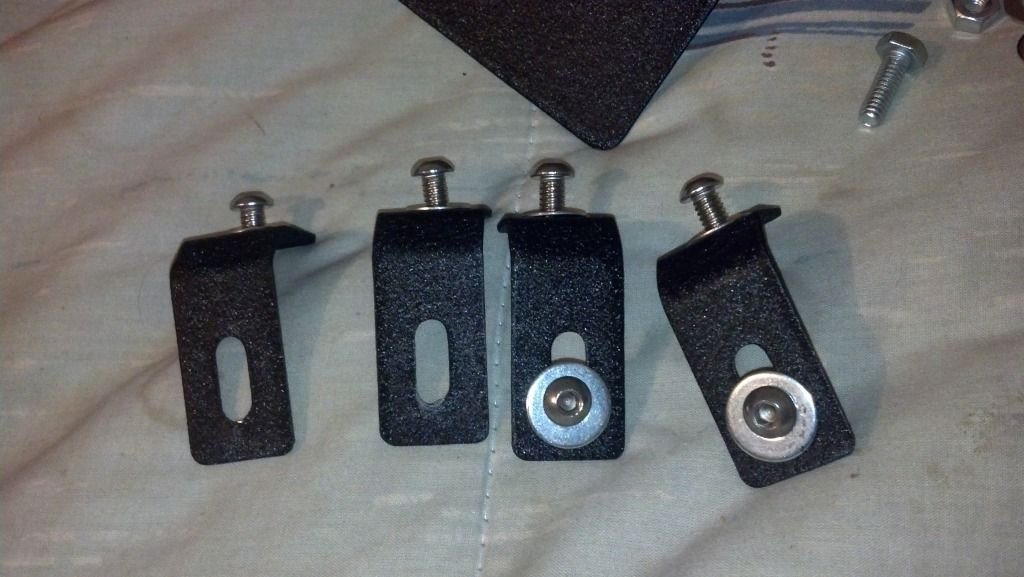
This is how the bolts go:
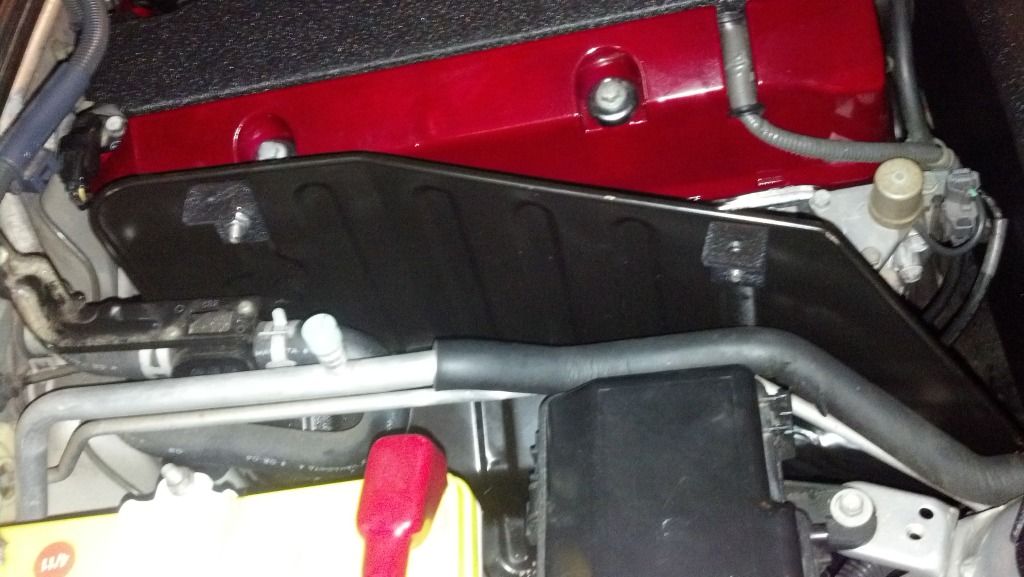
Step one, Lay the shield across the area it is supposed to occupy.
I saw roughly where everything was supposed to sit, although i have a battery that is not stock, it is a little taller so the battery cover is warped ever so slightly around the top when i tightened it down.
Step two:
Mark the parts out where you would like them to be drilled into the stock heat shield. they fall dead center of the first and last raised ridge of the stock heat shield.
DRILLLL
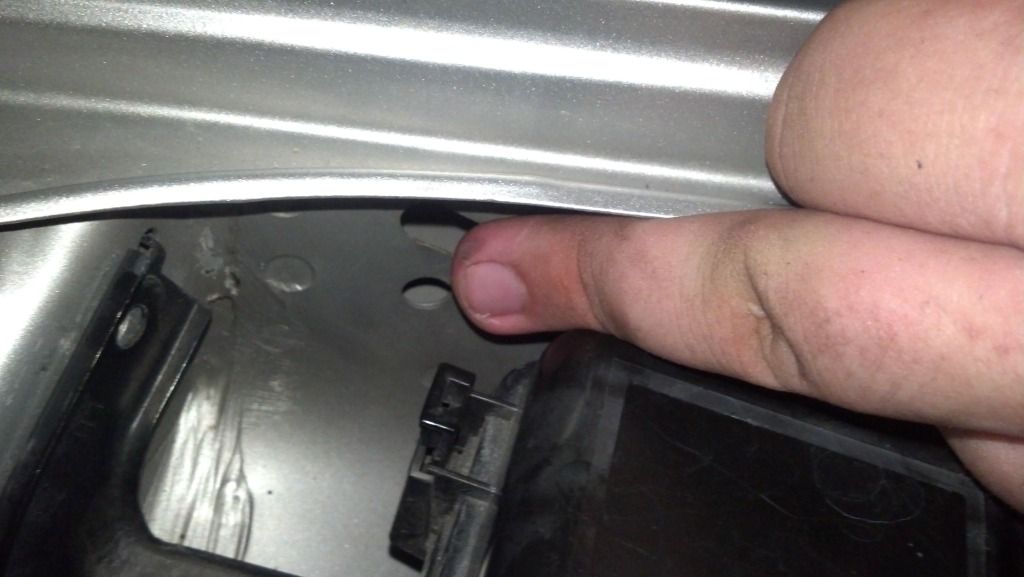
Step three:
The third one is pretty easy clearly
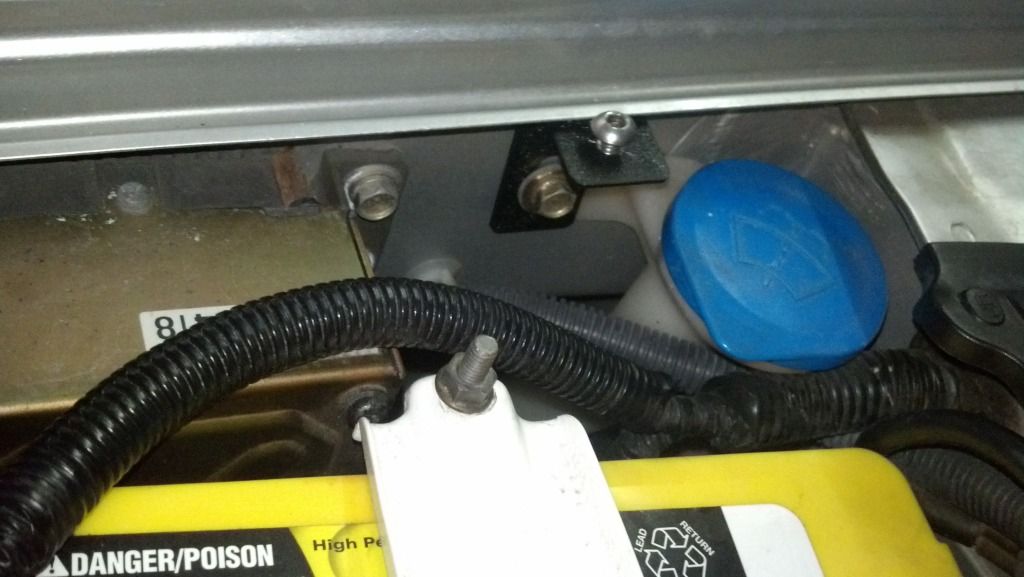
Step four:
You have to twist this pain in the ass into place, yes that is my middle finger, and yes it was a pain.
Step five:
Just start with adjustable ones, and then shift things over as you go around then tighten all down once they are started.
I used my own washers with the rubber inside of them, it makes me feel special and they don't rattle or come loose as easy.
https://www.s2ki.com/s2000/topic/903...stallsreviews/
GPFAB Website as per several requests: http://gladfab.myshopify.com/
I figured i would see if anyone wanted to post questions or anything they would like a better picture of before i do the installs. this would make it easier to have the questions as i write the DIYs and can address anything asked better.
RESERVED BELLOW FOR:
Battery Shield:
Alright, tools you need:
Drill
7/32 or larger drill bit
5/32 allen wrench
12mm socket/wrench
Unboxed:
This is how the bolts go:
Step one, Lay the shield across the area it is supposed to occupy.
I saw roughly where everything was supposed to sit, although i have a battery that is not stock, it is a little taller so the battery cover is warped ever so slightly around the top when i tightened it down.
Step two:
Mark the parts out where you would like them to be drilled into the stock heat shield. they fall dead center of the first and last raised ridge of the stock heat shield.
DRILLLL
Step three:
The third one is pretty easy clearly
Step four:
You have to twist this pain in the ass into place, yes that is my middle finger, and yes it was a pain.
Step five:
Just start with adjustable ones, and then shift things over as you go around then tighten all down once they are started.
I used my own washers with the rubber inside of them, it makes me feel special and they don't rattle or come loose as easy.


Registered User
Joined: Jun 2003
Posts: 1,440
Likes: 1
From: Michigan
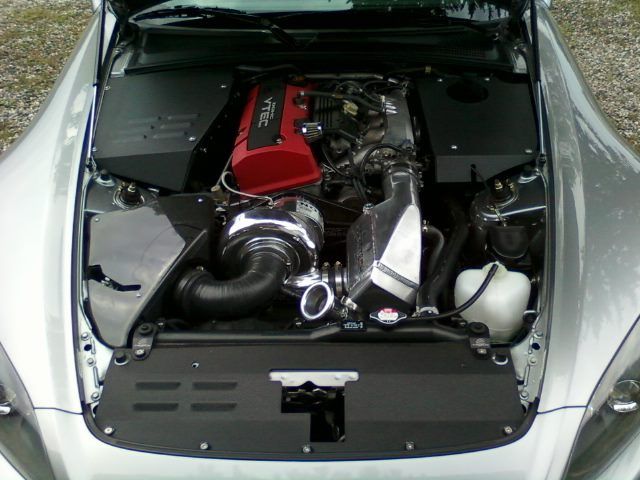
I installed mine a few weeks back! Made well and looks good! Importedpower let me know if u want me to take this pic down when u do your write up! And thanks for doing the write ups! They are helpful!

Thread Starter
Registered User
Joined: May 2010
Posts: 1,408
Likes: 1
From: Columbia, South Carolina
I ended up posting into Modification and Parts... i accidentally posted it here to begin with then shifted over there lol. and lude did yours fit a little snug over the battery?
https://www.s2ki.com/s2000/topic/975...-input-up-now/
https://www.s2ki.com/s2000/topic/975...-input-up-now/


