
The project goes on.. Color...


Registered User
Joined: May 2009
Posts: 26,916
Likes: 1
From: Houston, Texas


Thread Starter
Registered User
Joined: Dec 2009
Posts: 393
Likes: 1
Little more stuff that some of you might find interesting.....
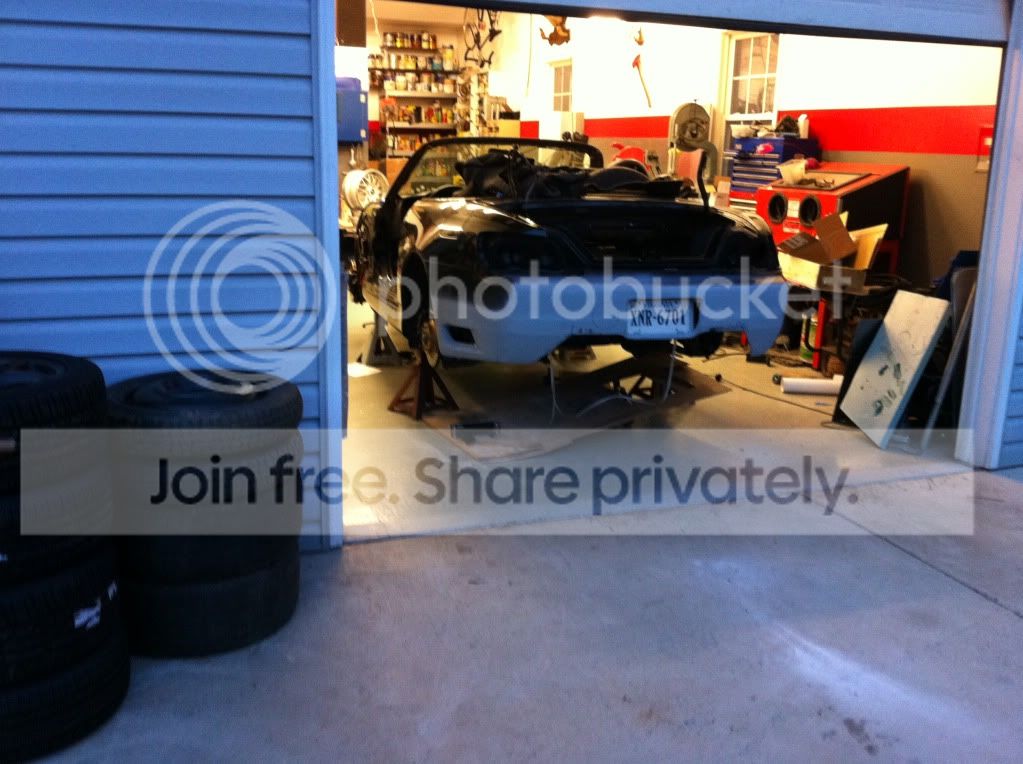
I was sitting in the shop looking at the intake ducts that go on the sides of the AP1 front bumper that I had cut out a few weeks ago.. And my rear bumper was sitting right beside it and I had a slight idea.
So here are a few pictures to give you and idea...
Dont hate.. I thought it might turn out to look cool when I started and I think it can be pulled off.. I have only worked on it for like two and a half hours tops.. So keep in mind there is far more to go with them. The drivers side is way more done then the passenger side so thats the side I took a few pictures of.
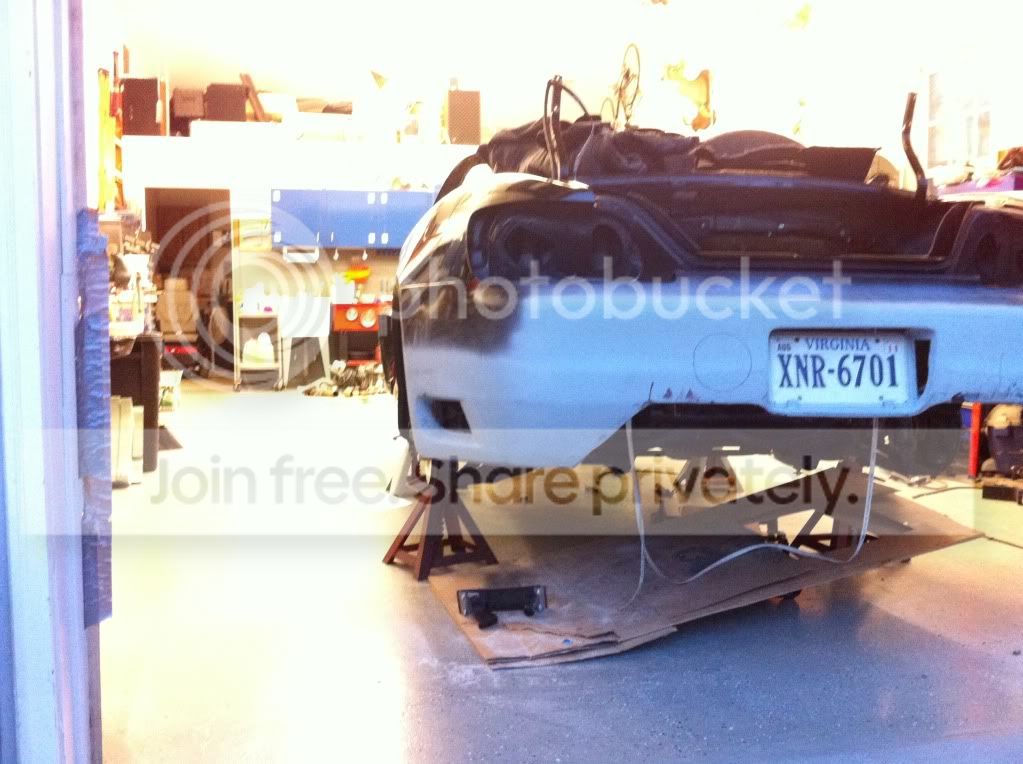
This is the intake things on the inside of the rear bumper..
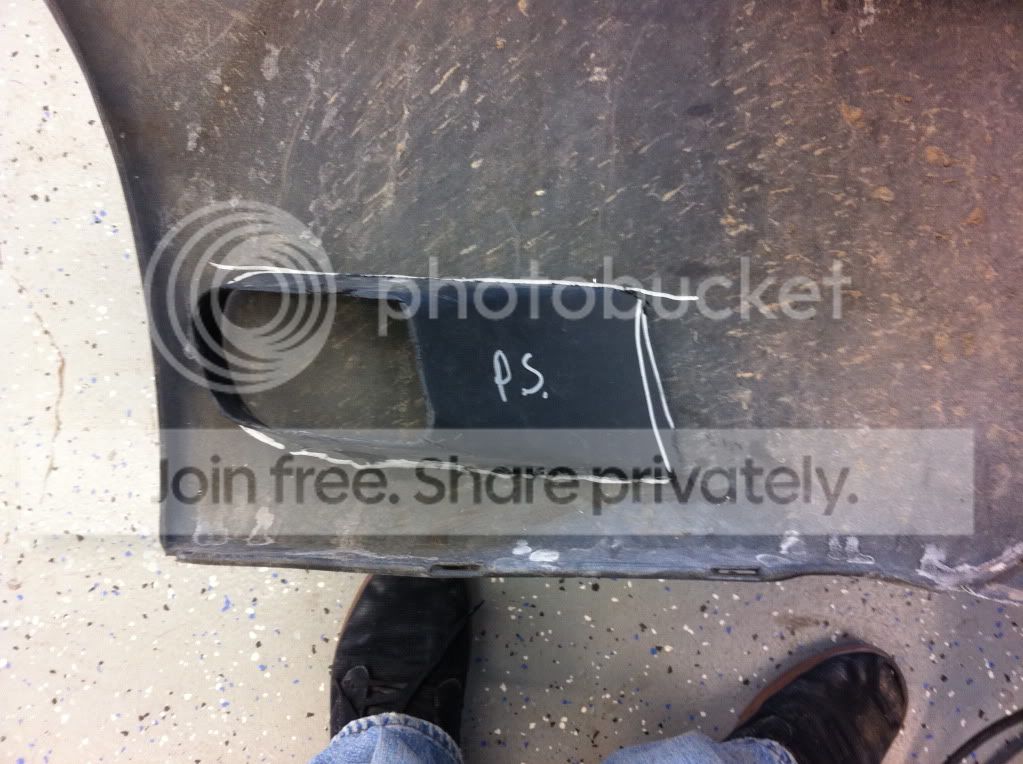
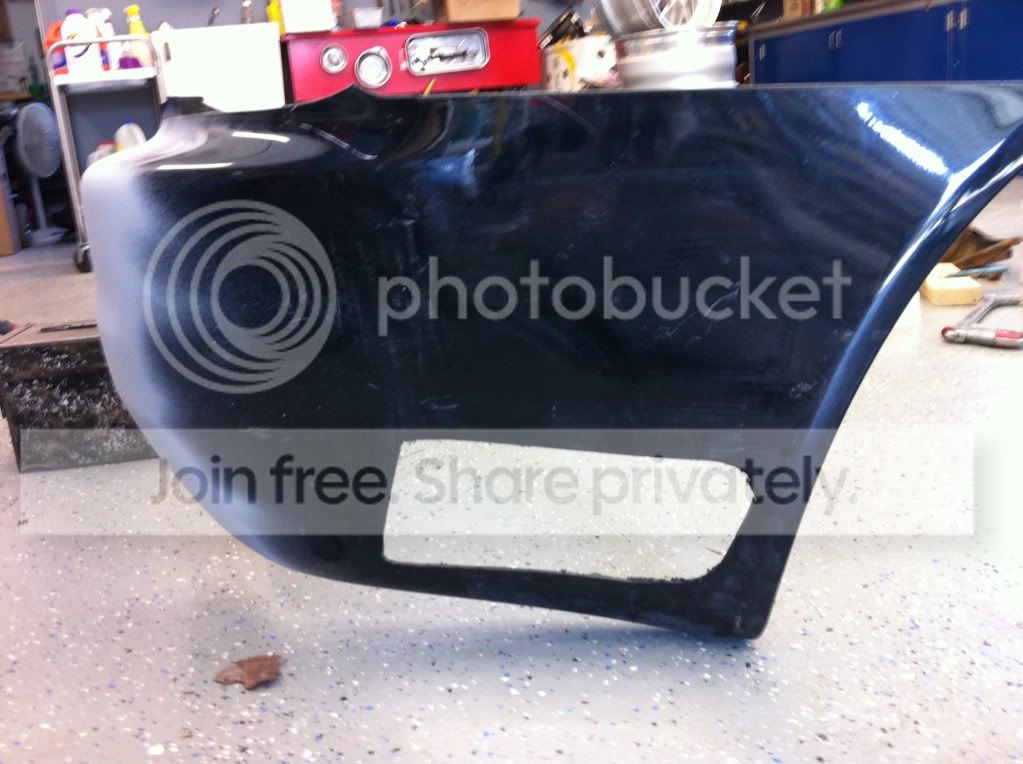
I traced it to get my cut lines.
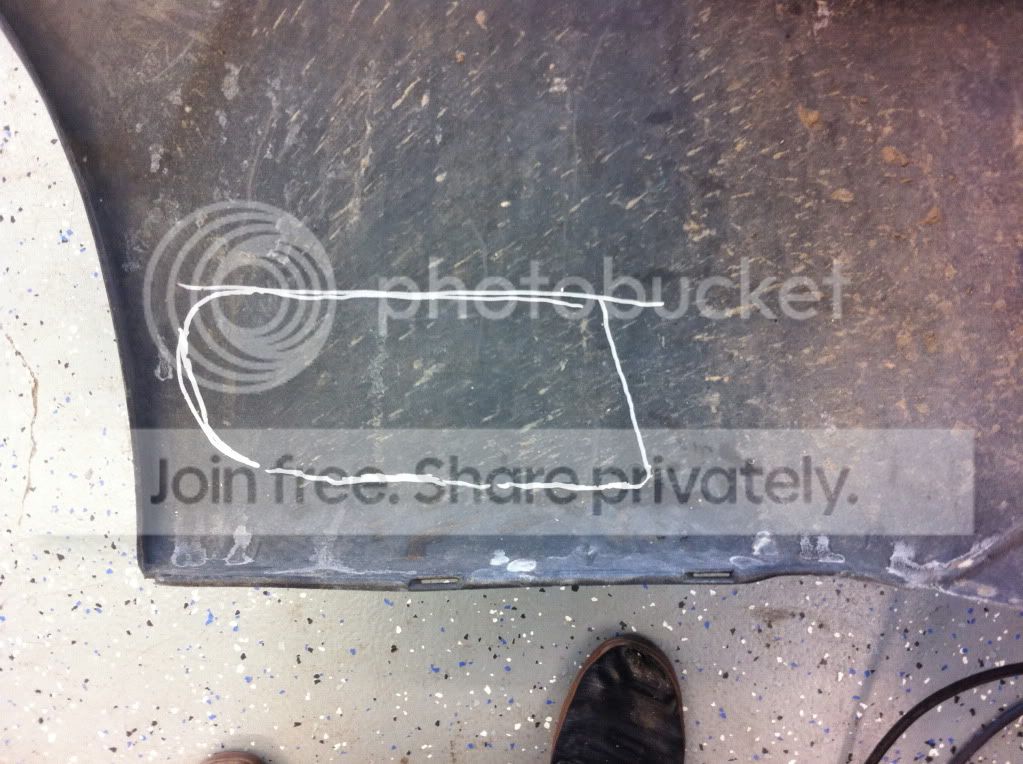
The comparison of it cut to what it was before from the outside of the bumper.
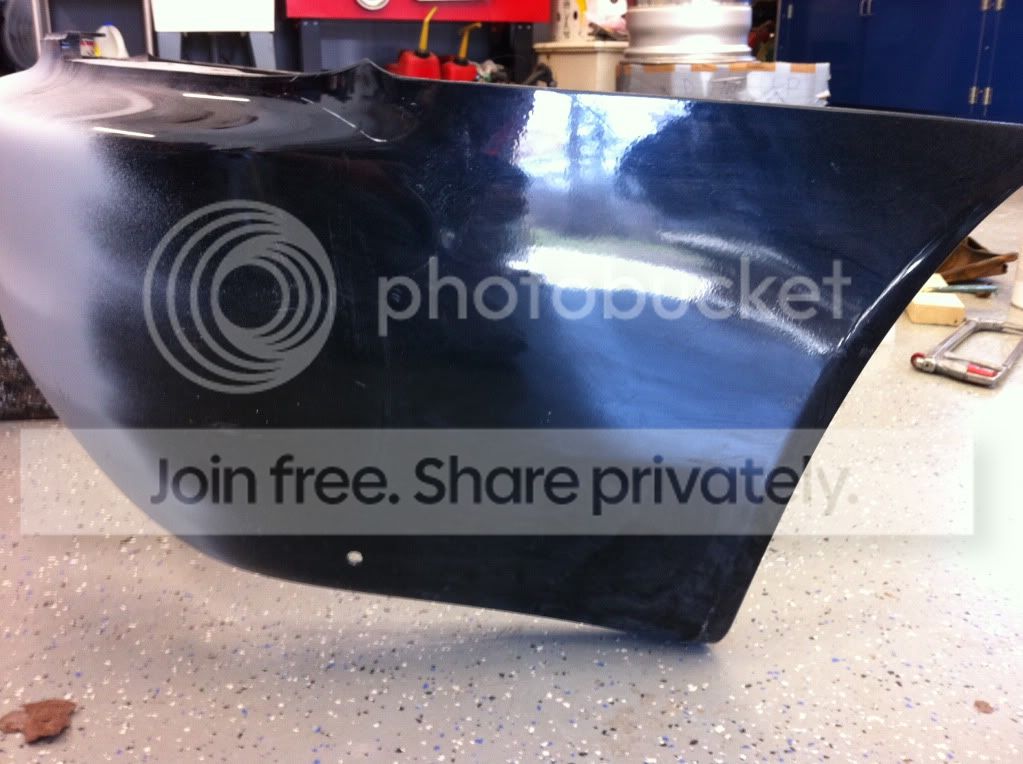
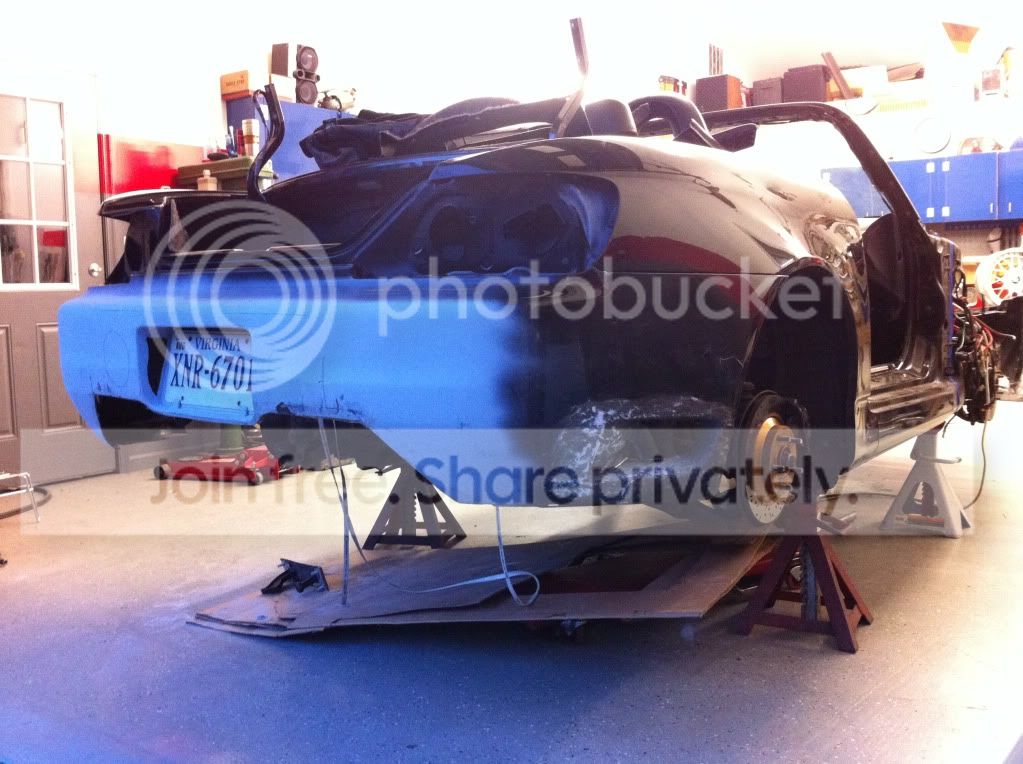
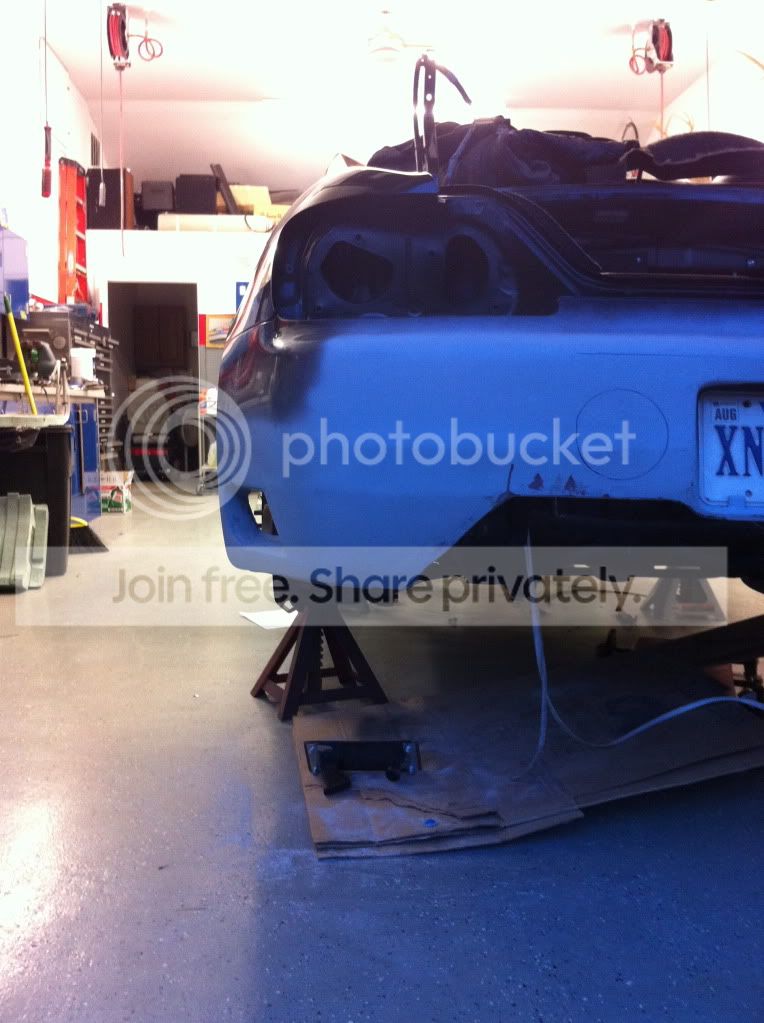
So here is what it was before I sanded it for a few minutes and put a quick coat of primer on it to give you a better idea of what I plan on it looking like.
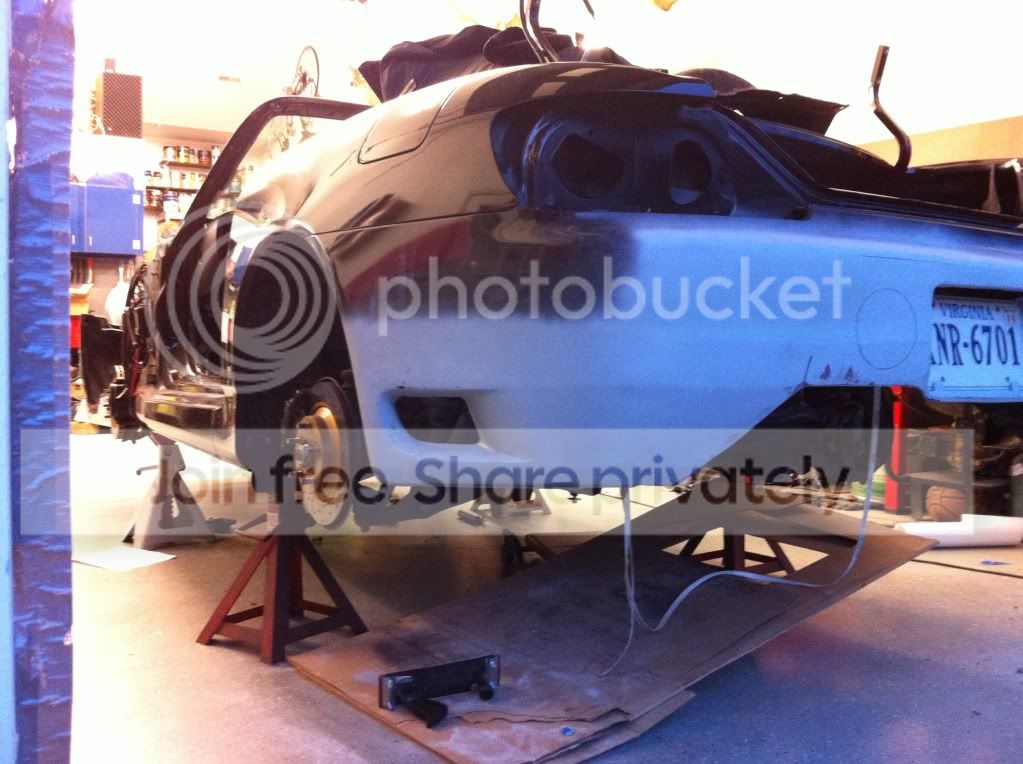
And here is it sanded a bit with the primer I just mentioned.
I was sitting in the shop looking at the intake ducts that go on the sides of the AP1 front bumper that I had cut out a few weeks ago.. And my rear bumper was sitting right beside it and I had a slight idea.
So here are a few pictures to give you and idea...
Dont hate.. I thought it might turn out to look cool when I started and I think it can be pulled off.. I have only worked on it for like two and a half hours tops.. So keep in mind there is far more to go with them. The drivers side is way more done then the passenger side so thats the side I took a few pictures of.
This is the intake things on the inside of the rear bumper..
I traced it to get my cut lines.
The comparison of it cut to what it was before from the outside of the bumper.
So here is what it was before I sanded it for a few minutes and put a quick coat of primer on it to give you a better idea of what I plan on it looking like.
And here is it sanded a bit with the primer I just mentioned.