

Custom Headlight Scoop


Thread Starter
Registered User
Joined: Jul 2010
Posts: 1,023
Likes: 0
From: Geneva, NY 14456
So after driving the car with the light in for a day i realized the silicone sealant was not the way to go so i picked it all off and used some better stuff..
Stuff is like snot to spread on so the consistancy isnt ideal but it basically turns into plastic..

When it dries and can hit the high spots with some sand paper...


I also got the reducer for the end of my intake Here is how it works...
The reducer is a 4.5 - 3.5 so it slips nicely over my 4.5" velocity stack i sealed on the end of my filter...

Put the screen in before the reducer went on so it holds it in there nicely....

Then stuff the filter material down in which is cut so it fits nice and snug...

Looks nice and clean

Now for the water cover i had to cut the top off of to slide over the filter...

Tuck in the top pieces...

And now we are looking good...

So now the end of the reducer holds the duct tube and looks a lot better now as well...


Well the filter is done i just want to do some more cleaning up on the newley sealed tube, swap out my parking lights for white ones, and get some nice fog lights that will act as high beams...
Please your opinions are appriciated!
Stuff is like snot to spread on so the consistancy isnt ideal but it basically turns into plastic..
When it dries and can hit the high spots with some sand paper...
I also got the reducer for the end of my intake
Here is how it works...The reducer is a 4.5 - 3.5 so it slips nicely over my 4.5" velocity stack i sealed on the end of my filter...
Put the screen in before the reducer went on so it holds it in there nicely....
Then stuff the filter material down in which is cut so it fits nice and snug...
Looks nice and clean
Now for the water cover i had to cut the top off of to slide over the filter...
Tuck in the top pieces...
And now we are looking good...
So now the end of the reducer holds the duct tube and looks a lot better now as well...
Well the filter is done i just want to do some more cleaning up on the newley sealed tube, swap out my parking lights for white ones, and get some nice fog lights that will act as high beams...
Please your opinions are appriciated!


Registered User
Joined: Dec 2008
Posts: 746
Likes: 1
I think it's amazing and cannot wait to start a setup similar! Thinking of trying to retrofit tsx projectors into either my ap1s or a set of ap2 replica headlights to do this air duct mod.and with the tsx projector being bixenon so high and low thru the projector! And that way to keep the foglight area dedicated to my brake ducts

Former Sponsor
Joined: Mar 2002
Posts: 15,526
Likes: 19
I think this is very creative, and has potential, but I really think you're going to get just a tiny percentage of your intake air from the light with the current implimentation. If you have any way to datalog (even an OBDII scan tool), then it would be easy to test. You would just need to do several full throttle pulls in 3rd gear from 2K to redline, while datalogging IAT, MAP, and AFR (if you have a wideband). Then you could cover the hole with something (stuff a towel in it), and repeat the test again. If your IAT, MAP and AFR curves all look the same across the RPM range, then it has no effect. Of course, you would need to make extra special care to ensure that the car is equally heat soaked for both tests. To do that, you would need to drive around for 10 minutes, then let it sit for 5 minutes, then drive on the highway for 10 minutes and immedially do 3 pulls without stopping.
Thread Starter
Registered User
Joined: Jul 2010
Posts: 1,023
Likes: 0
From: Geneva, NY 14456
I think this is very creative, and has potential, but I really think you're going to get just a tiny percentage of your intake air from the light with the current implimentation. If you have any way to datalog (even an OBDII scan tool), then it would be easy to test. You would just need to do several full throttle pulls in 3rd gear from 2K to redline, while datalogging IAT, MAP, and AFR (if you have a wideband). Then you could cover the hole with something (stuff a towel in it), and repeat the test again. If your IAT, MAP and AFR curves all look the same across the RPM range, then it has no effect. Of course, you would need to make extra special care to ensure that the car is equally heat soaked for both tests. To do that, you would need to drive around for 10 minutes, then let it sit for 5 minutes, then drive on the highway for 10 minutes and immedially do 3 pulls without stopping.
I don't have any testing equipment to do this i just kind of go off what silver found in his test even though mine would be different because i have a different filter setup. The green foam i plan to change out with something a little less restrictive. Going into this project i really didn't think i would be making any crazy numbers i just like the unique DIY projects. I don't plan on doing any more performance mods to the car other than my break ducts and a second headlight scoop that dumps air onto the intake manifold. If i was really looking for power id just save for a supercharger. Although i might get an after market ECU or something like i mentioned before just to tune and make the car run a little smoother. As of right now i don't notice any kind of a difference in power but i do notice a difference in people facial expressions when they see it and that is kind of what i was going for

Thread Starter
Registered User
Joined: Jul 2010
Posts: 1,023
Likes: 0
From: Geneva, NY 14456
Started on the drivers side now that i got my headlight in...
Got about 3 hours into it, just need to pull the lense off clean it change out the plastics to clear slap it back together and seal the tube...


Got about 3 hours into it, just need to pull the lense off clean it change out the plastics to clear slap it back together and seal the tube...
Thread Starter
Registered User
Joined: Jul 2010
Posts: 1,023
Likes: 0
From: Geneva, NY 14456
Well i went ahead and bought a nice heat gun the other day and decided to get the drivers side headlight done today....
Depending on the weather i am hoping to have it on the car tomorrow after work.
If anyone has any information on some nice "Driving Lights" to take place of my high beams im all ears. They will be mounted in my grill and must be around 4" O.D. or smaller. They cannot be fog lights as the pattern is not good enough.
Thanks!
Thread Starter
Registered User
Joined: Jul 2010
Posts: 1,023
Likes: 0
From: Geneva, NY 14456
And shes in...


Little shot of my dads baby


After that I got the hose set how i want it i think, sorry for the night shots... The bracket that the overflow tank is on is just temporary


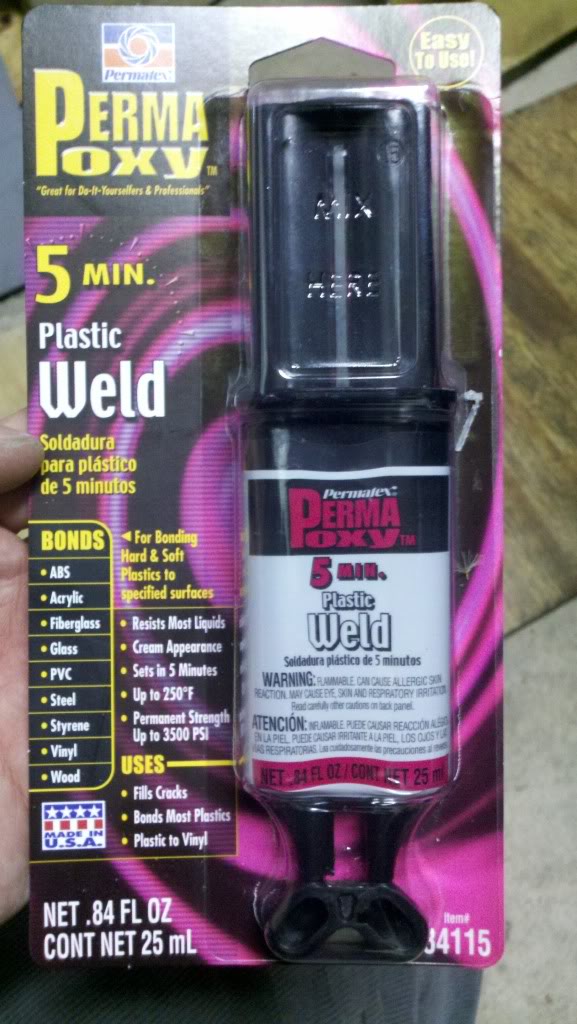
Now i just have to sand down the plastic weld and paint an nice silver ring around the tube where it meets the lense
Well everyone, its been fun, thanks for following this and giving me the motivation.... on to the next project
Little shot of my dads baby
After that I got the hose set how i want it i think, sorry for the night shots... The bracket that the overflow tank is on is just temporary
Now i just have to sand down the plastic weld and paint an nice silver ring around the tube where it meets the lense
Well everyone, its been fun, thanks for following this and giving me the motivation.... on to the next project
Registered User
Joined: Dec 2008
Posts: 746
Likes: 1
I'm sure if you wanted it to stay fully legal you could go with a bixenon projector to replace the OEM lowbeam projector. There are a few compatible in size so u can keep these headlights legal.I think the fx35 are near in size to the OEM and will for into the housing so you can wire up the hid low beam and high beam.as one piece!