When you click on links to various merchants on this site and make a purchase, this can result in this site earning a commission. Affiliate programs and affiliations include, but are not limited to, the eBay Partner Network.
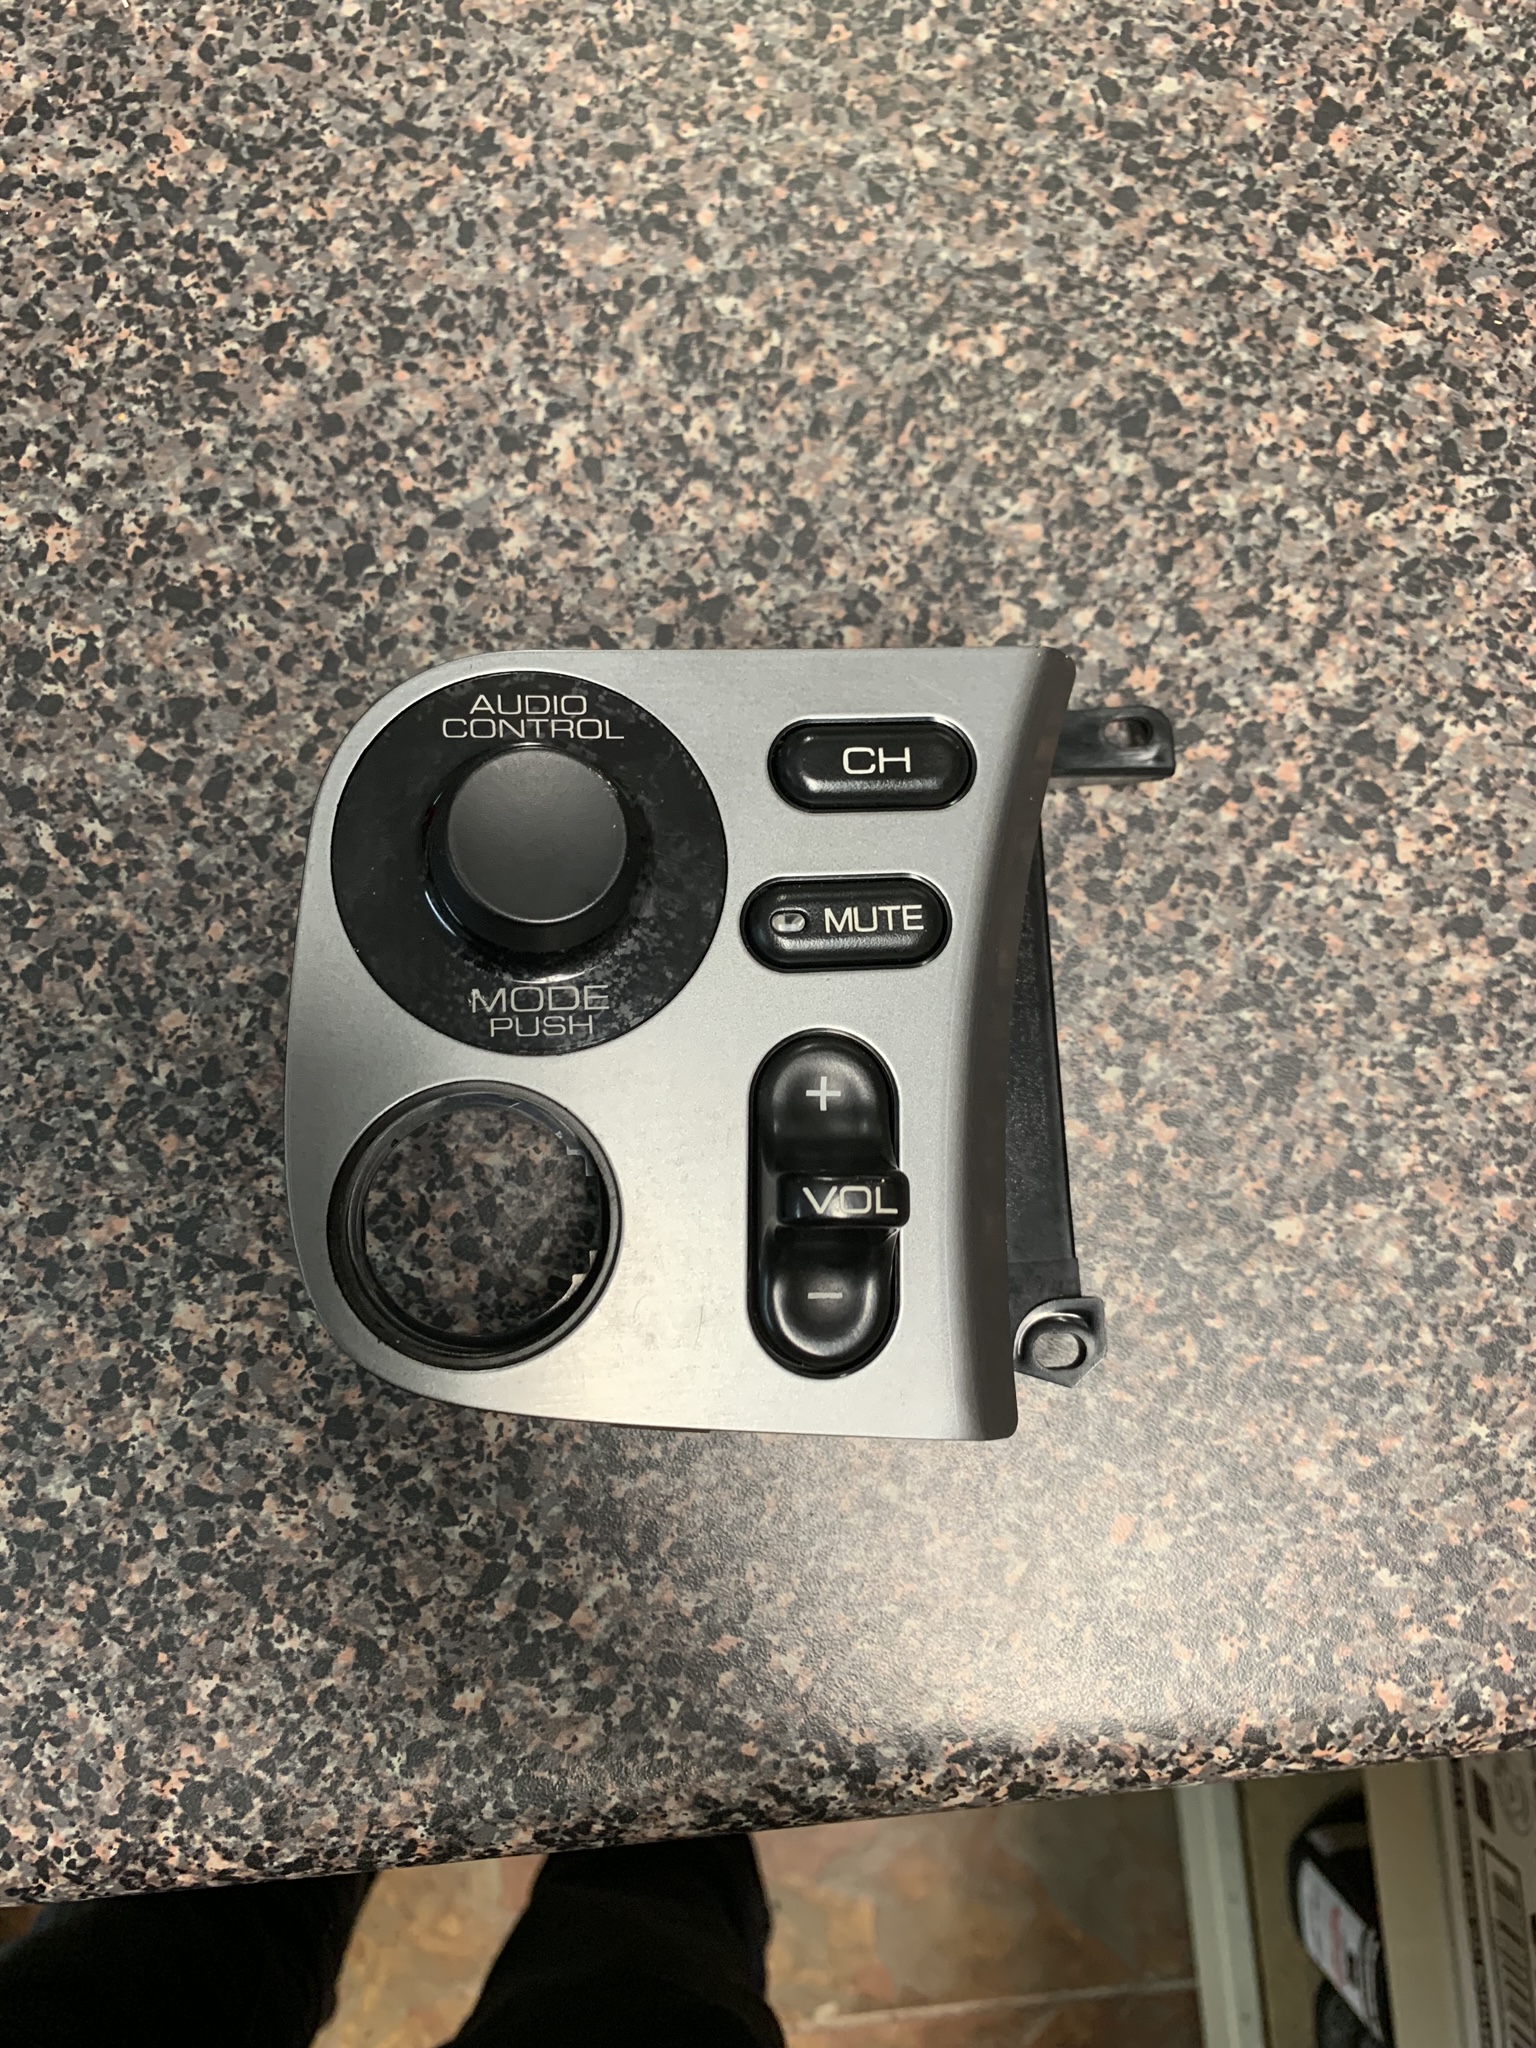
I want to start by apologizing for not taking many pictures because I wasn’t planning on writing a DIY on this. But basically what I did was turn my DCI from an 03 S2000 into controls for my nitrous set up. I suppose the same method could be used to control other things other than nitrous, but there are the perfect amount of buttons for my setup so it was a good excuse to get creative.
The first thing I did was research how to make a PCB at home. I won’t go into too much detail about how to actually make the circuit board because there are tons of videos on YouTube already that you can watch to learn. After learning how to make a circuit board I got to work designing it.
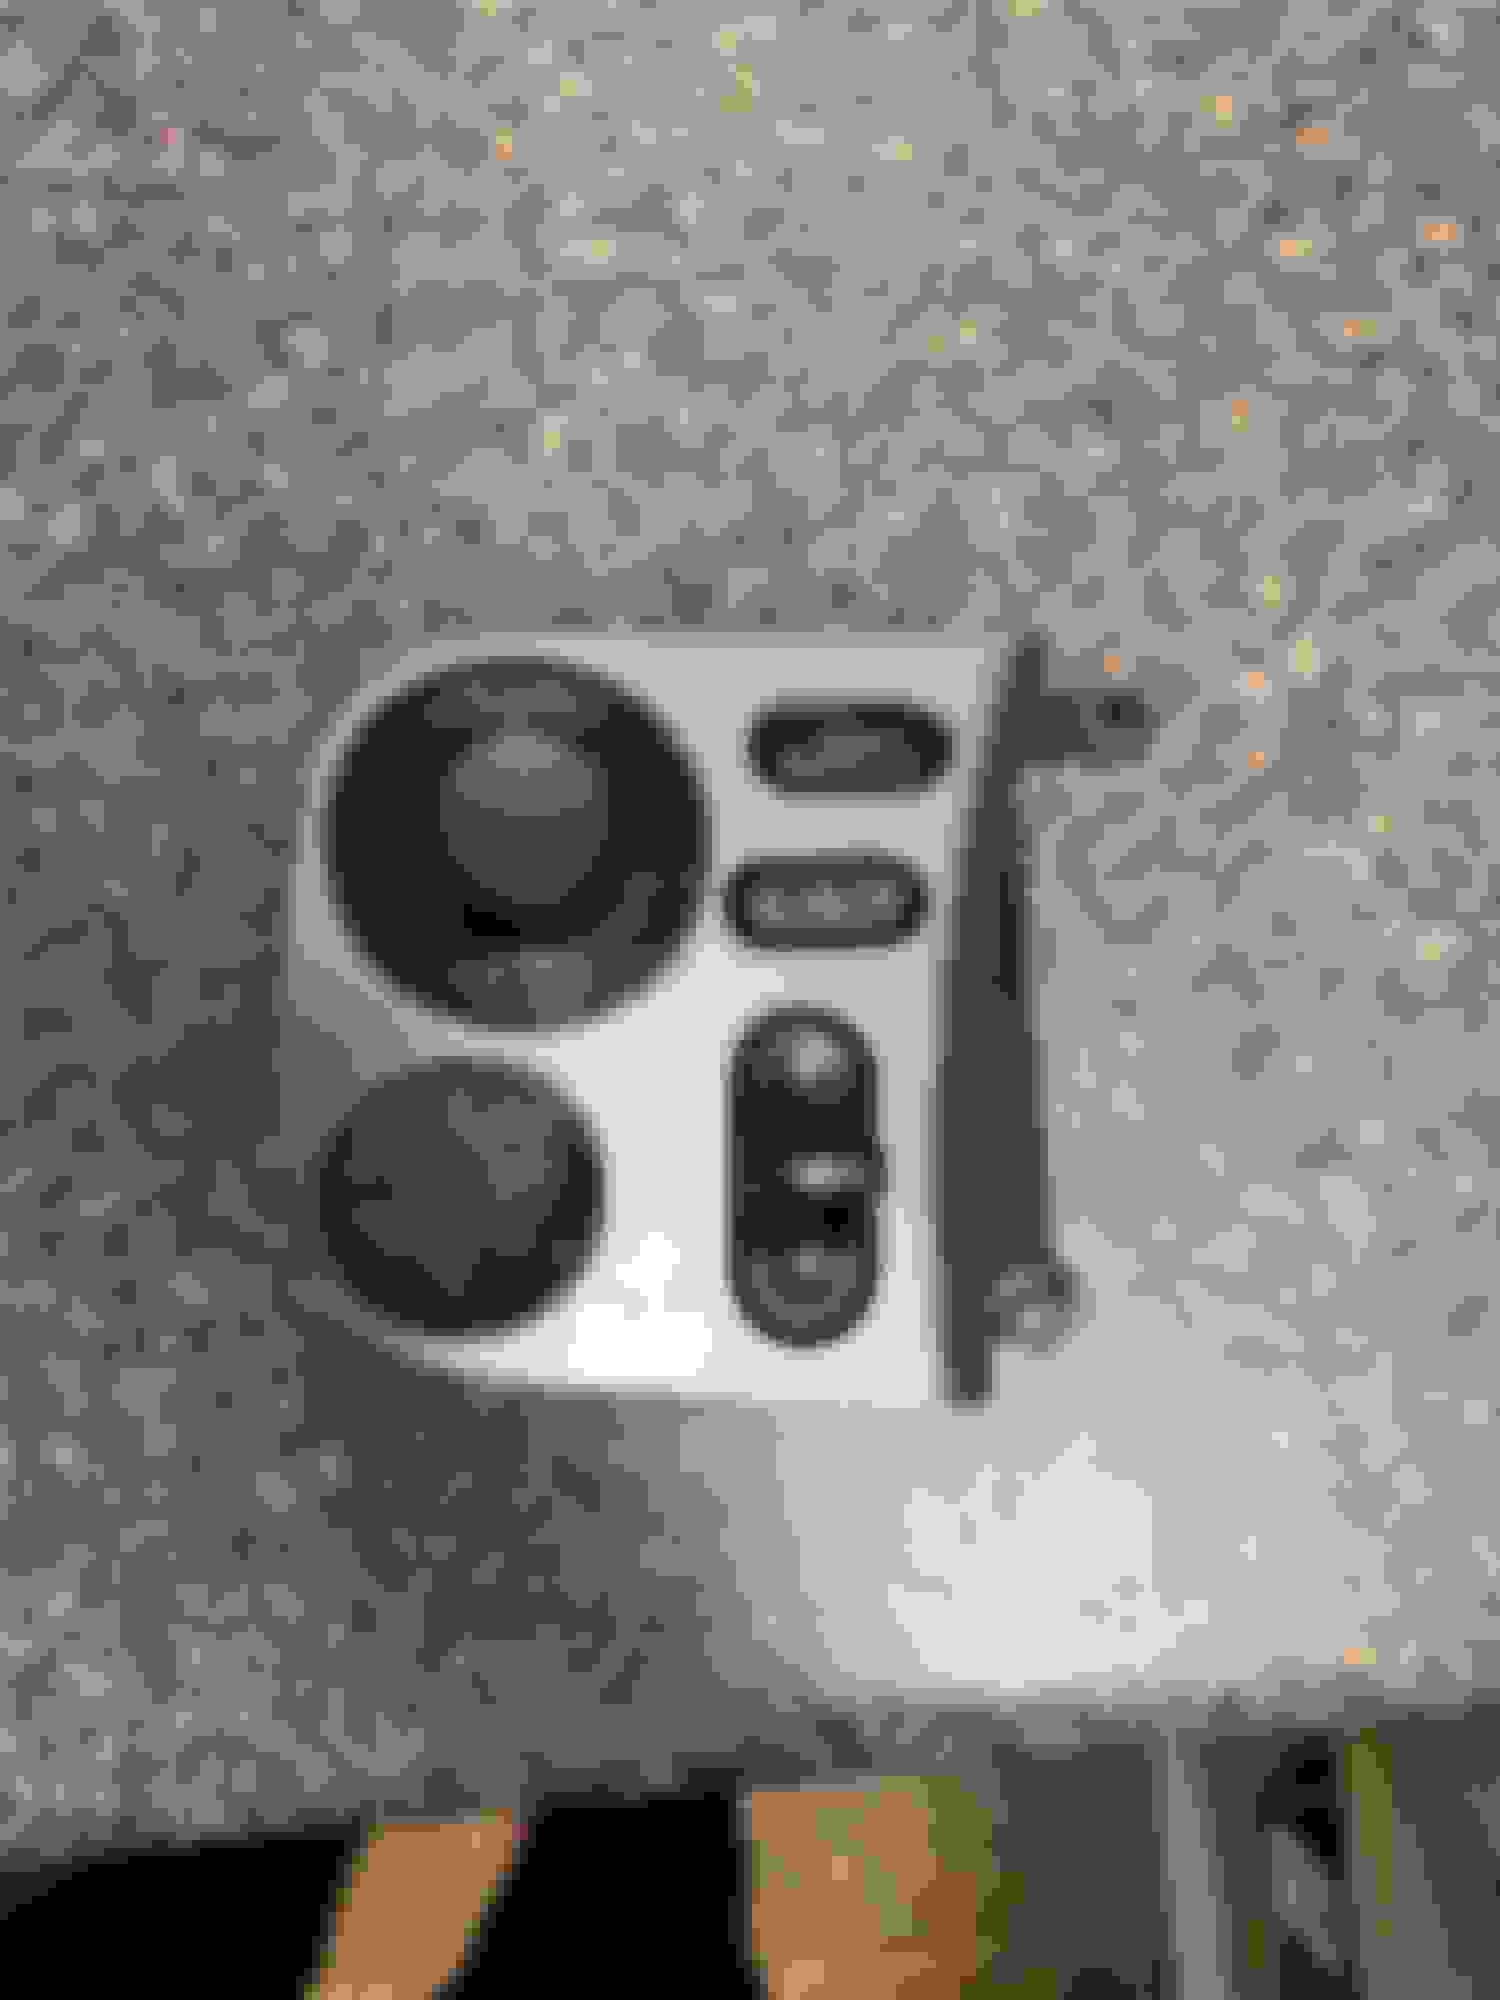
I took apart the DCI, removed the factory circuit board, and took measurements of where all of the switches had to be to line up with the buttons on the DCI. And also where the lights were going to be. I did this by using a digital caliper and measuring the original circuit board that’s in the DCI.Then I designed the routes for the current to flow. Some basic understanding of how electricity works will be a big help here.
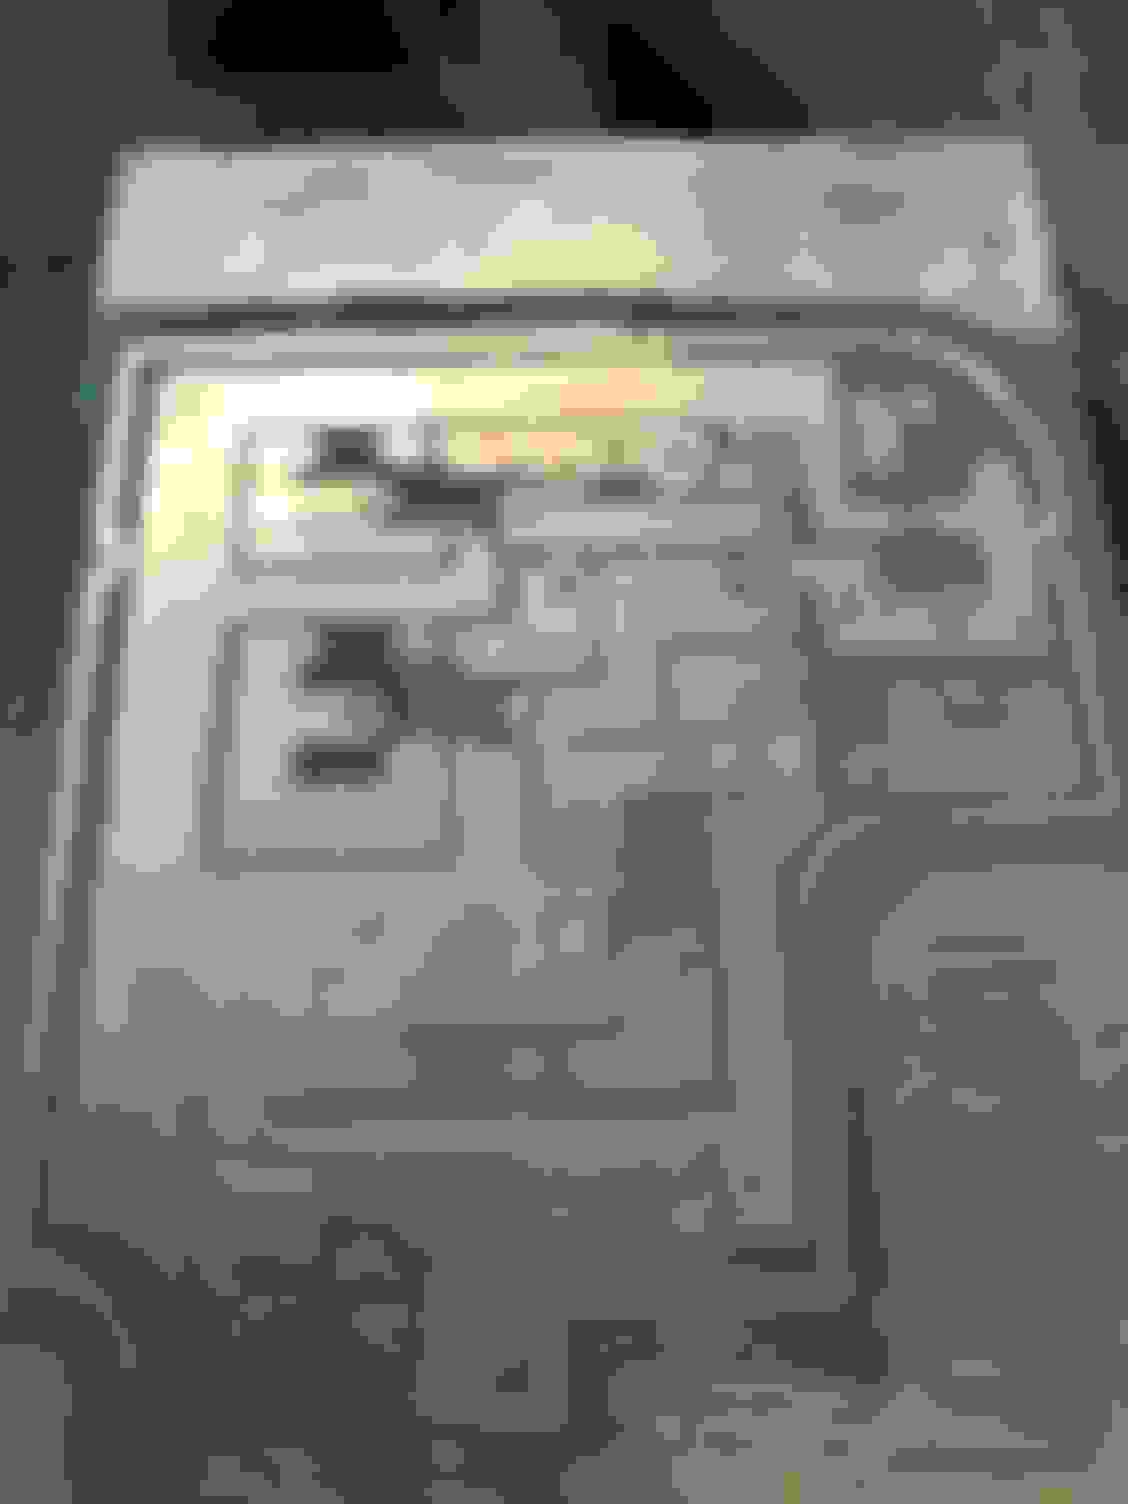
After designing my circuit board, with a lot of trial and error to get everything just right, I printed it out on magazine paper (like you’ll see in the DIYs on YouTube) and laid the image on my copper clad board. The ink was transferred from the paper to the copper board using rubbing alcohol and acetone. After transferring the image, I followed the etching procedure using Ferrite Chloride. My first attempt wasn’t pretty, but it would work perfectly. Not to mention, nobody will ever see it once it’s installed. Etched PCB design for DCI
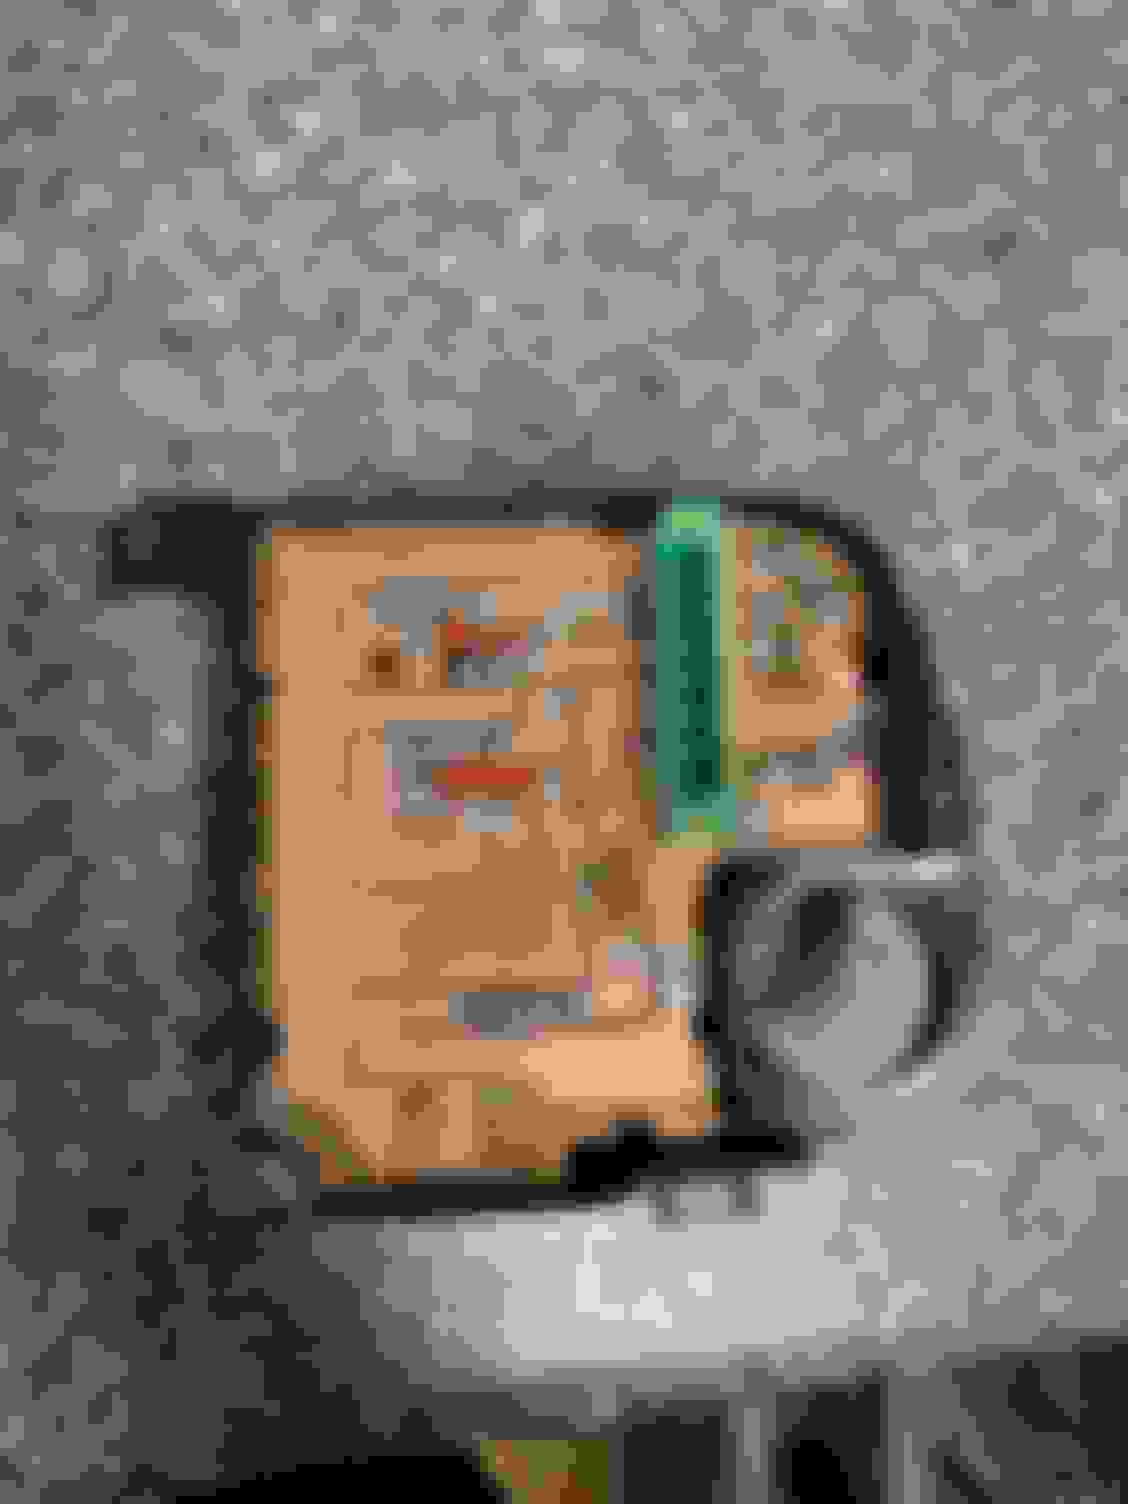
After drilling holes for the different components, I got to soldering. Most of these items I bought off of Amazon and I paid less than $90 for everything that I needed and I have a ton of extra materials. The nitrous activation switch and the bottle heater had to be controlled using “locking” switches so that they would stay on when you push the button, and when you push it again they would turn off. The purge, bottle open, and bottle close we’re the same style switch, but only momentary switches. The LEDs I bought came with their own recommended resistors. The main plug was a 7 pin plug whose dimensions would fit my needs.
One again, it may not be the prettiest solder job, but at least everything has a nice secure connection and nobody is really going to see it anyway. After soldering on all of the components was complete, I triple checked everything with a multimeter. The continuity function on my multimeter even provided enough current to illuminate my LEDs when testing.
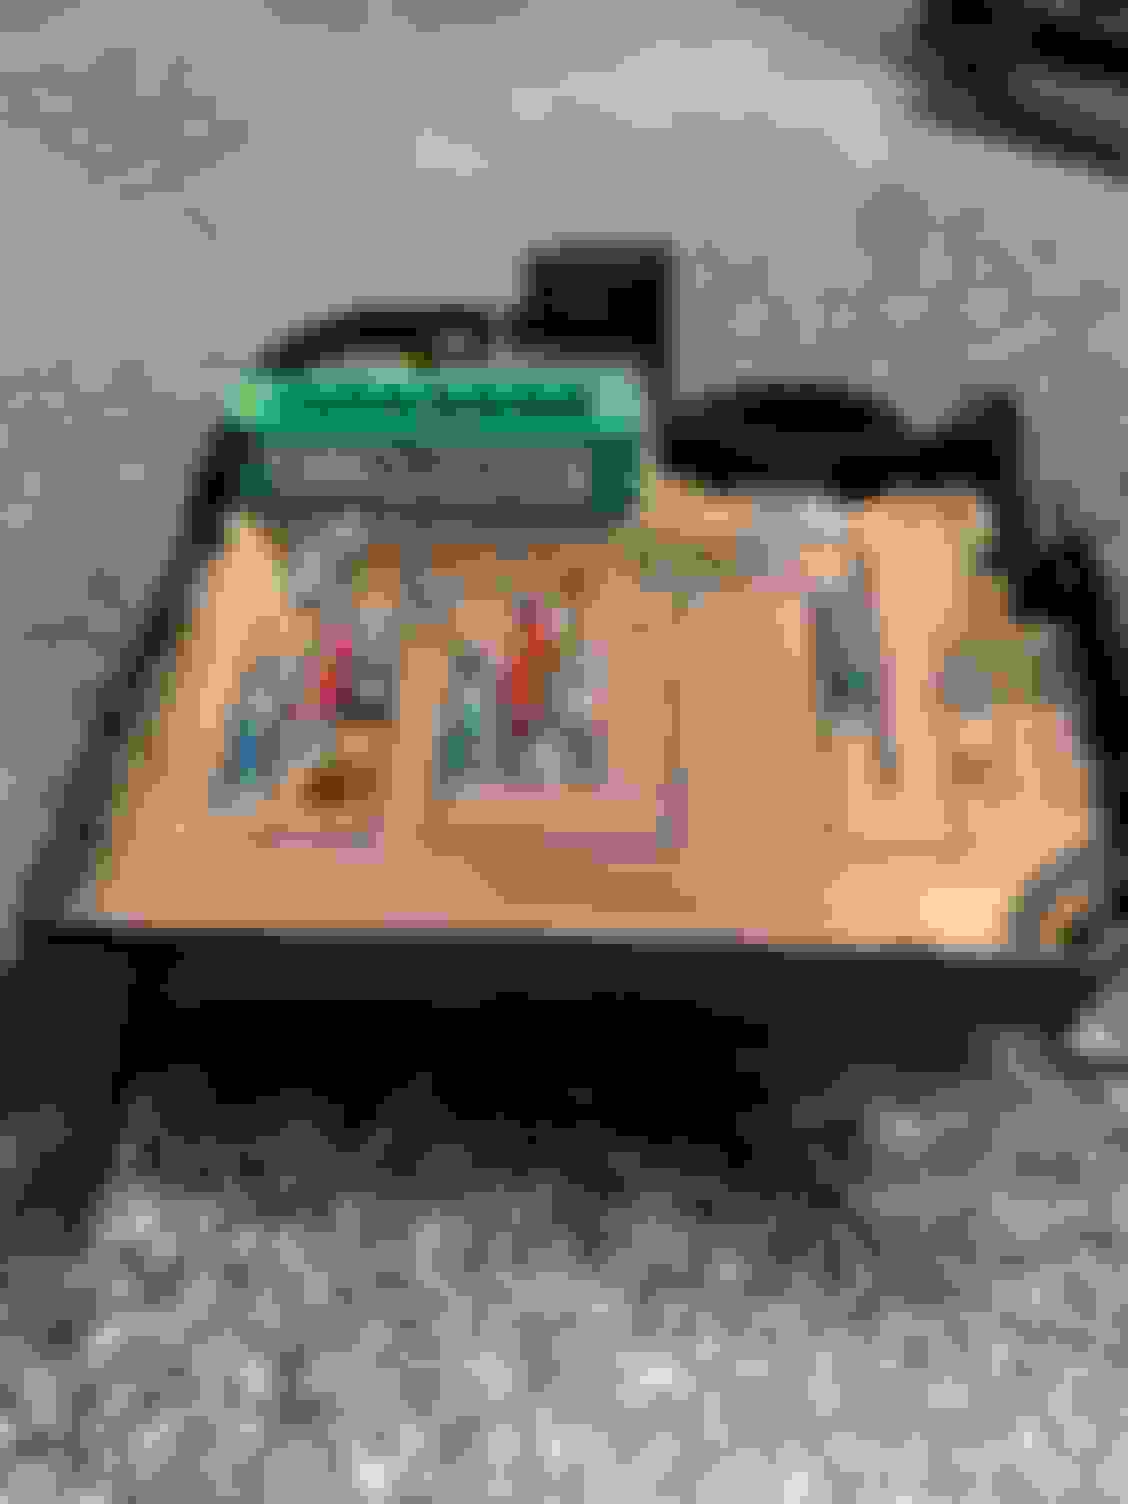
The next thing I did was to cut the PCB into the precise size needed to fit into the hollowed out DCI. Making sure all of the switches lined up with the back of the buttons was the hardest part. After a little ingenuity (and some super glue) I was able to get everything functioning the way it should. It is only then that I secured the PCB to the DCI using a drop of superglue on each corner to hold it in place.
Once again, my cut job wasn’t pretty, but I was at work and had limited tools with me. A Dremel would have been nice to have. After it was secured in the DCI I was able to cut out the hole needed for the plug on the backing piece.
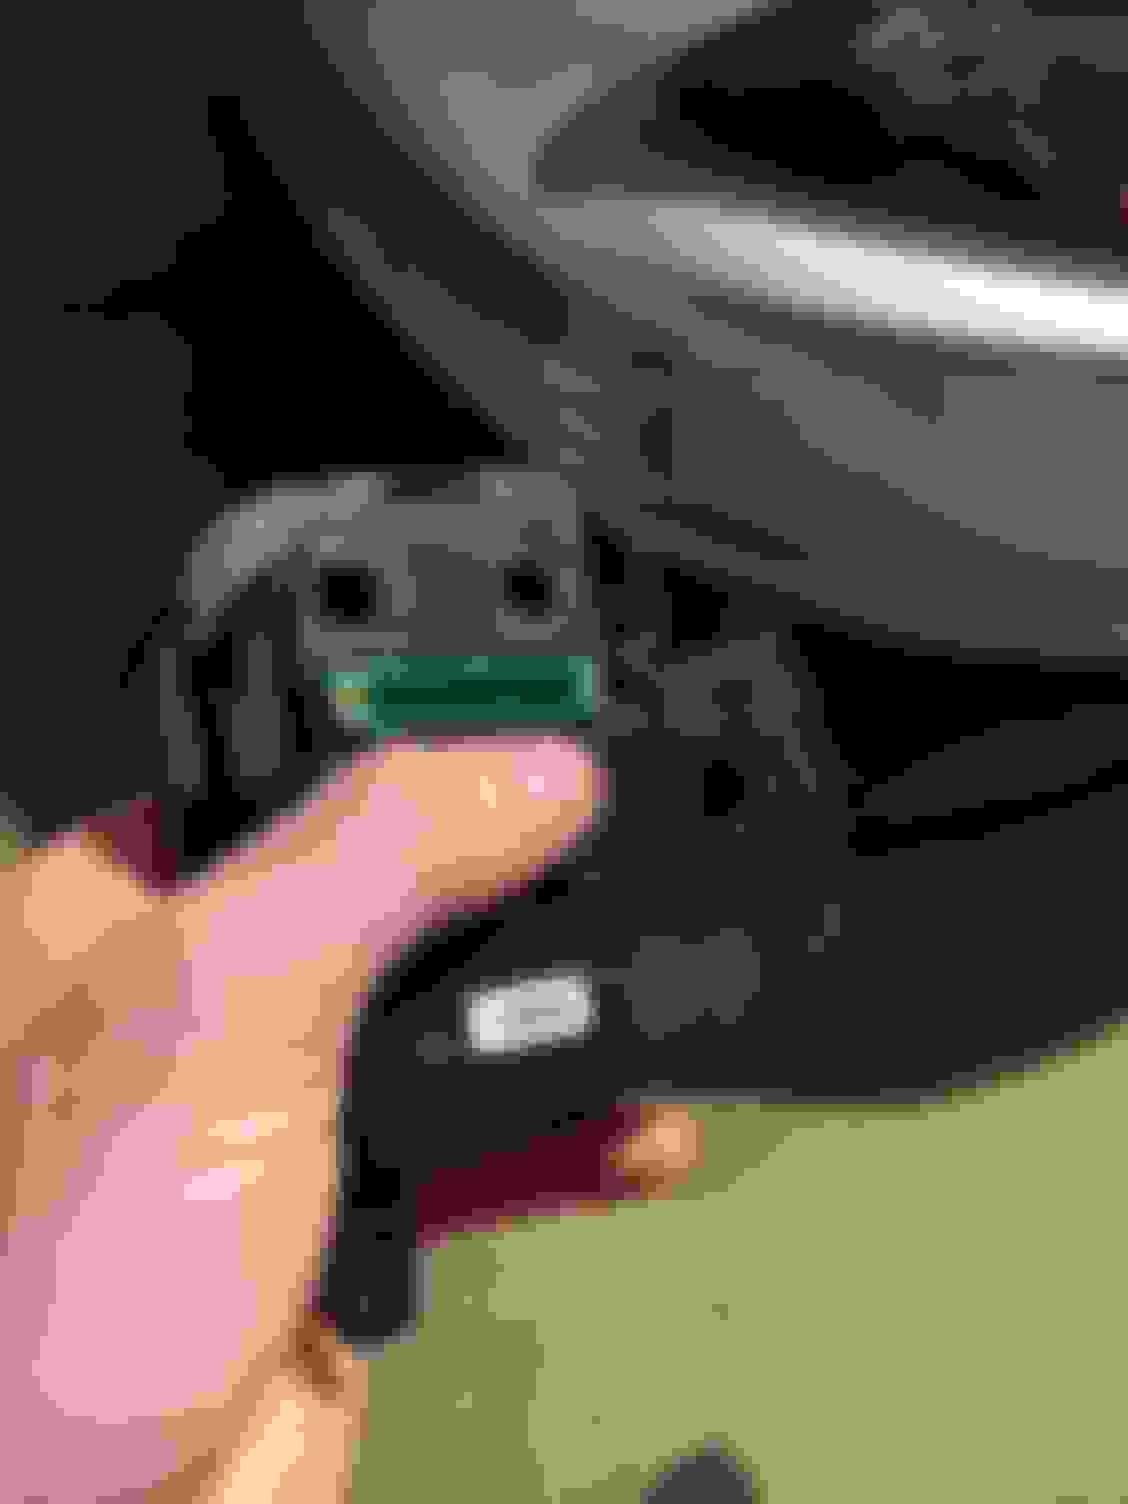
The only thing left to do was to run all of the wires to the car side of the plug and install it! The positive pin of the plug is being powered by the “ignition on” connector in the fuse box under the dash. The negative pin is grounded behind the left kick panel to a factory ground location. Each of the other pins are wired to relays for the various nitrous components. The remote bottle opener was wired using this diagram I found on google.
Now all of my nitrous controls are hidden in plain sight and work flawlessly while looking factory. If I missed something or you have a question about what I used or how I did something just ask me!
I applaud your efforts in doing custom work. Did you just want to try your skill at making a pcb? Using a meter you could of just check the outputs of different pins and achieved the same thing with the stock board
I applaud your efforts in doing custom work. Did you just want to try your skill at making a pcb? Using a meter you could of just check the outputs of different pins and achieved the same thing with the stock board
Thanks. Well I was forced to make my own PCB. The original circuit board was not capable of handling the required voltage. According to Bob at Modifry, the original board only handles enough voltage to send “data.” No where near enough to power a relay. I suppose it’s entirely possible to modify it to handle more current.
 11-02-2019, 04:37 AM