The Tuning Shop armrest cover review
 04-24-2019, 08:09 PM
#1


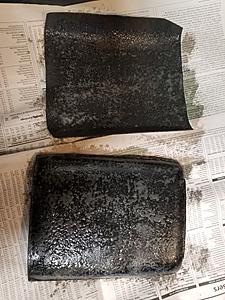
I am reviewing an armrest cover from a UK company that sells their products on Amazon. The Tuning Shop. My car is an '06 ap2. They previously only had armrest covers for ap1 cars (though they had shift boots for both ap1 and ap2). They didn't have a pattern for ap2 armrest. So I contacted them through Amazon, and sent them my tattered original oem cover. They copied it, and sent me an armrest cover for free for my troubles. Full disclosure, this review is for something I received for free.
I asked for a black perforated leather, red stitching. The stock piece was perforated, the seats are perforated, so it seemed like the right look.
I also purchased a shift boot from them via Amazon. See other review posted for that.
Note that this ap2 armrest cover is a new product, and not available yet via Amazon. I'll update this review with Amazon link once its available. Note they do have ap1 armrest covers on Amazon. Meanwhile, if you want to buy one, pm me, and I'll put you in touch with he person I worked with at The Tuning Shop, Magda.
The leather is very high quality. Its no comparison to the stock piece. Its smooth, soft, and has a nice sheen. They offer a number of leather and stitching colors, as well as stitched S2000 logo option. They can also do custom stuff.
The cosmetic red stitching isn't perfect, but thats because of the perforated leather. The stitches sometimes happen to want to fall right where there is a hole, so it naturally ends up making a slight zig or zag to avoid the hole. The end result is stitches that aren't lazer straight. If something like this bothers you, be sure to go for solid leather, which will avoid the issue.
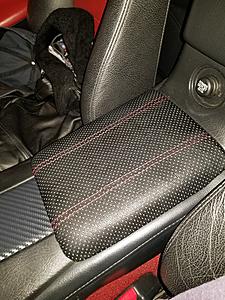
Once installed you don't notice such minor quibbles. I think it looks great. Judge for yourself. See last photo.
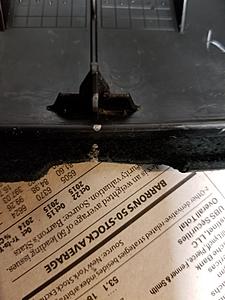
I had a bit of difficulty with the install. The glue wanted to bleed through the perforations. I used some citrus based goo gone type cleaner. I used as little as possible. To be kind to the leather, and to not contaminate the glue below the leather.
What I should have done is do one end at a time. Just apply glue to one end, apply, then glue the rest. Instead I tried to do it all at once. But the end result was fine. Learn from my troubles.
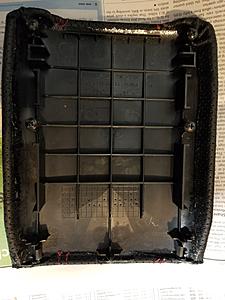
One thing I did with the install is a added a thin pad. There is a 1/16" lip around the edge of the bare plastic armrest that just begs for something to fill the area. So I bought a 1/16" neoprene pad from Amazon. It worked perfectly. Tbere is the slightest cushion from the pad. Feels like an upgrade to the rock hard stock configuration, without seeming out of place.
First I glued the pad to the plastic armrest. I pressed it down, especially using my finger nail around the edges. This made it easy to see where to trim. Then I just glued the leather to the pad.
I got some bubbles in the foam pad, so I just put a small slit to let the air out. Once pressed down the slit disappeared. Can't see it under the leather.
To align the leather to be centered, I used a silver Sharpie marker to place an alignment mark on both the plastic and the leather. During dry fit, I visually centered the leather (using stitched stripes as a guide), then made the mark where is wouldn't be visible on finished product.
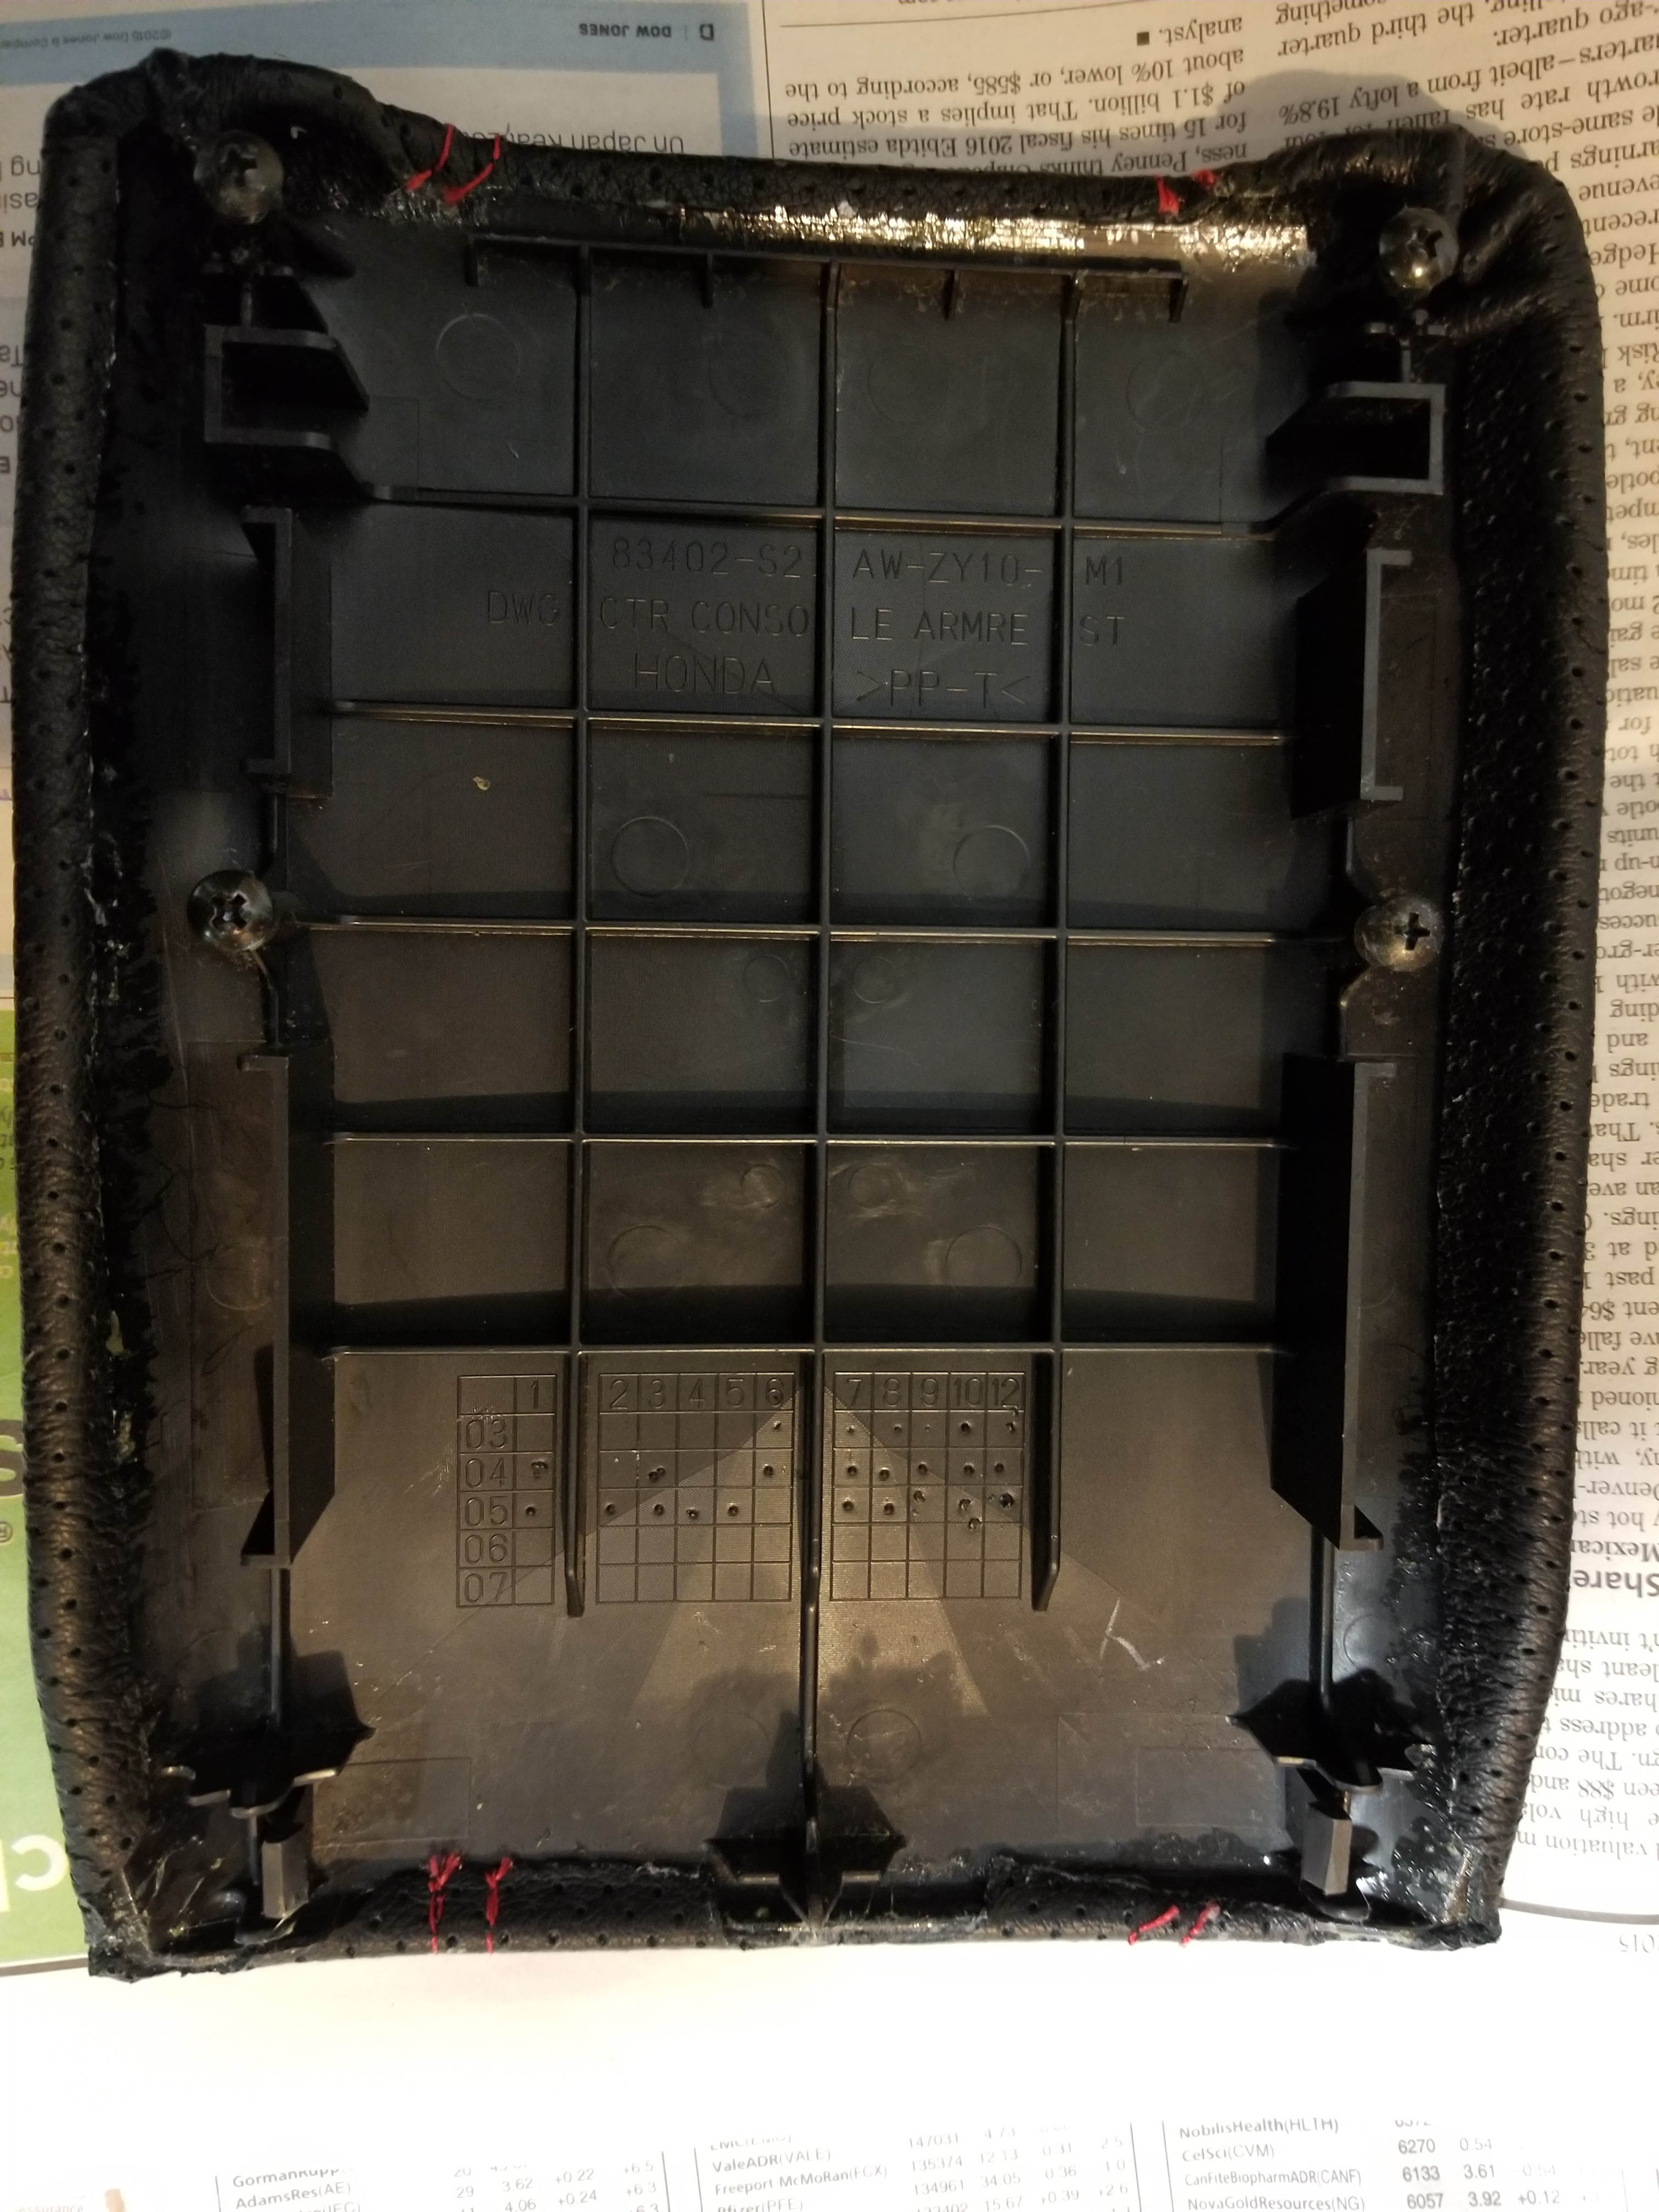
The backside
Looks amazing!
I'm going to need to get some leather cream on it since I abused the leather a bit with the goo cleaner...
I asked for a black perforated leather, red stitching. The stock piece was perforated, the seats are perforated, so it seemed like the right look.
I also purchased a shift boot from them via Amazon. See other review posted for that.
Note that this ap2 armrest cover is a new product, and not available yet via Amazon. I'll update this review with Amazon link once its available. Note they do have ap1 armrest covers on Amazon. Meanwhile, if you want to buy one, pm me, and I'll put you in touch with he person I worked with at The Tuning Shop, Magda.
The leather is very high quality. Its no comparison to the stock piece. Its smooth, soft, and has a nice sheen. They offer a number of leather and stitching colors, as well as stitched S2000 logo option. They can also do custom stuff.
The cosmetic red stitching isn't perfect, but thats because of the perforated leather. The stitches sometimes happen to want to fall right where there is a hole, so it naturally ends up making a slight zig or zag to avoid the hole. The end result is stitches that aren't lazer straight. If something like this bothers you, be sure to go for solid leather, which will avoid the issue.
Once installed you don't notice such minor quibbles. I think it looks great. Judge for yourself. See last photo.
I had a bit of difficulty with the install. The glue wanted to bleed through the perforations. I used some citrus based goo gone type cleaner. I used as little as possible. To be kind to the leather, and to not contaminate the glue below the leather.
What I should have done is do one end at a time. Just apply glue to one end, apply, then glue the rest. Instead I tried to do it all at once. But the end result was fine. Learn from my troubles.
One thing I did with the install is a added a thin pad. There is a 1/16" lip around the edge of the bare plastic armrest that just begs for something to fill the area. So I bought a 1/16" neoprene pad from Amazon. It worked perfectly. Tbere is the slightest cushion from the pad. Feels like an upgrade to the rock hard stock configuration, without seeming out of place.
First I glued the pad to the plastic armrest. I pressed it down, especially using my finger nail around the edges. This made it easy to see where to trim. Then I just glued the leather to the pad.

I got some bubbles in the foam pad, so I just put a small slit to let the air out. Once pressed down the slit disappeared. Can't see it under the leather.
To align the leather to be centered, I used a silver Sharpie marker to place an alignment mark on both the plastic and the leather. During dry fit, I visually centered the leather (using stitched stripes as a guide), then made the mark where is wouldn't be visible on finished product.

The backside
Looks amazing!

I'm going to need to get some leather cream on it since I abused the leather a bit with the goo cleaner...


Thread
Thread Starter
Forum
Replies
Last Post
iDomN8U
S2000 Modifications and Parts
4
04-11-2013 01:57 PM
dave_t
UK & Ireland S2000 Community
11
09-06-2011 02:30 PM