When you click on links to various merchants on this site and make a purchase, this can result in this site earning a commission. Affiliate programs and affiliations include, but are not limited to, the eBay Partner Network.
I recently opted to part out my perfectly working F20C since no one locally wanted to buy the motor whole. I took the opportunity to snap pictures of the engine internals.
Note: Motor is an F20C from a 2002 with 157k miles. Motor has seen around 8 track days under my use, has been mechanically over-revved at least once, and has been run low on oil on several occasions. Previous owner of the car had turbo'd the motor as well. So this car has seen quite a bit
I've posted this thread for anyone that might be curious as to what a "healthy" F20Cs looks like. Maybe you'll notice something I don't
If you'd like to see the entire album of pictures you can find them here: https://goo.gl/photos/pYxeXPqpMrvbtnWa6
Wear from what appears to be the timing chain slapping against the head when the TCT failed?
Carbon build up in the head... Valve seals look good tho?
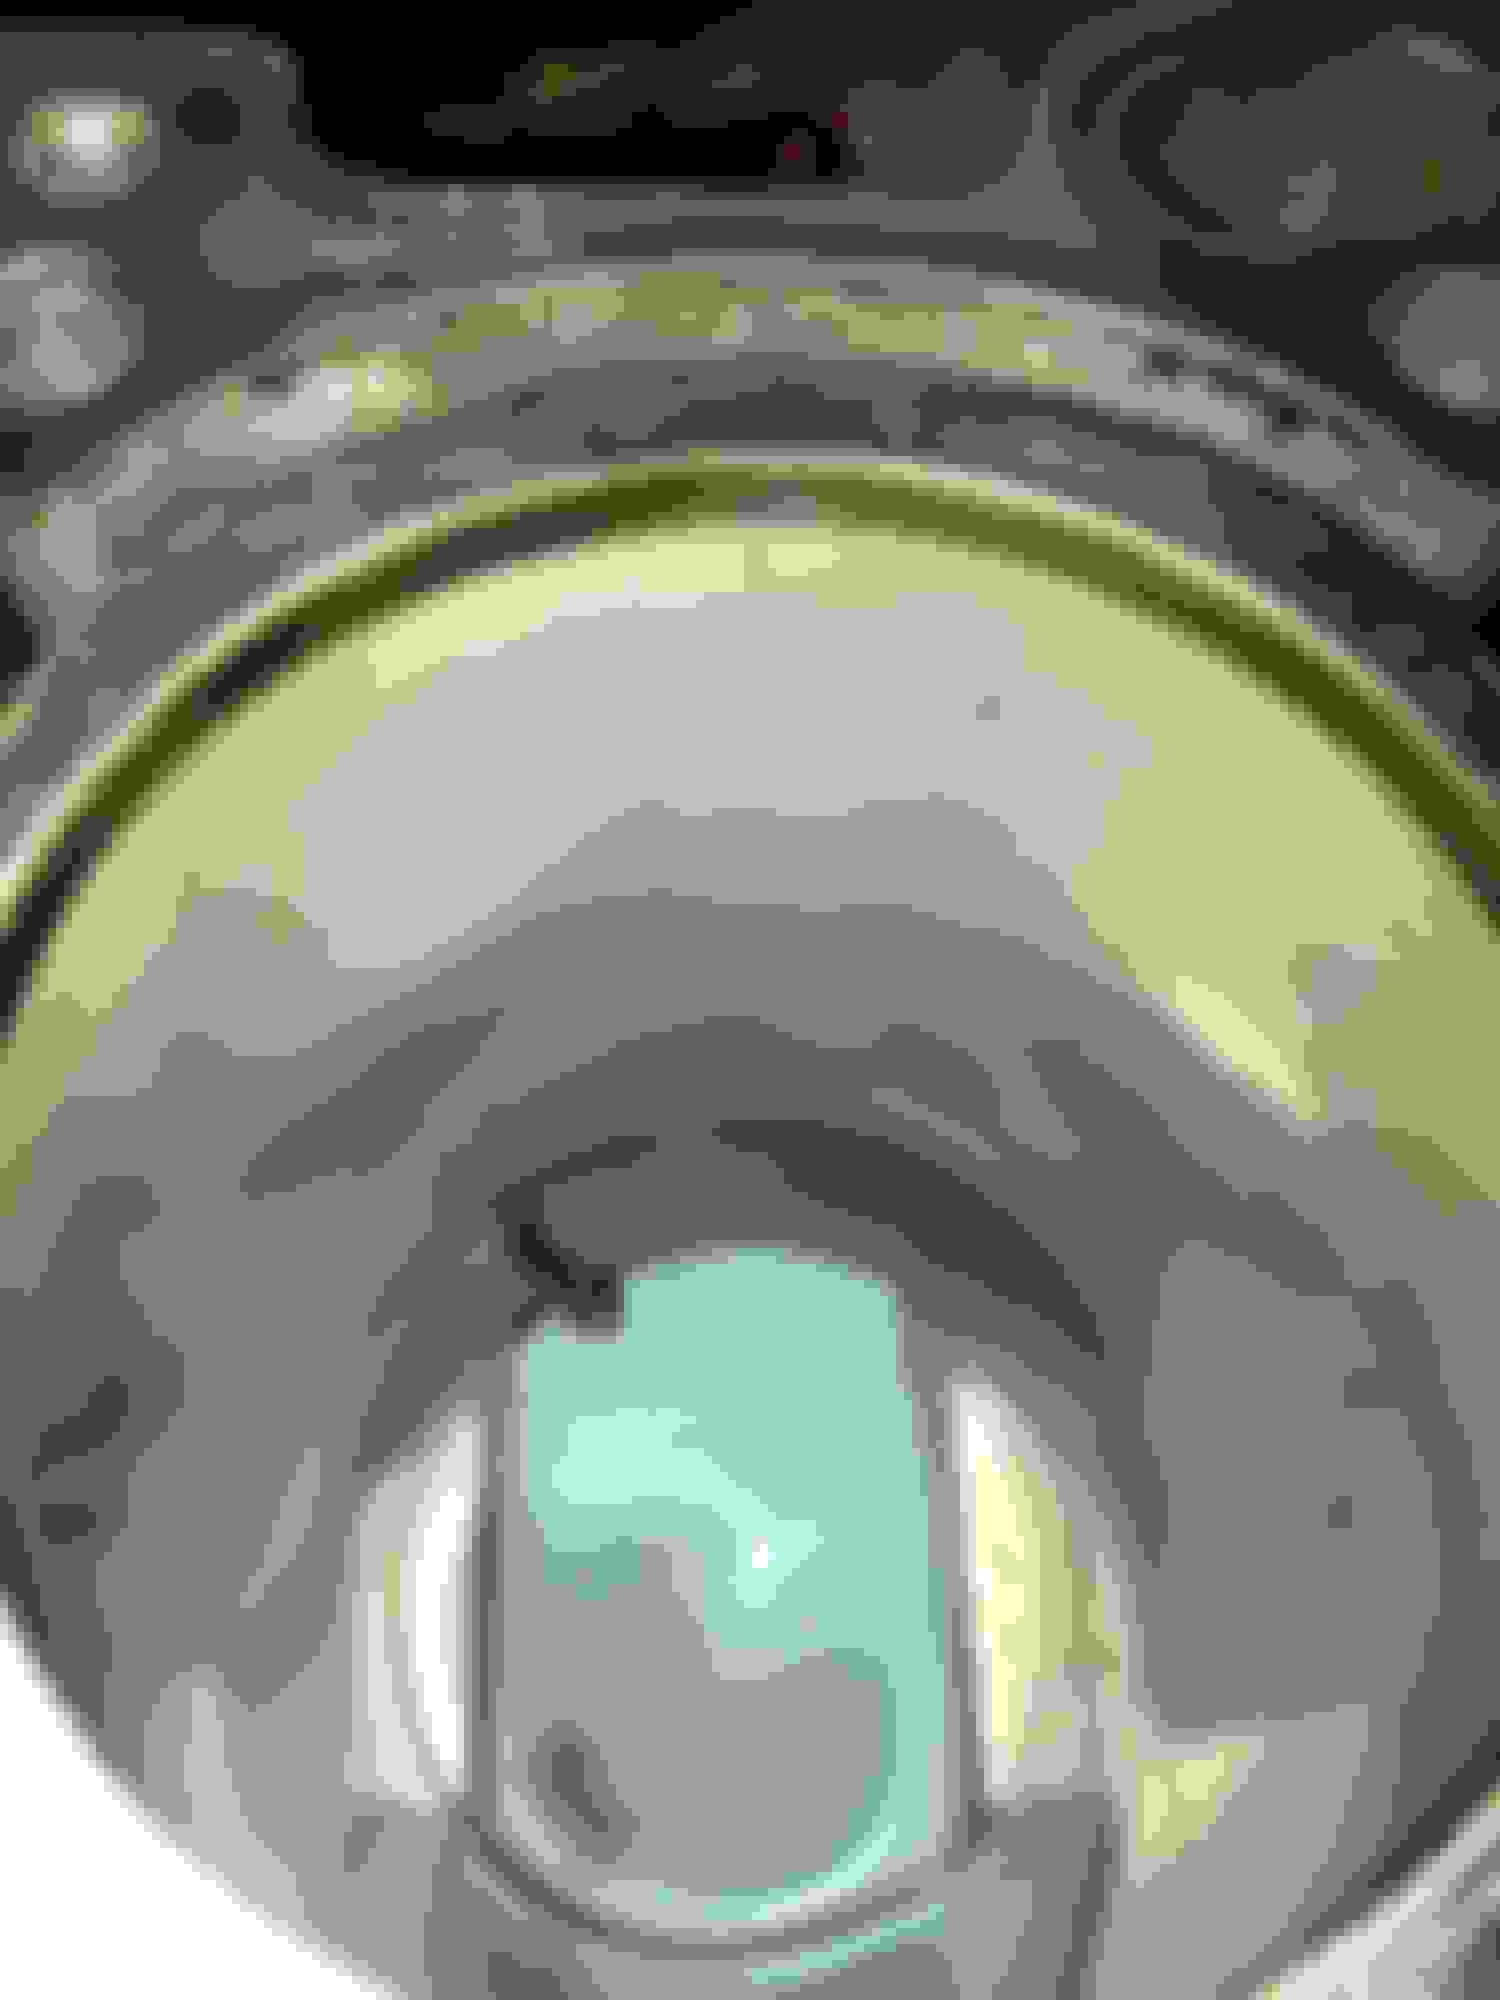
Carbon build up on the pistons
Rod Bearings...
Main Bearings
Thrust Washers
Exhaust Valves
Carbon build up on valves
Cylinder walls with very very light scoring at the top, unable to be felt with a fingernail. (Some of the other pics have some light scratches from a nail, stupid I know)
what id REALLY be interested in is the clearance on the rod and main bearings. Wouldn't happen to have any plasti-gauge would ya?
This could stand to be a really informative thread. If you have small I.D. and O.D. micrometers maybe measure the valves and guides.
By the looks of some of those piston skirts looks like she was a bit lean at some point, I'd assume when it was boosted. good bit of PTW contact
Admittedly, I don't have plasti-gauge and don't even know how to use it. I also only have an O.D. micrometer, but I'm not sure its large enough. Most of the engine parts are sold, the only thing left is the bare block...
Next time
You can get plasti-gauge at most any auto parts store. Using it is simple. You have to check the shop manual and be sure you get the correct diameter plasti-gauge and then you simply place a small strip between the bearing and the rod/main journal and torque the bolts to spec. Take it apart and then measure the width of the crushed plasti-gauge with the supplied ruler and compare to the spec the shop manual gives. The plastic crushes and spreads out when you torque to spec. At least this is how I remember it from 45 years ago when I used to do this sort of thing. It is a pretty simple and ingenious way to measure for correct clearances.
These engines are truly bullet proof. How scratched is the nailed cylinder? Bearings look good, that wear on the center is normal, during the powerstroke the oil gets sheared out of the bottom of the rod bearings, which is that scuffing you see. How much play was there in the valve guides with the valves about an inch off their seats? Usually you can get the guide play to acceptable levels with just using new valves, or guide inserts. Doing guides(inserts or new valves), new piston rings, and a light hone with a felt pad and some super fine SiC paste, and that engine could go another 150k miles.
That scratch doesn't seem that deep, doesn't run the length of the block.
The liner is .5mm thick and you can shave up to .25mm. Frankly you can probably get it out with a hone.
Wonder if a product designed at cleaning carbon build up would benefit these higher mile engines?
Having removed it from my valves by putting them in a pistol drill and using emery cloth i'd say not a lot would shift it. Underneath is some horrible chalky stuff that seems to be harder than eff.
 07-04-2017, 04:15 PM