1998 BMW M3. Polished & leather restoration.
 10-12-2008, 04:28 PM
#1
Registered User
Thread Starter
Join Date: Jun 2008
Location: Columbus, OH
Posts: 172
Likes: 0
Received 0 Likes
on
0 Posts
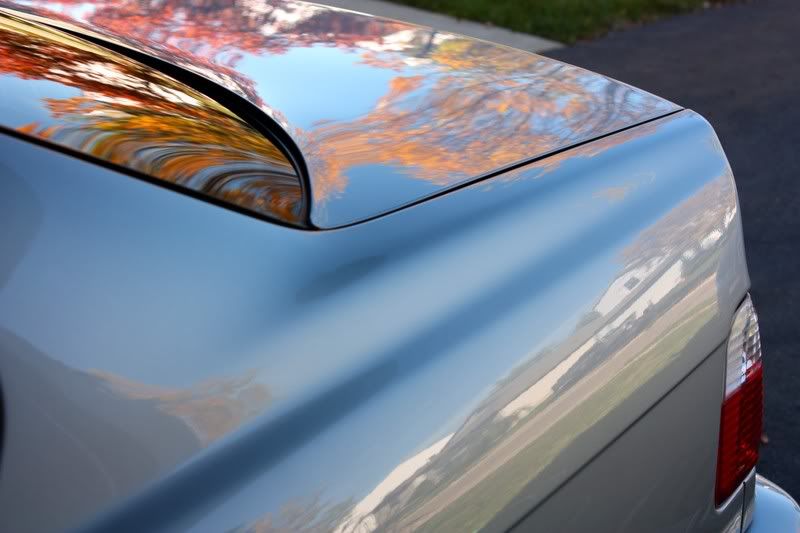
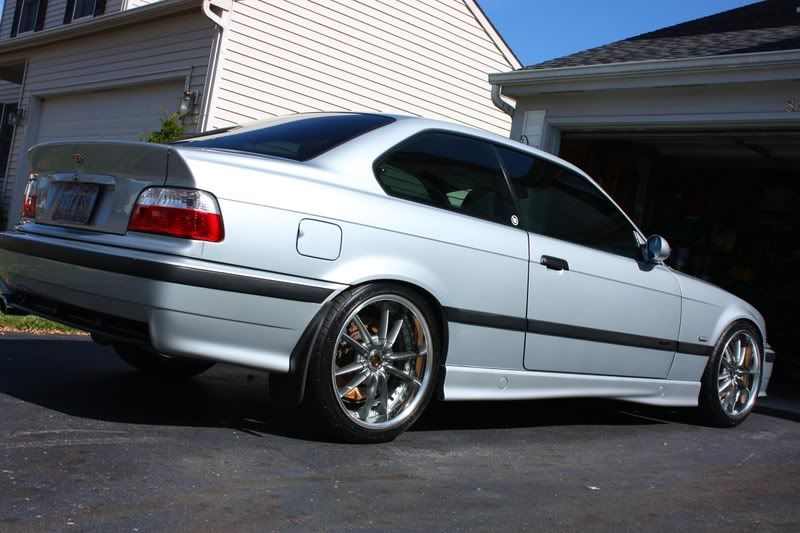
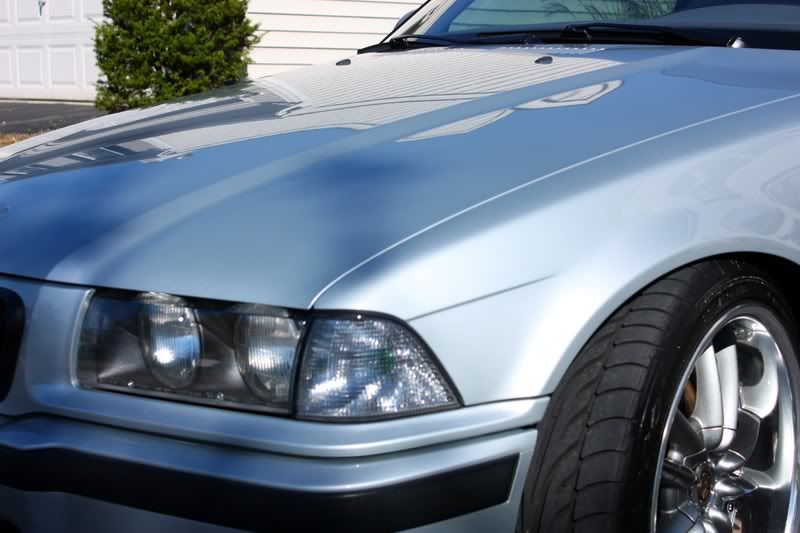
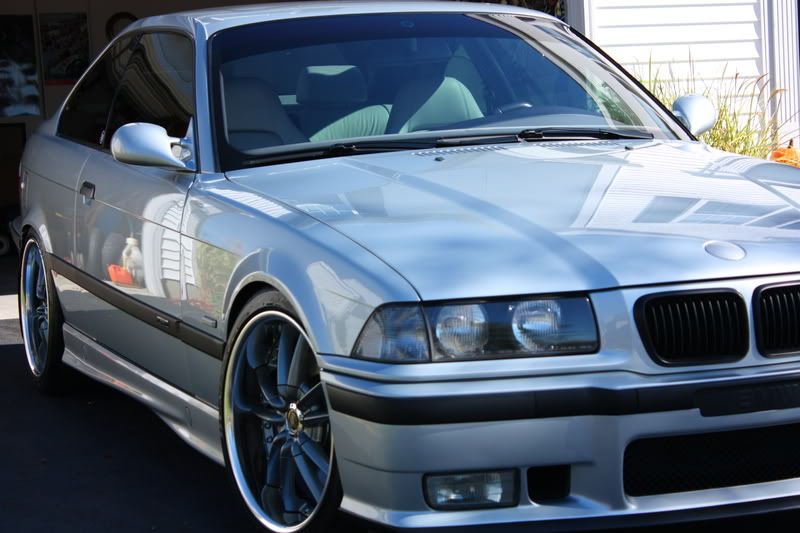
BMW's M3 is a classic regardless of the year, and this 1998 model was in exceptional condition for a 10 year old vehicle. The owner of this car has another '98 M3 in Purple (Techno Violet I believe it's officially called) that I will be working on in a few weeks...then comes his brand new Z06 after that!
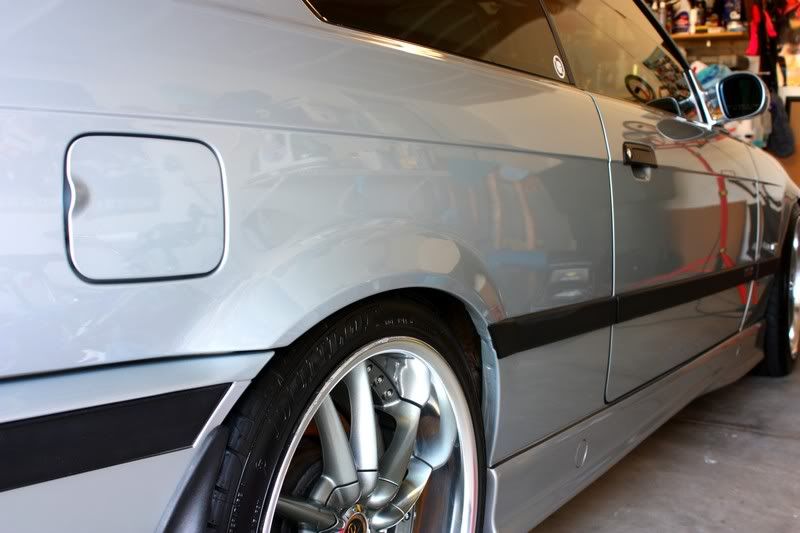
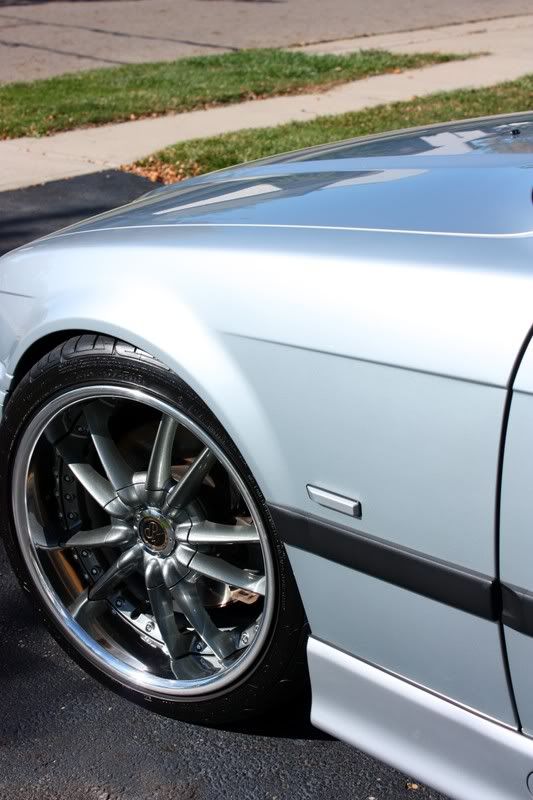
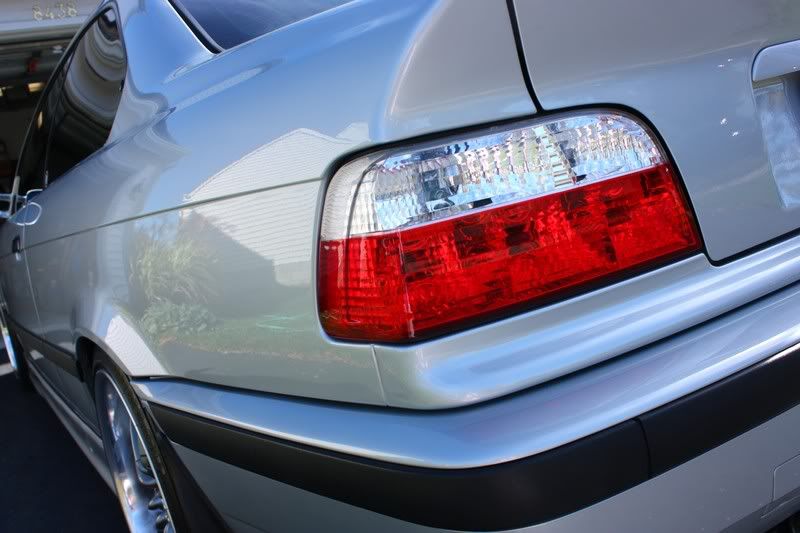
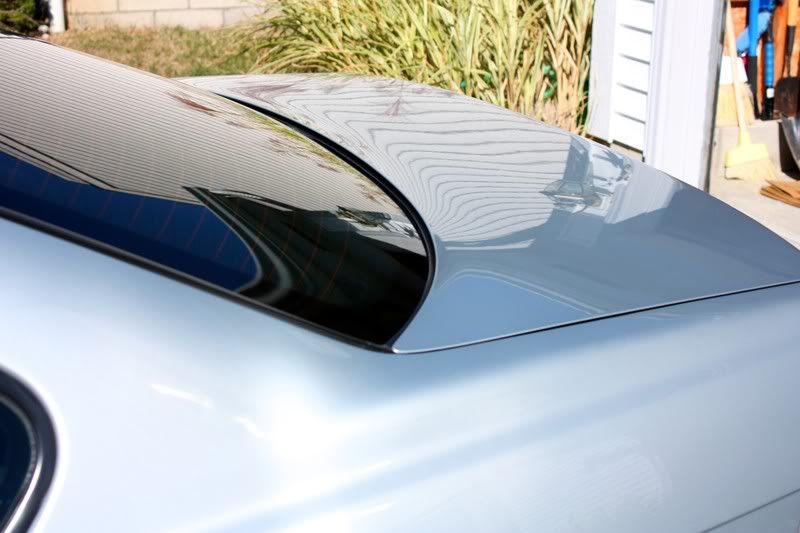
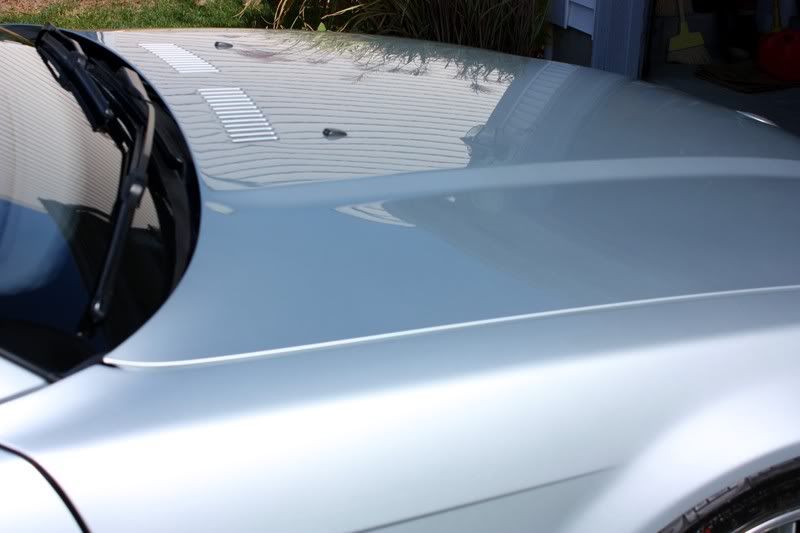
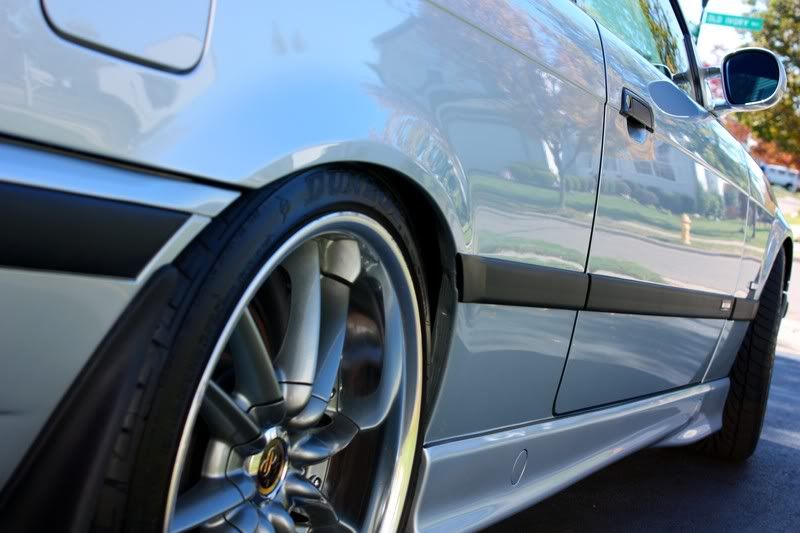
The paint was in pretty good condition. It had its fair share of swirls, but still had a lot of gloss to it as the owner does a great job of keeping it clean. We opted for a more simple polish on the exterior instead of going for full correction. This way I could dedicate more time on the interior.
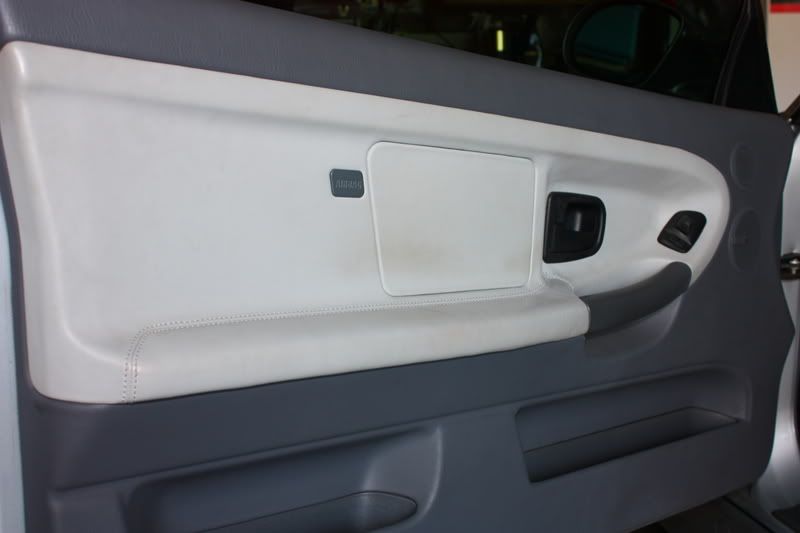
The past 10 years hadn't been as forgiving on the interior as the exterior. The leather is (very) light grey...almost white. There was a tremendous amount of staining, and built up dirt and grime that I knew wouldn't come out with the standard chemicals. After my initial meeting with the owner, we opted for a restoration package on all leather surfaces courtesy of Leatherique. I haven't found another product that does as good of a job bringing life back to neglected or aging leather as Leatherique does...it's expensive, but it's worth it.
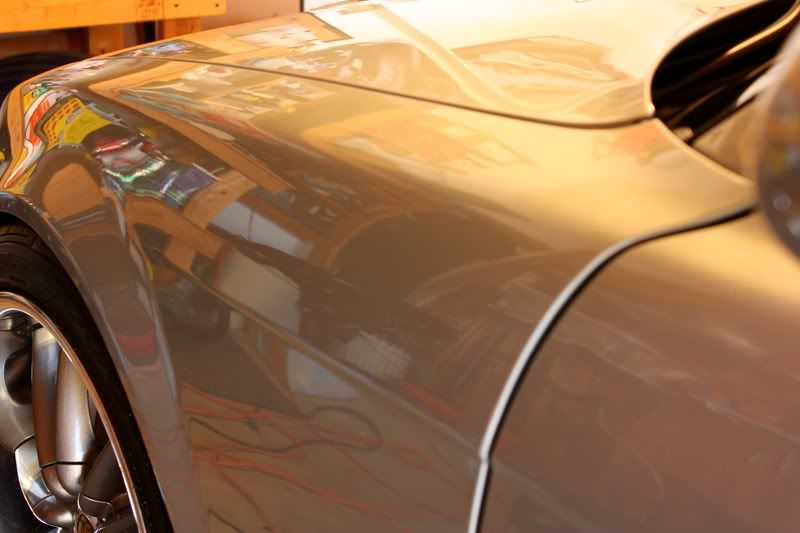
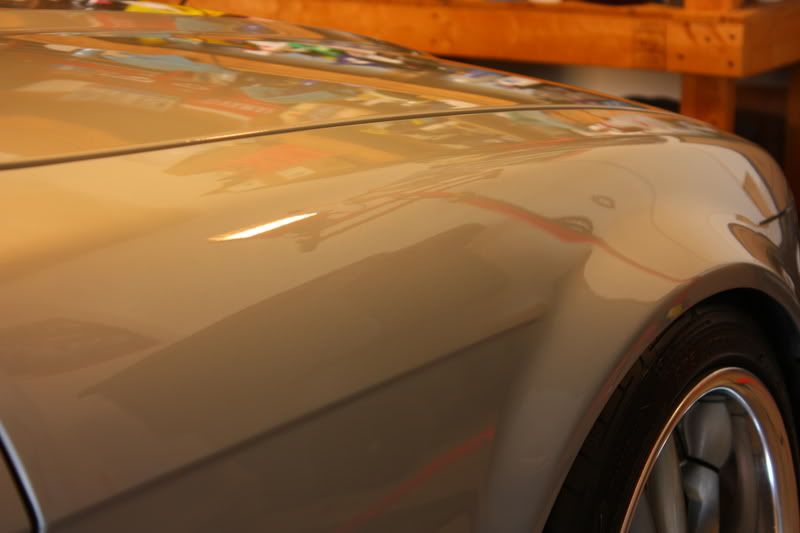
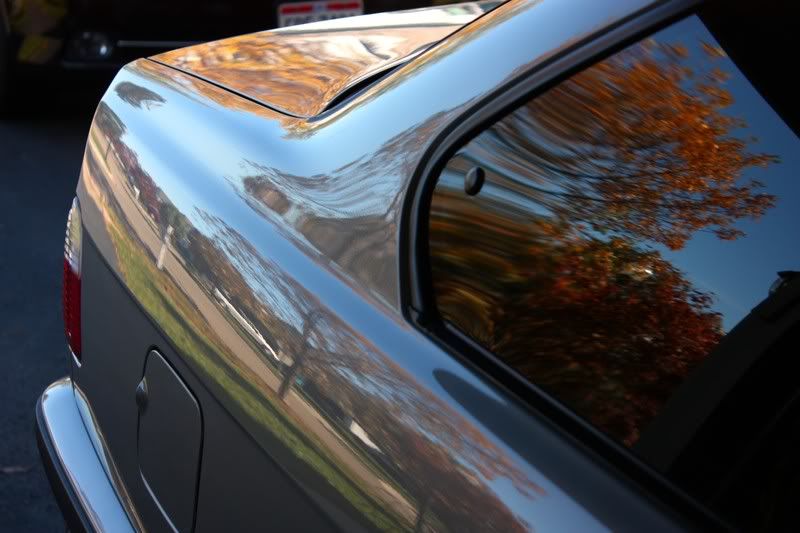
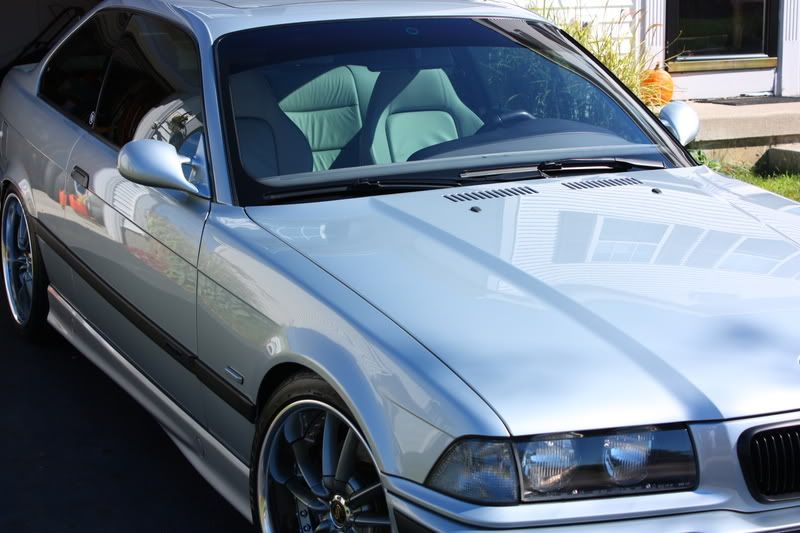
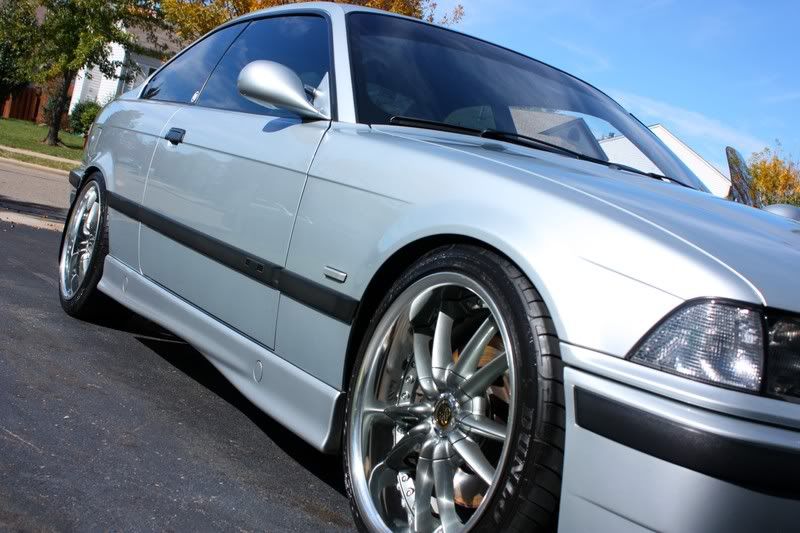
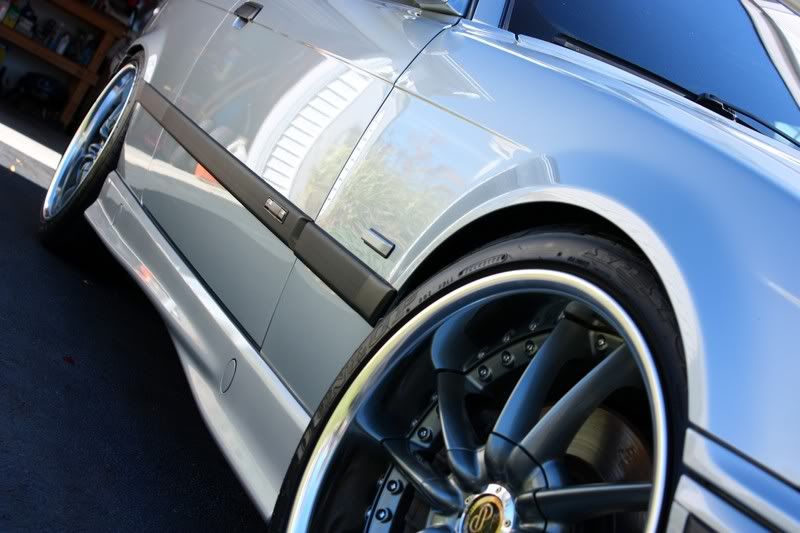
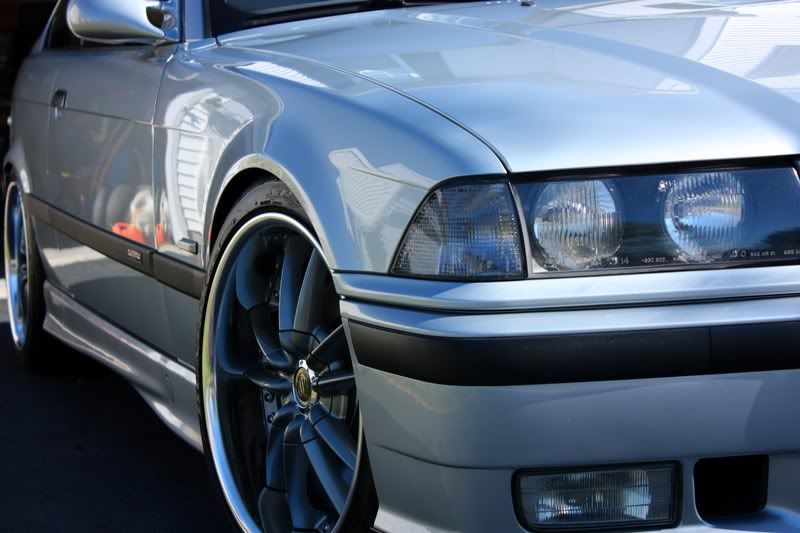
In the end, the exterior had a beautiful glow to it and it was smooth and slick (thanks to Optimum). The interior went through a complete transformation, and the owner couldn't believe how nice it now looked. Another satisfied customer!
Total time: 8 hours
Exterior Cleaning:
Wash with Chemical Guys Citrus Wash & Clear at paint prep ratio (for stripping any wax)
Clay with Chemical Guys fine clay and ONR lube
Wheels washed with P21S Wheel Gel
Engine cleaned with Megs APC+
Door shuts cleaned with ONR
Tires dressed with Sonus Tire Gel
Polishing:
Menzerna SIP with white pad. Rotary
Optimum Poli-Seal with white pad. PC
Sealed with Optimum Opti-Seal for long term durability
Waxed with Optimum Car Wax
Interior Cleaning:
Vacuum interior and trunk
Clean all surfaces with Woolite/water
Optimum Protectant Plus
Megs Interior Detailer
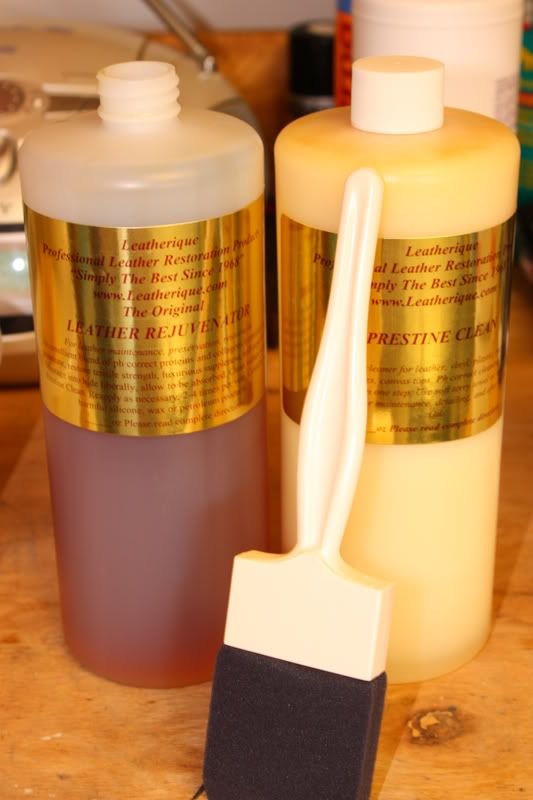
Leatherique leather restoration system (Rejuvenator + Prestine Clean)
Tools:
Makita 9227c rotary polisher w/Megs W66 backing plate
Porter Cable D/A polisher
Blaster Sidekick blow dryer
Canon Rebel Xsi with 18/55mm lense
First to the interior.
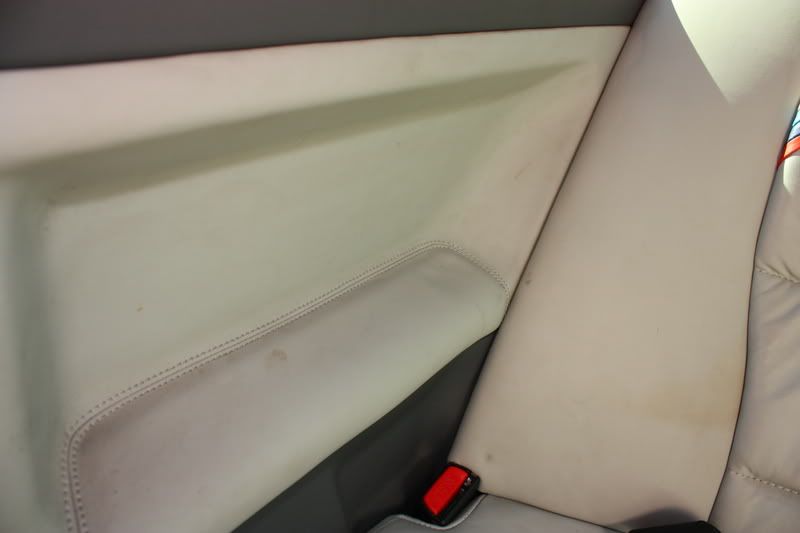
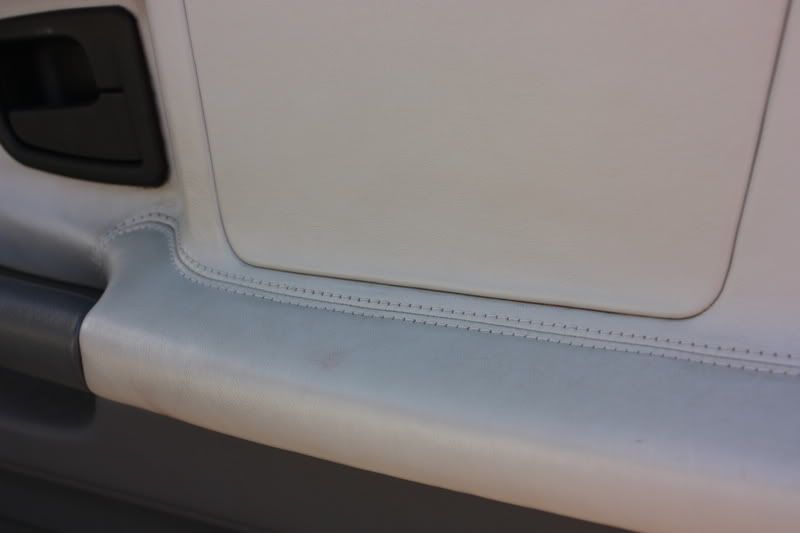
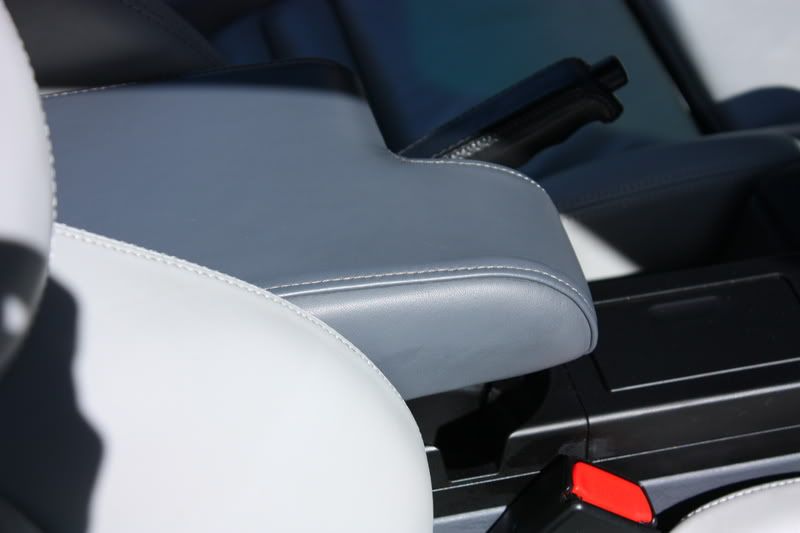
As you can see, there's a tremendous amount of buildup on the leather surfaces. This is the armrest area in the backseat passenger side.
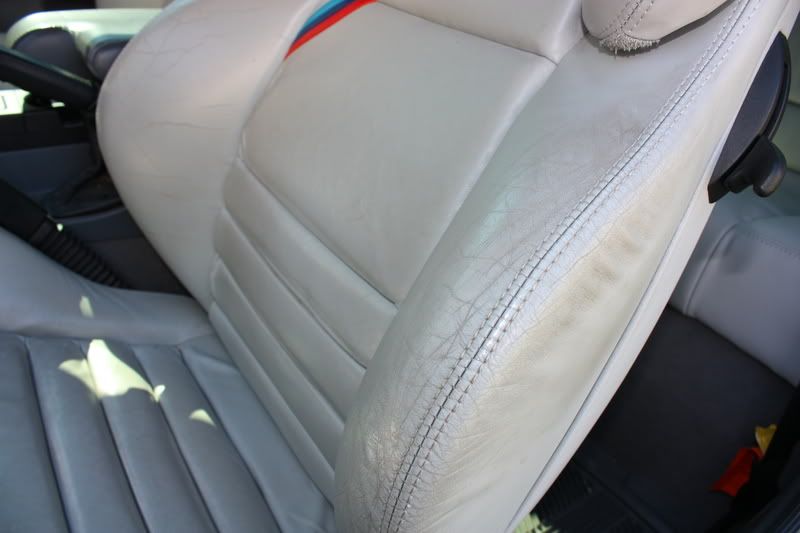
The driver's seat was the worst as would be expected.
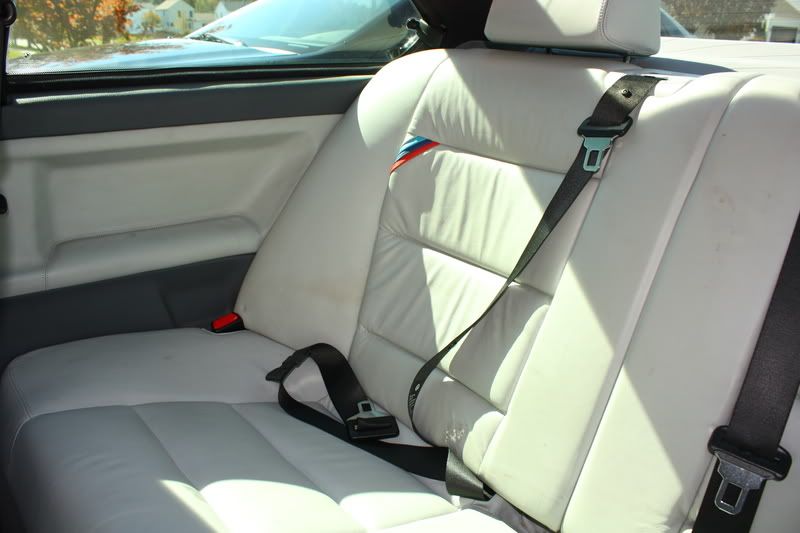
The backseats were very dirty as well. Some of the label from the seat belts had even transferred onto the seating surfaces and were difficult to remove.
10 years of armrest grime!
Closeup

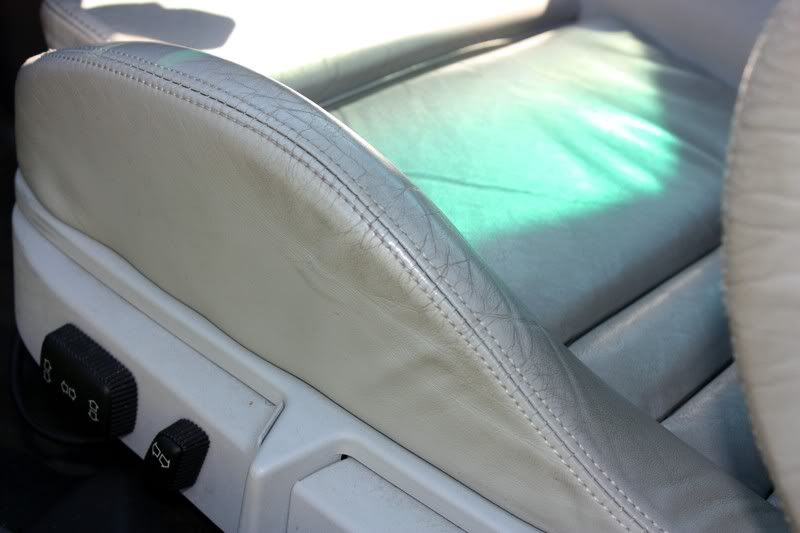
And on the passenger side as well
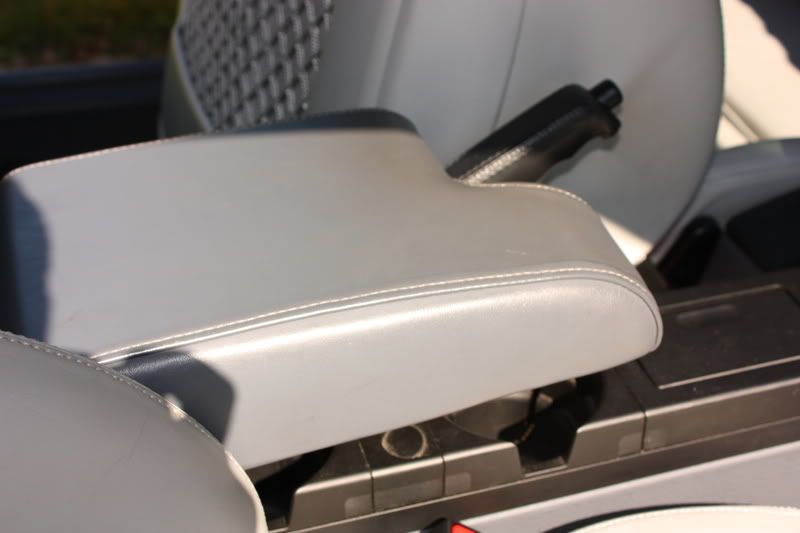
The armrest was showing some dirt and wear as well
Leatherique to the rescue!
The paint was in pretty good condition. It had its fair share of swirls, but still had a lot of gloss to it as the owner does a great job of keeping it clean. We opted for a more simple polish on the exterior instead of going for full correction. This way I could dedicate more time on the interior.
The past 10 years hadn't been as forgiving on the interior as the exterior. The leather is (very) light grey...almost white. There was a tremendous amount of staining, and built up dirt and grime that I knew wouldn't come out with the standard chemicals. After my initial meeting with the owner, we opted for a restoration package on all leather surfaces courtesy of Leatherique. I haven't found another product that does as good of a job bringing life back to neglected or aging leather as Leatherique does...it's expensive, but it's worth it.
In the end, the exterior had a beautiful glow to it and it was smooth and slick (thanks to Optimum). The interior went through a complete transformation, and the owner couldn't believe how nice it now looked. Another satisfied customer!
Total time: 8 hours
Exterior Cleaning:
Wash with Chemical Guys Citrus Wash & Clear at paint prep ratio (for stripping any wax)
Clay with Chemical Guys fine clay and ONR lube
Wheels washed with P21S Wheel Gel
Engine cleaned with Megs APC+
Door shuts cleaned with ONR
Tires dressed with Sonus Tire Gel
Polishing:
Menzerna SIP with white pad. Rotary
Optimum Poli-Seal with white pad. PC
Sealed with Optimum Opti-Seal for long term durability
Waxed with Optimum Car Wax
Interior Cleaning:
Vacuum interior and trunk
Clean all surfaces with Woolite/water
Optimum Protectant Plus
Megs Interior Detailer
Leatherique leather restoration system (Rejuvenator + Prestine Clean)
Tools:
Makita 9227c rotary polisher w/Megs W66 backing plate
Porter Cable D/A polisher
Blaster Sidekick blow dryer
Canon Rebel Xsi with 18/55mm lense
First to the interior.
As you can see, there's a tremendous amount of buildup on the leather surfaces. This is the armrest area in the backseat passenger side.
The driver's seat was the worst as would be expected.
The backseats were very dirty as well. Some of the label from the seat belts had even transferred onto the seating surfaces and were difficult to remove.
10 years of armrest grime!
Closeup
And on the passenger side as well
The armrest was showing some dirt and wear as well
Leatherique to the rescue!
 10-12-2008, 04:29 PM
#2
Registered User
Thread Starter
Join Date: Jun 2008
Location: Columbus, OH
Posts: 172
Likes: 0
Received 0 Likes
on
0 Posts
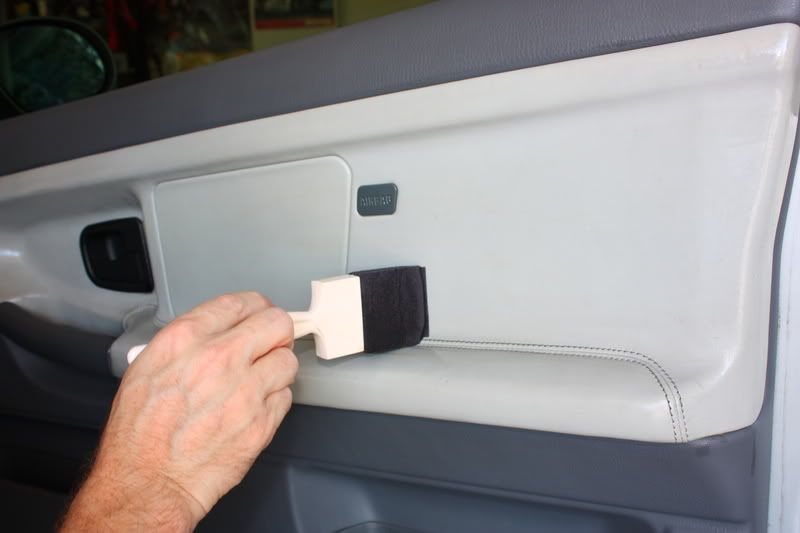
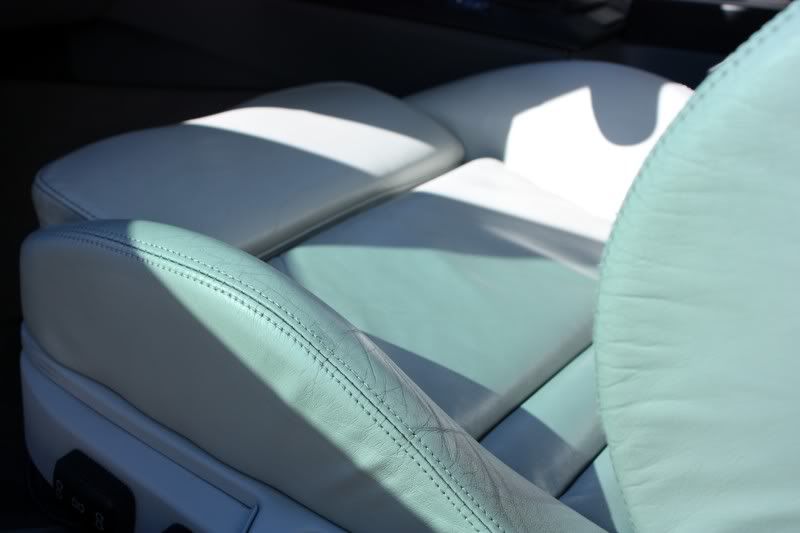
When using Leatherique, you need time and heat. First you apply the Rejuvinator liberally to all surfaces. This is a deep conditioner and it soaks into the leather and brings all of the dirt to the surface. The best way to do it is to apply, and then let the car sit in the sun with the windows up to create a steamroom effect. If the temperatures are cooler out, you can cover the surfaces in plastic and then heat it up with a blow dryer. You can leave it on for 4 or 5 hours if there's a lot of heat, or you can do like I did and also let it work its magic overnight.
After the Rejuvinator has worked, then you clean the residue and dirt off with the second step (Prestine Clean). Spray it on, buff it off, and then go back and wipe it all down with a damp towel.
Applying the Rejuvinator with a foam brush:
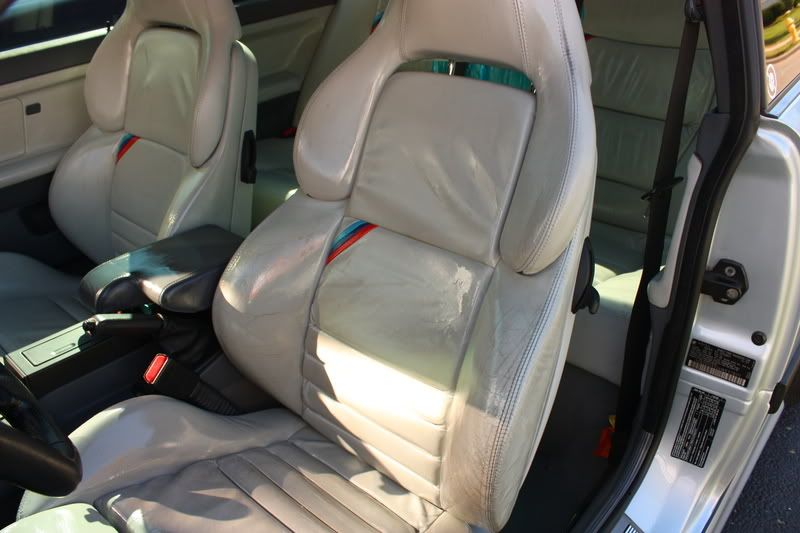
Here's what it looked like with it soaking in:
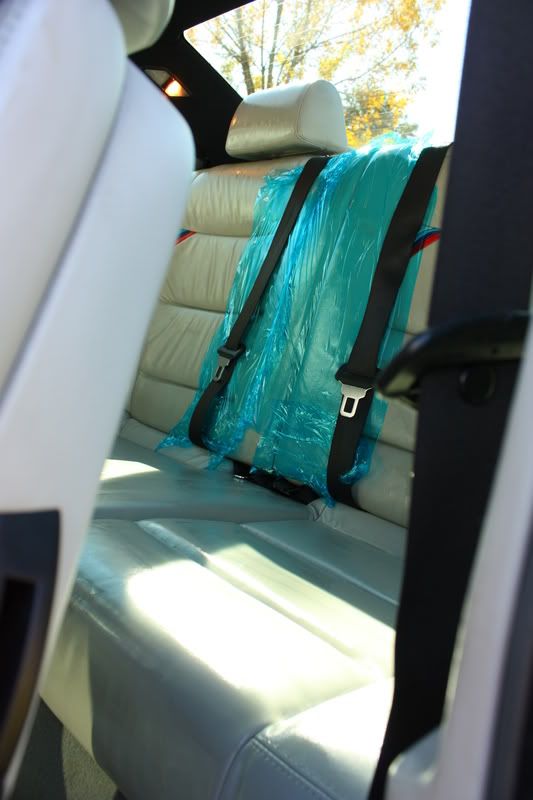
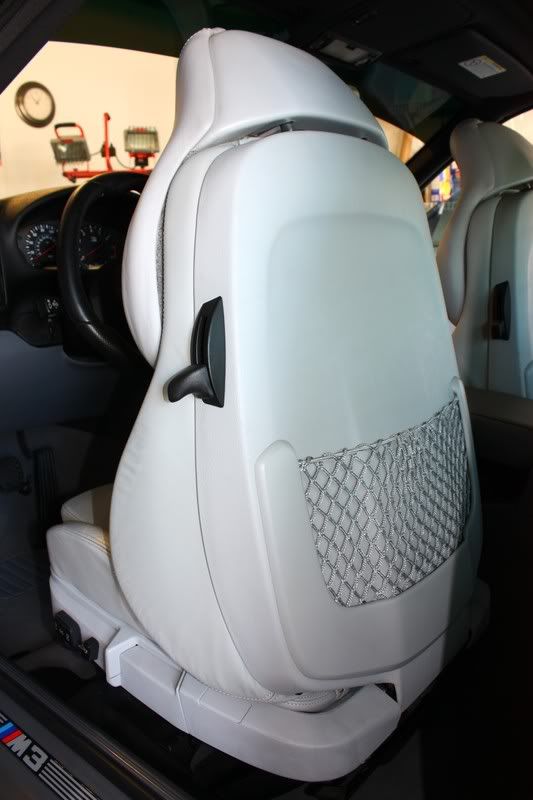
I put plastic on the seats to protect the seat belts
This shot shows just how dirty the leather was

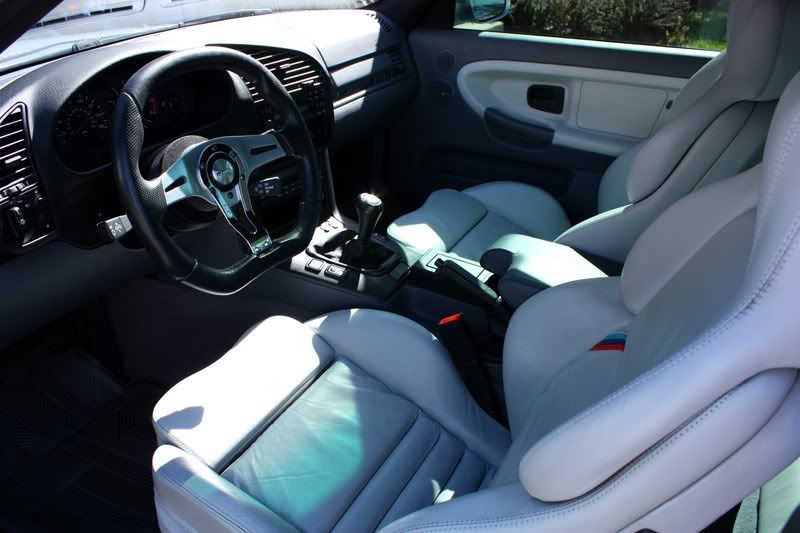
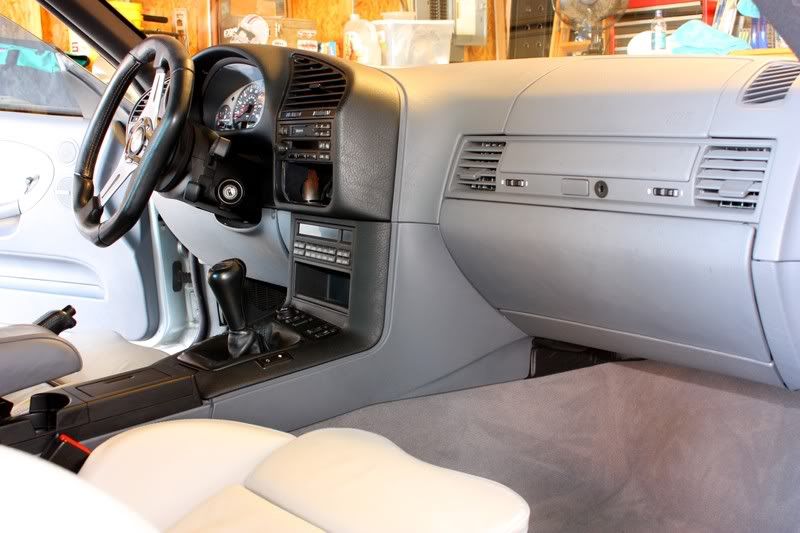
After. What a huge difference!!
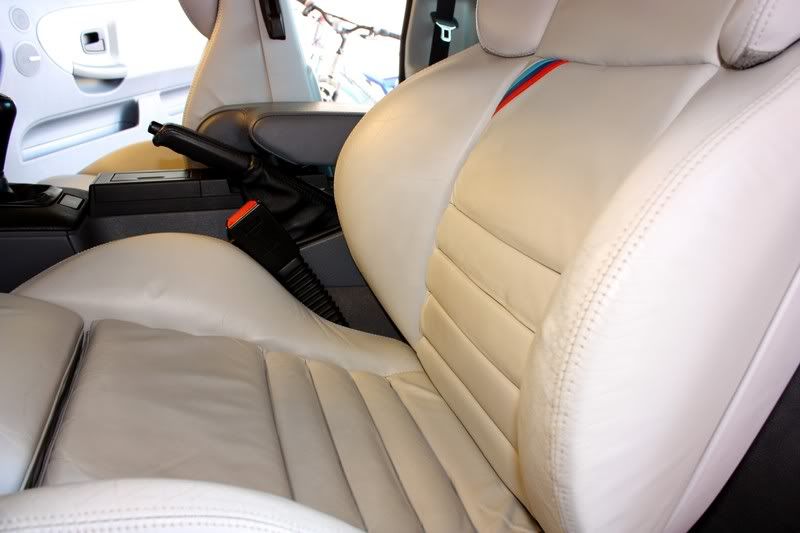

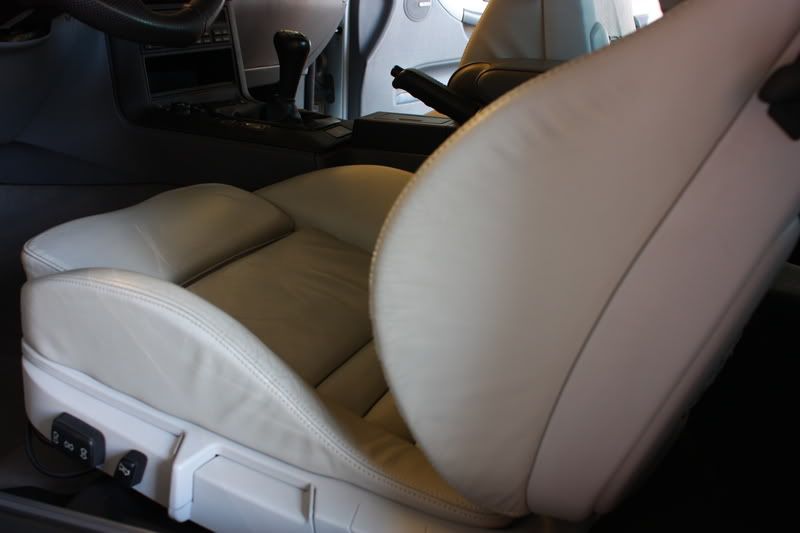
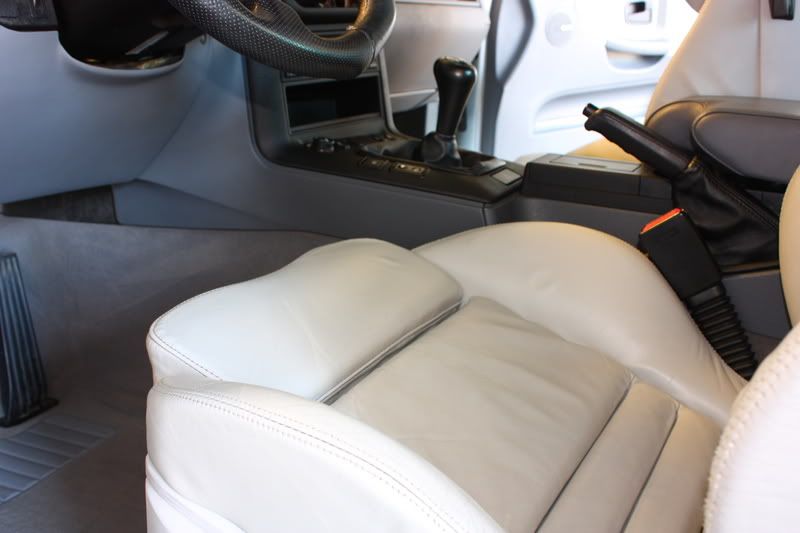
Remember how nasty that armrest area was?

After the Rejuvinator has worked, then you clean the residue and dirt off with the second step (Prestine Clean). Spray it on, buff it off, and then go back and wipe it all down with a damp towel.
Applying the Rejuvinator with a foam brush:
Here's what it looked like with it soaking in:
I put plastic on the seats to protect the seat belts
This shot shows just how dirty the leather was
After. What a huge difference!!
Remember how nasty that armrest area was?
10-12-2008, 04:29 PM
#3
Registered User
Thread Starter
Join Date: Jun 2008
Location: Columbus, OH
Posts: 172
Likes: 0
Received 0 Likes
on
0 Posts
The backs of the seats were plastic, and were beat up badly from years of shoes. They cleaned up nicely with Megs APC+ at 10:1

And now for the exteriors. I didn't take before shots because it was pretty clean.
 10-12-2008, 06:28 PM
#7

O my god... it looks better than new.
How the hell does that leather stuff work?! It looks brand new, I simply had no idea that ANYTHING could do such good job. ####ing A man.
BTW What is the cost of that stuff as well as will it work in colder climates such as 40f and below???
How the hell does that leather stuff work?! It looks brand new, I simply had no idea that ANYTHING could do such good job. ####ing A man.
BTW What is the cost of that stuff as well as will it work in colder climates such as 40f and below???
Trending Topics
10-12-2008, 07:03 PM
#8

http://www.leatherique.com/
I used it a few years ago on my 2001 Ford Excursion - 8 seats worth of leather. It did a great job there too - although this is another level. I imagine I wasn't patient enough with the warmth to get results like this.
I used it a few years ago on my 2001 Ford Excursion - 8 seats worth of leather. It did a great job there too - although this is another level. I imagine I wasn't patient enough with the warmth to get results like this.
10-13-2008, 02:43 AM
#9
Registered User
Thread Starter
Join Date: Jun 2008
Location: Columbus, OH
Posts: 172
Likes: 0
Received 0 Likes
on
0 Posts
MuttGrunt...thanks, and yes he was pumped. His wife drives their purple one, and she now can't wait for me to work on that one after seeing the results of this one.
EOE...You should check out the link that krshultz posted and find out more info about the product. The best "deal" I could find on it was buying it direct. Deal is a relative term, because it was still $65.00 for the kit PLUS shipping! The look on the owner's face...priceless!
krshultz...It spent a total of 22 hours soaking in...about 4 of that in 80 degree sunshine. I spent about 2 hours working on the leather alone.

