AP2 FRP Brake Ducts


 04-14-2013, 07:40 AM
#22
Registered User


Join Date: Jun 2009
Posts: 1,768
Likes: 0
Received 0 Likes
on
0 Posts
Hey wasp will you be making a spindle kit out of this to bolt on to the hub so all we will have to do is buy tubing and clamps??? I'm excited 
Also is there a lot of trimming involved for the cutouts? And pictures of doing soo?
Thanks
Also is there a lot of trimming involved for the cutouts? And pictures of doing soo?
Thanks
 04-14-2013, 12:27 PM
#24

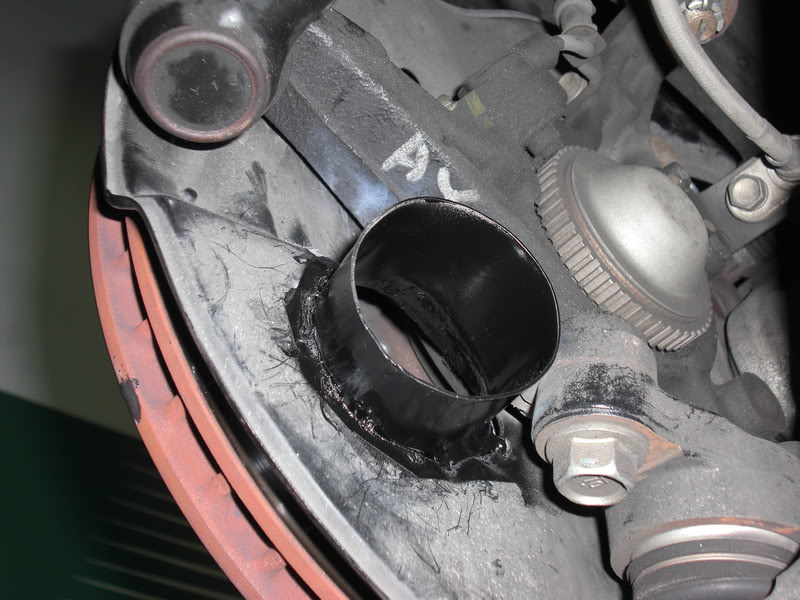
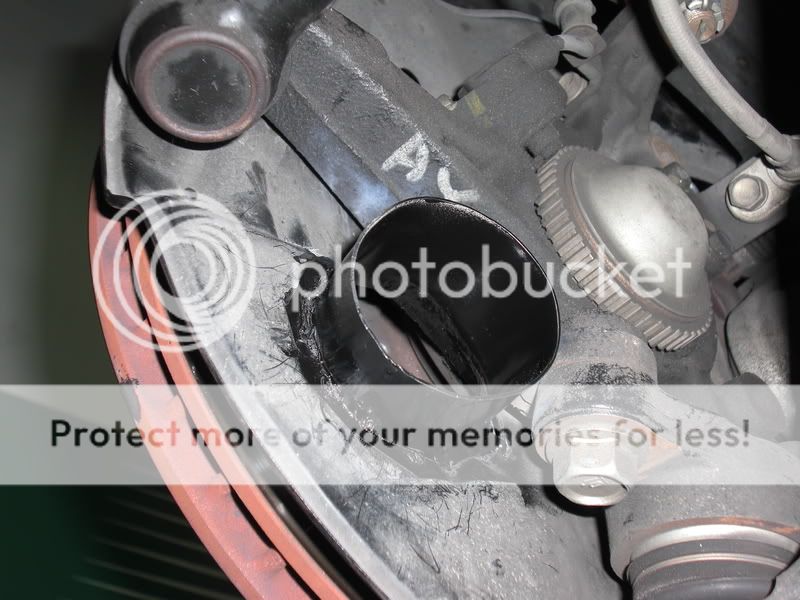
My plan have a flange welded in similar to this:
It would be awesome if someone would make dust shields with a flange welded in, but is it possible to remove the dust shield without cutting it? Do you just have to take off the entire knuckle assembly?
It would be awesome if someone would make dust shields with a flange welded in, but is it possible to remove the dust shield without cutting it? Do you just have to take off the entire knuckle assembly?
04-14-2013, 09:51 PM
#25

It won't fit. I had to remove the tubing I had going through the faux duct for my diy cooling setup. I can see the filter through the hole I cut for the tubing.
I'm thinking of changing my intake setup to run this. Or somehow reroute the v2 or something
I'm thinking of changing my intake setup to run this. Or somehow reroute the v2 or something
04-15-2013, 01:49 AM
#26
Banned

Thread Starter

Join Date: Jul 2012
Posts: 691
Likes: 0
Received 0 Likes
on
0 Posts
our goal was to create the whole kit with inlets, tubing and rotor outlets however we needed some funds in order to make the rotor end pieces, so we decided to put the ducts on sale first. we will definitely offer discount on the rotor side outlet piece, once they are produced, to people who bought the ducts separately.
Trimming is very easy specially if you have a rotary tool like dremel. here are couple of pics of the lines that I cut on the bumper. it is easier to cut the bumper from outside of the bumper, just follow the line between the bumper and the plastic cover and then sand from inside the bumper.
04-15-2013, 02:10 AM
#27
Banned
Thread Starter
Join Date: Jul 2012
Posts: 691
Likes: 0
Received 0 Likes
on
0 Posts
thank you for your support of this part. we will have rotor outlet done pretty soon as well.
there is no need to remove the knuckle or using a grinder to remove dust shield. get this offset ratchet screwdriver from General Tools and just sand or grind the back piece of it a little as seen in my picture and it fits perfectly to take those 3 bolts off then cut the dust shield like the pic below with tin snips and you still have the 3 mounting holes on your dust shield just in case you ever want to put it back.

