When you click on links to various merchants on this site and make a purchase, this can result in this site earning a commission. Affiliate programs and affiliations include, but are not limited to, the eBay Partner Network.
UK & Ireland S2000 CommunityDiscussions related to the S2000, its ownership and enthusiasm for it in the UK and Ireland. Including FAQs, and technical questions.
Excellent work so far mate, very impressive stuff !
quick few questions if I may , how are you finding the Bilstein coilovers ? How is the overall quality, how low do they look like they would go ? how much stiffer than stock are they ?
Im looking into buying a set myself but can't decide whether to go for these or the more expensive KW's
thanks !!
The bilsteins are great, the build quality is next to none. For the money its a very good kit.
I think they will go from 10mm to 35mm lower.
They are stiffer than stock, but its not unpleasantly stiff. Id say more along the lines of responsive stiffness.
Great buy for the money, depends what use you want out of them. If its mainly road use with spirited driving i would buy the bilsteins all day long.
If it's track use id go along the lines of the bilstein B16 PSS9's or indeed a set of KW's etc.
hope this helps !
Thanks !
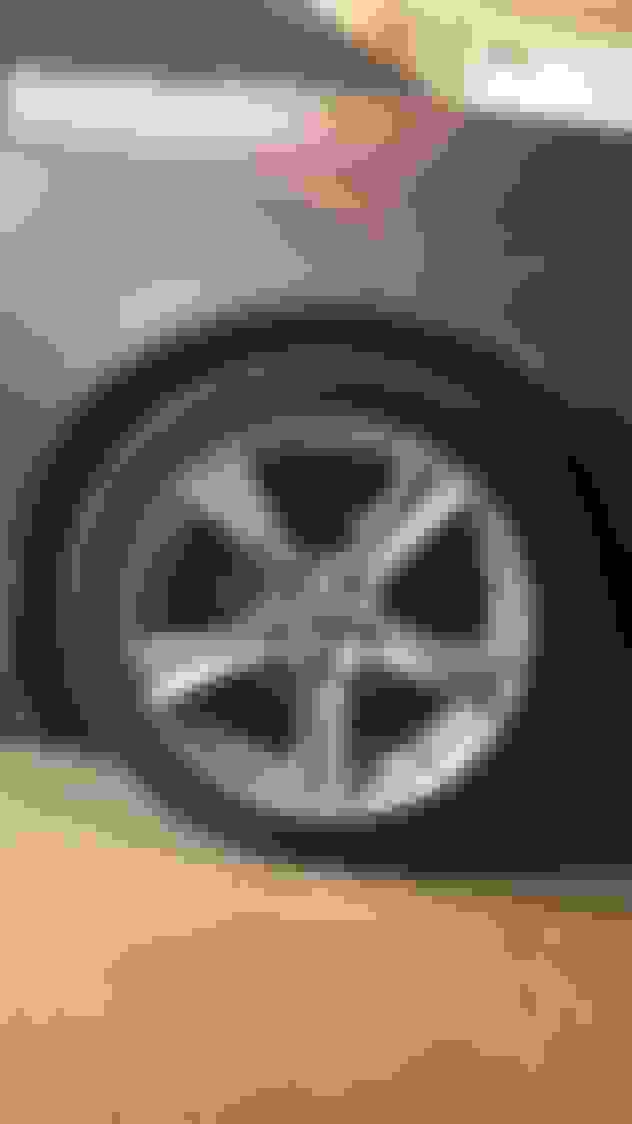
Have you got any photos side on to show ride height ?
Stock heights for my S from the floor on average was, front 650mm, rear 660mm.
After installing the bilstein's, 640mm front 640mm rear. on the passengers side and 645mm front and 645mm rear on drivers side. (allowing for my weight in the drivers seat).
So a 10mm drop on the front and a 20mm drop on the rear.
Gets rid of the boot sized gap between the arch and tyre, but keeps it practical, none of that speed bump grinding here !
Of course you can go lower if you wish !
No full side on pics, as was in the garage and excuse the dirt
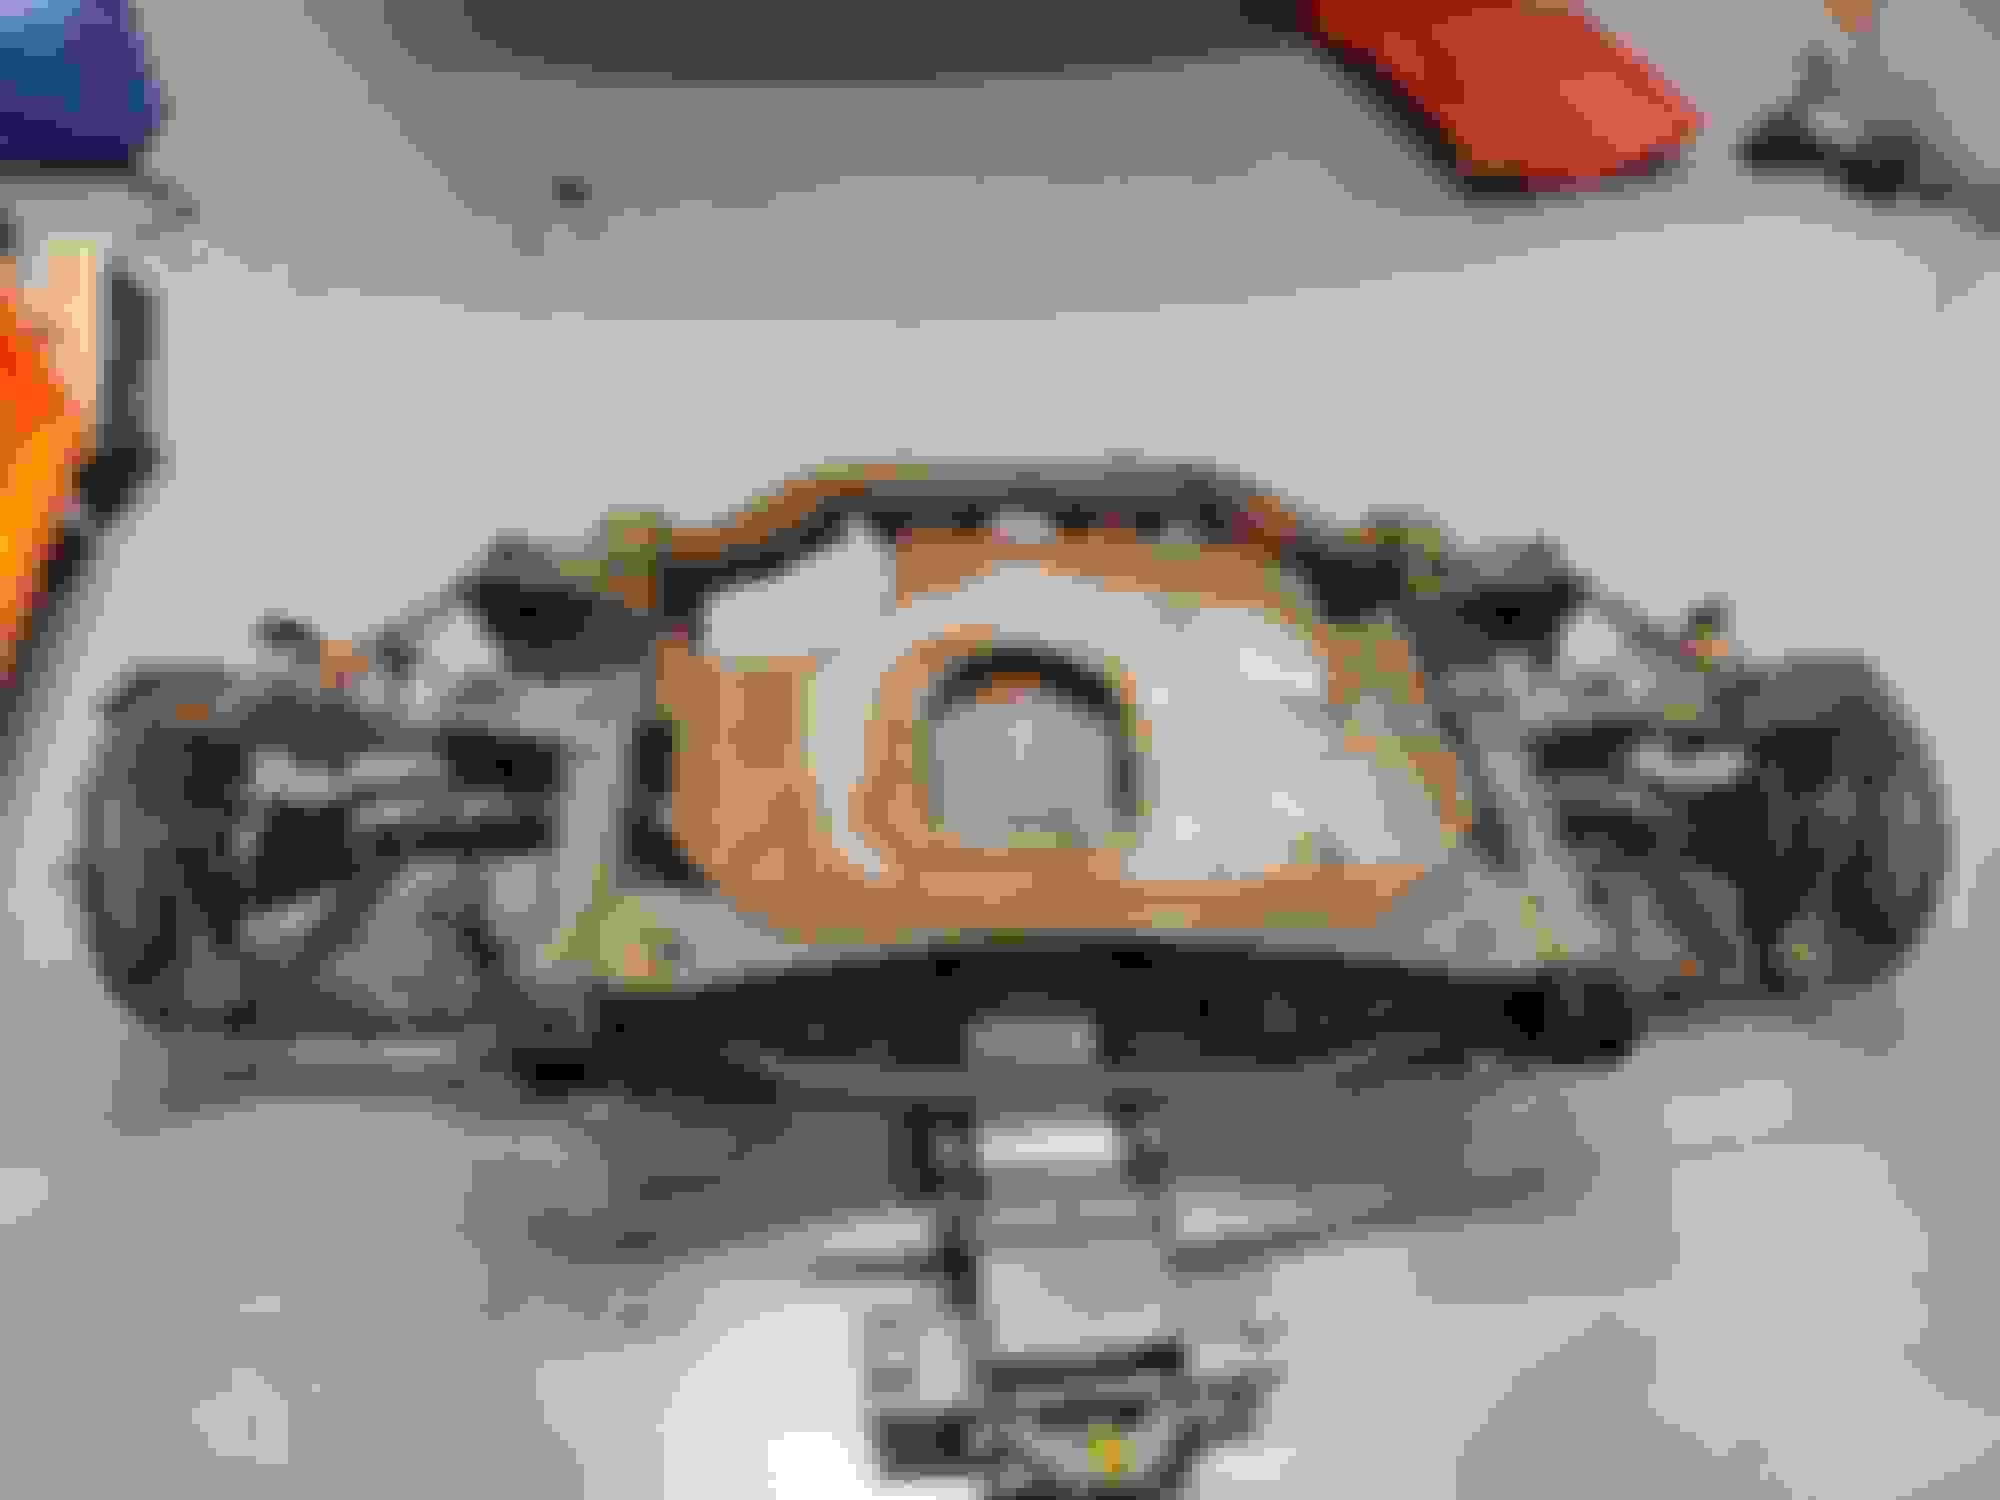
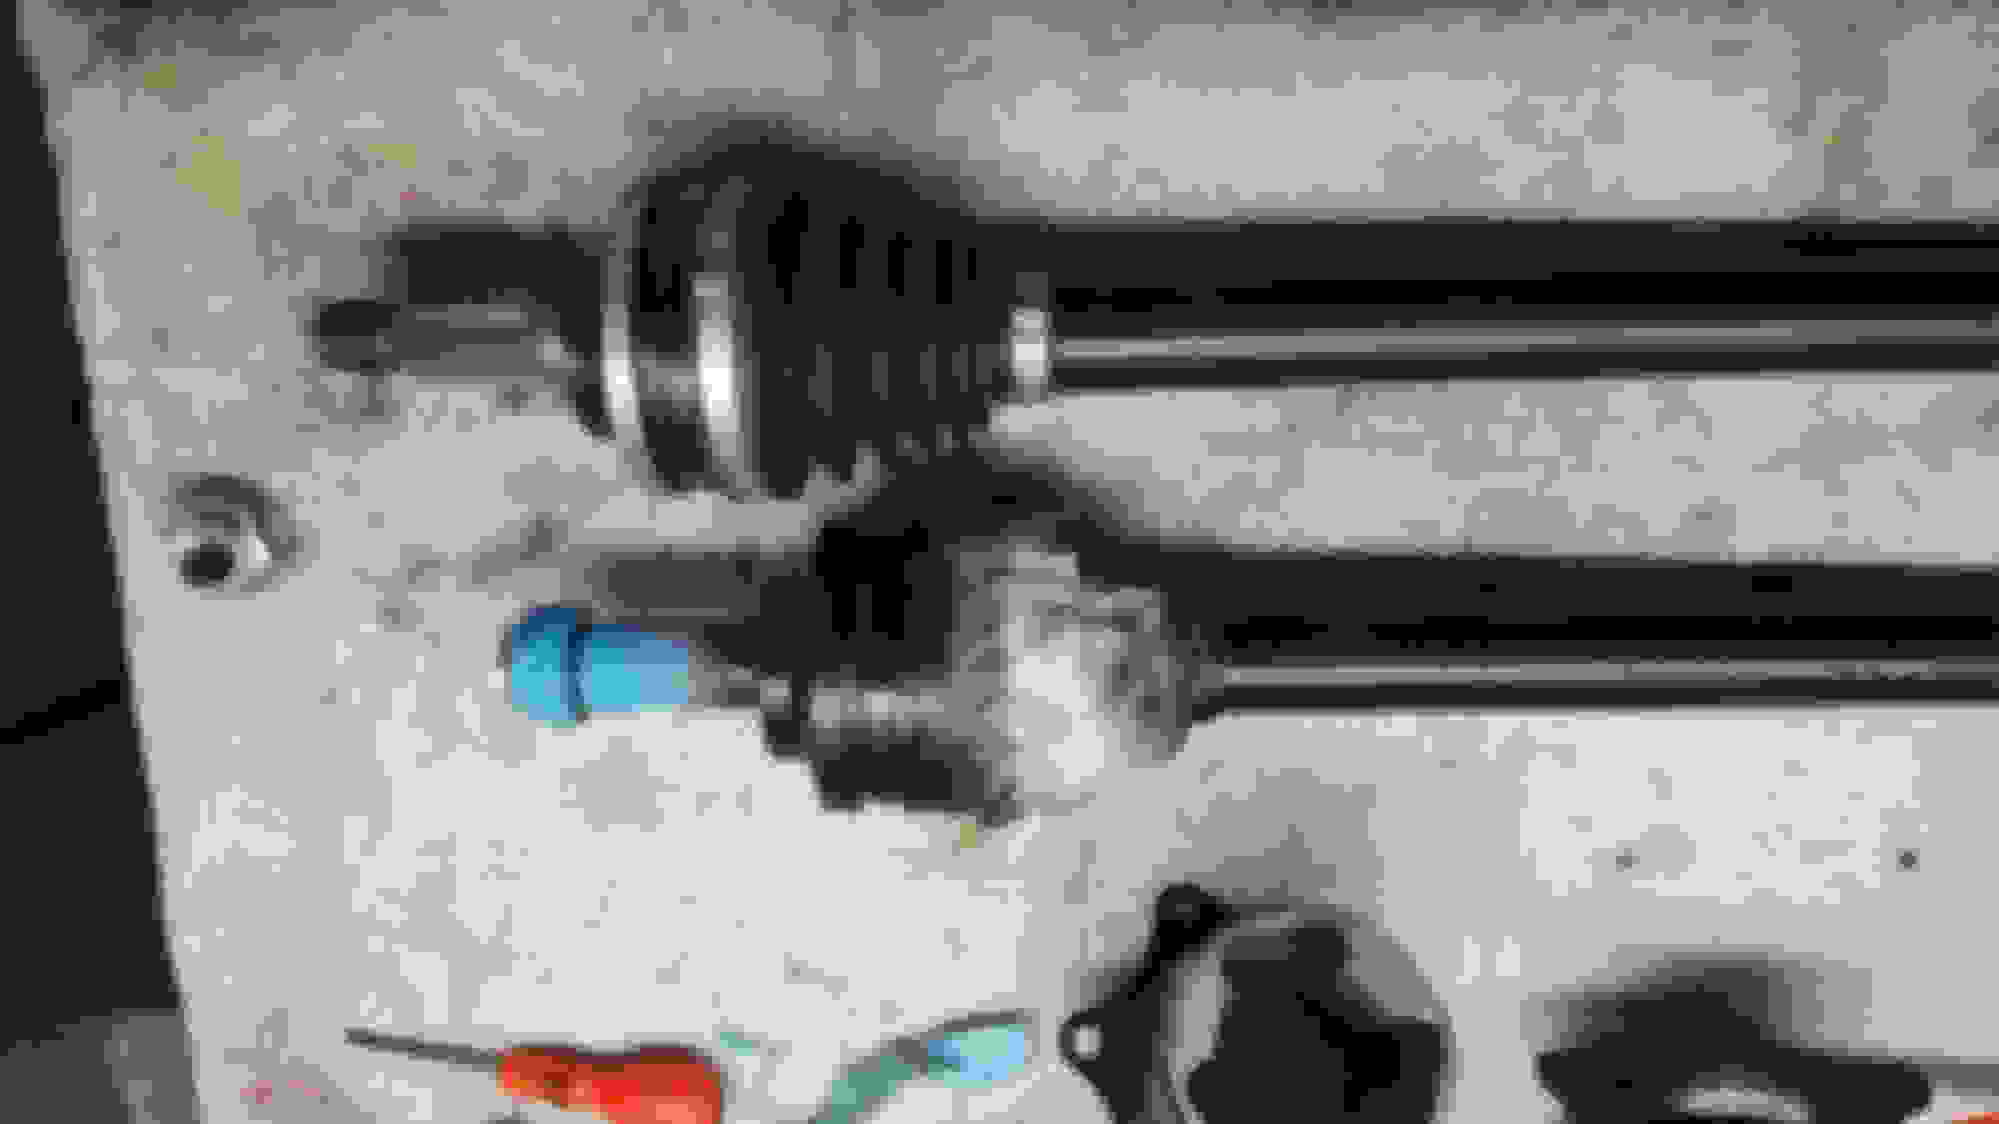
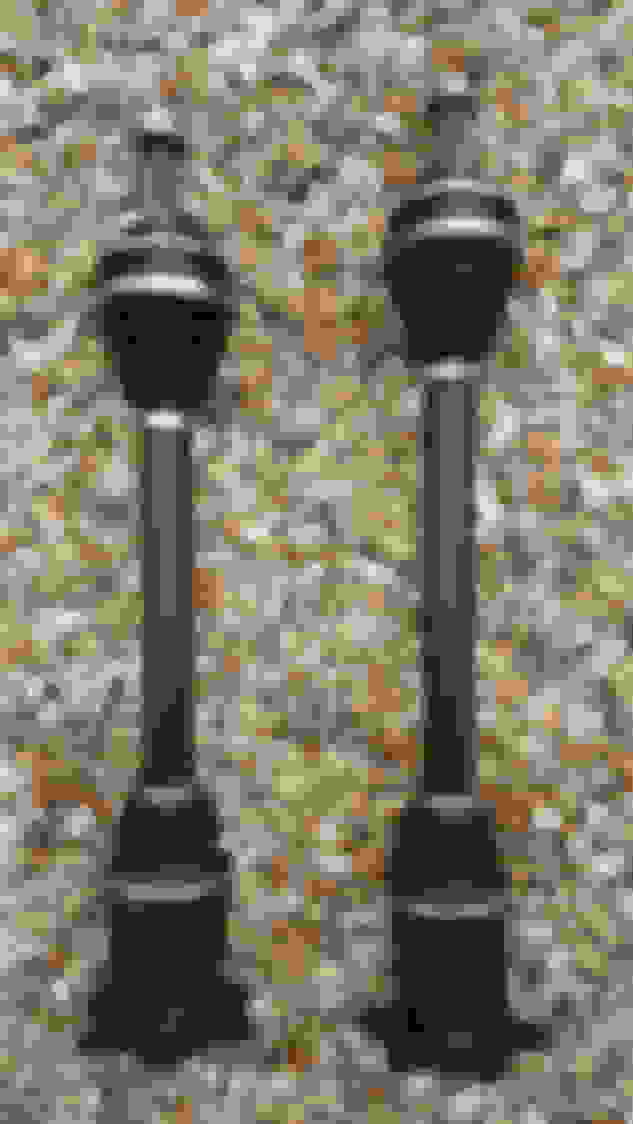
As promised some photos of the rear half shafts up to completion !
Unmasking.
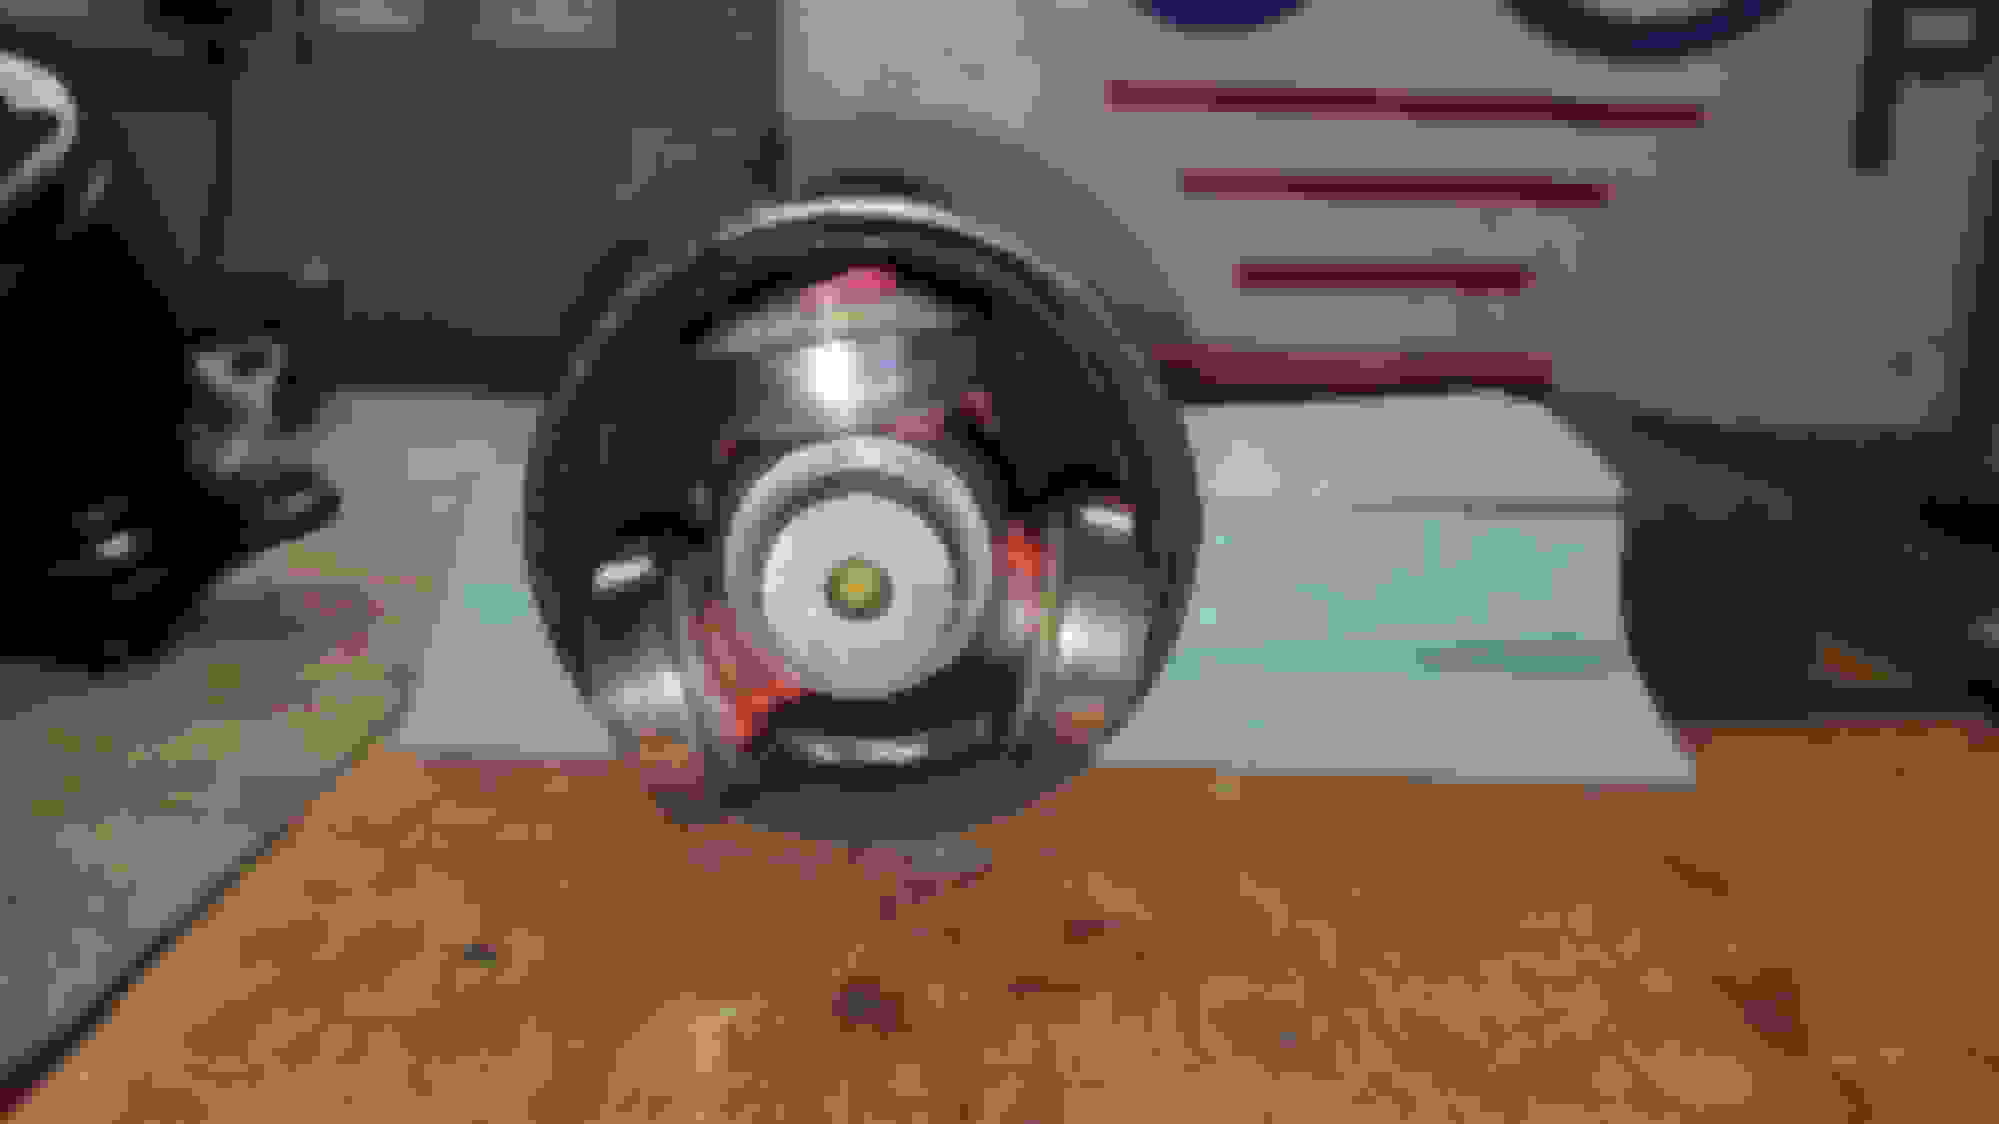
CV boot on, spider on with cir-clip, grease under each bearing to hold them in place ready for the cup to be installed.
Fresh grease packed in CV cup.
Above photo for comparison
Finished Product !! Very happy with the results, worth the effort
I did not use any new parts on the shafts, just a lot of prepping and waiting, they're never going to be 100% but atleast there is no flakey paint or rust.
More to the point there is no more vibration under acceleration as of yet, problem solved!
If the whole subframe turns out this good after its refurb i will be very happy!
Stay posted !
Last edited by Winstan; 07-15-2017 at 07:10 AM.
Reason: Additional Content
Must have missed it, but how have you dealt with the pitting in the cups?
Well spotted havent explained that well at all. The cups have been swapped with each other. Its the left side cup that normally ends up with the pitting. And that was the case on mine. The right side was as good as new. Just swap the two and it gives the bearings a fresh surface to rub against !
Hi Guys !
Long time since last post, been moving home, building a new garage and general life woes !
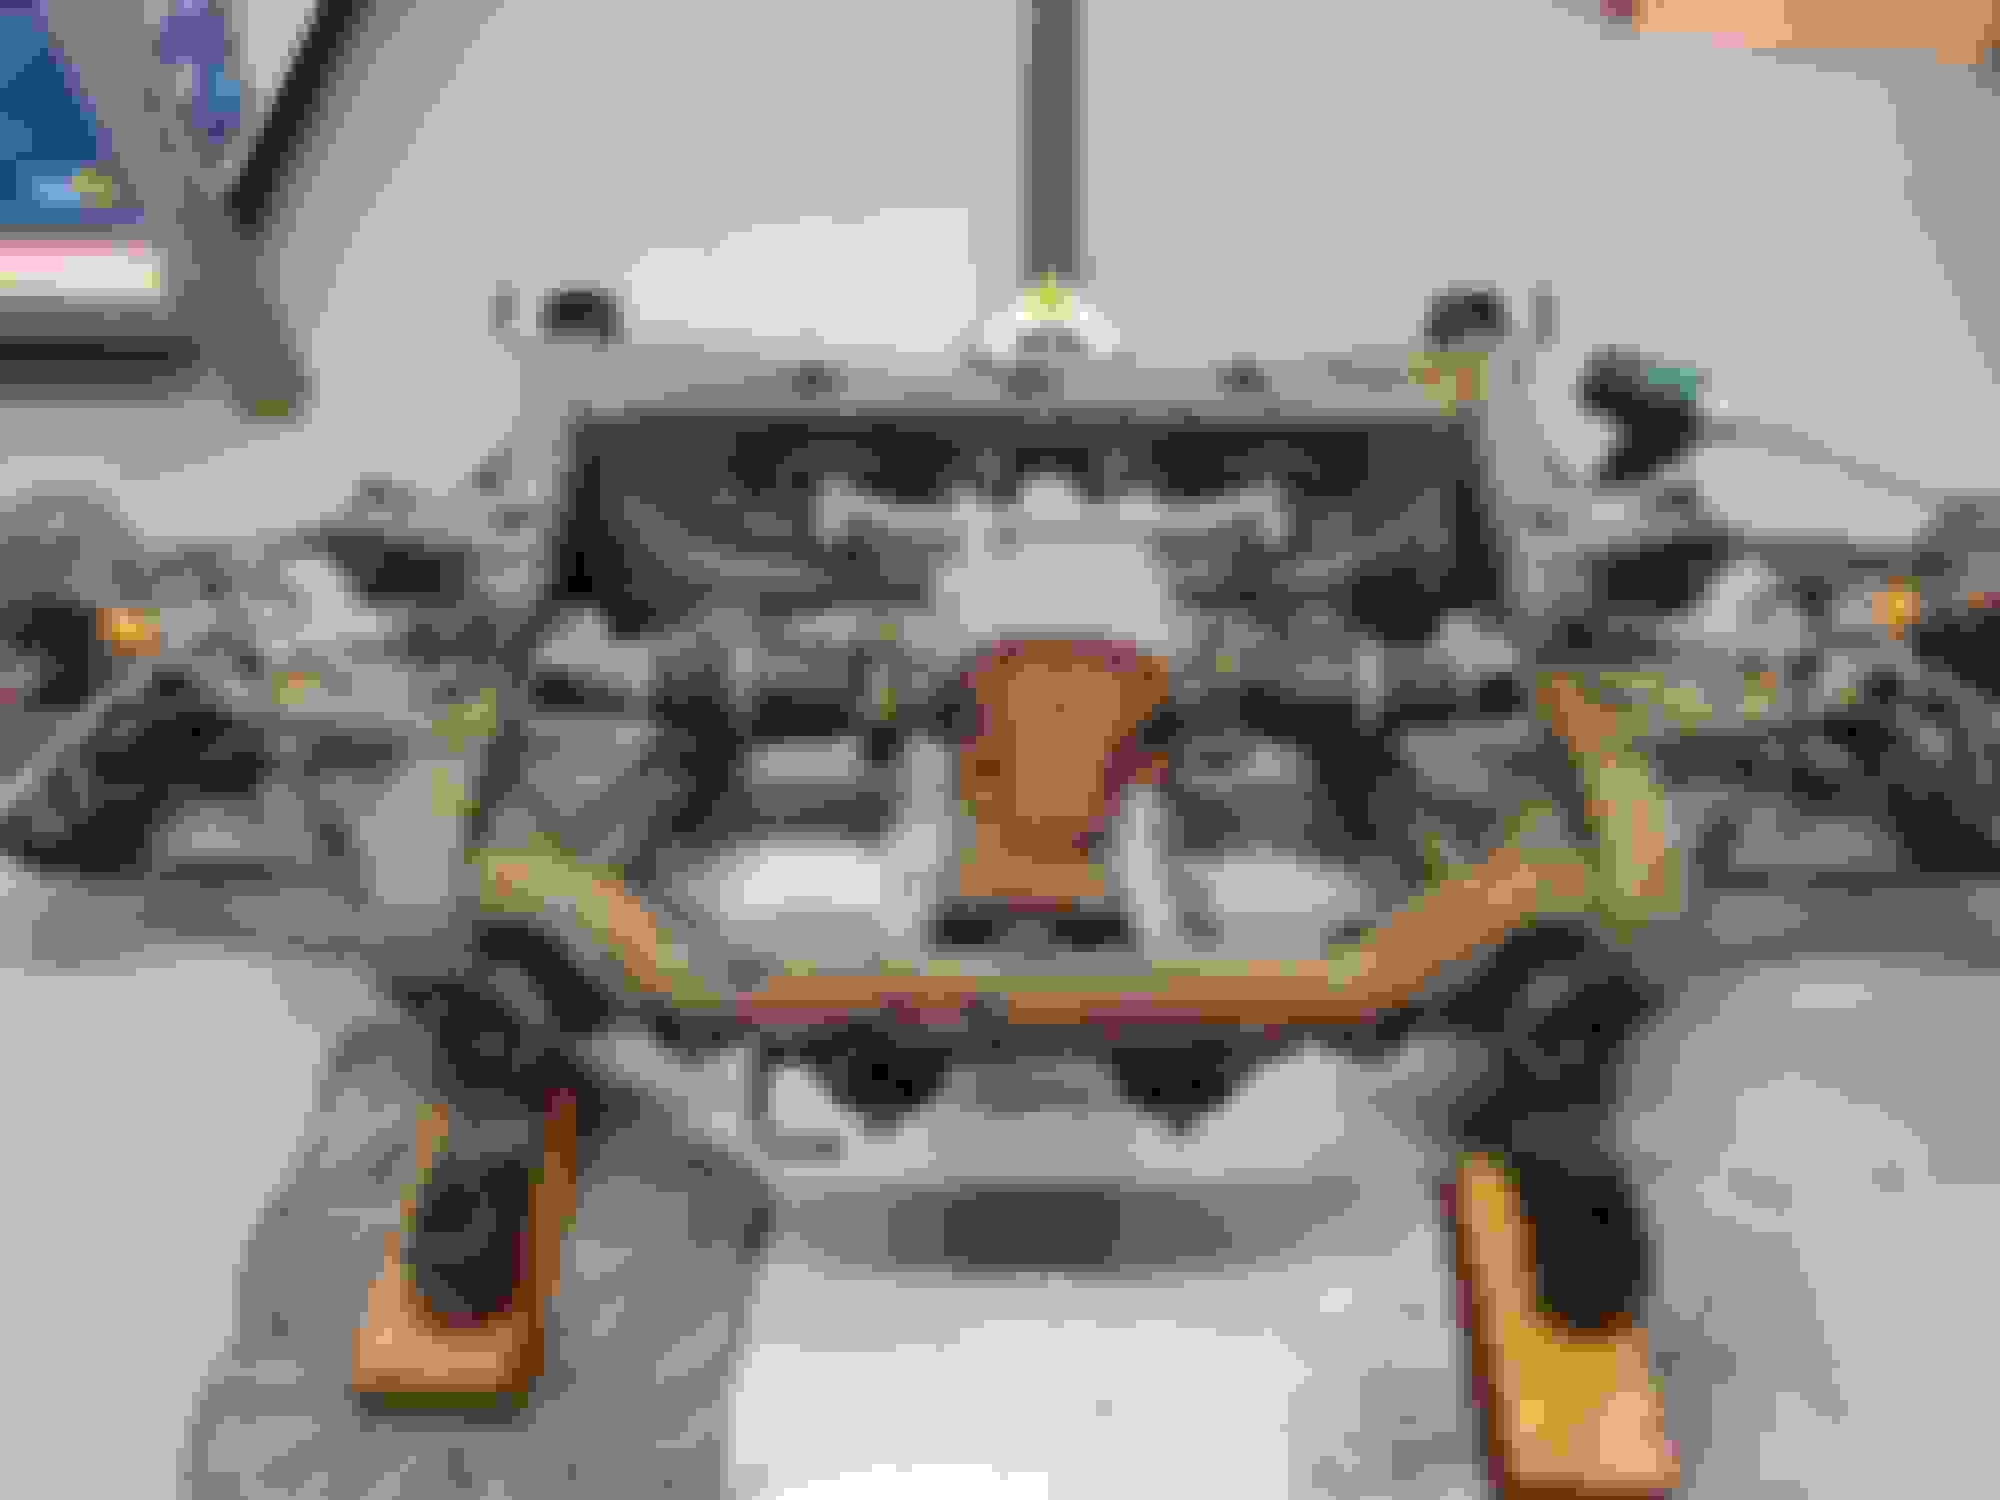
Garage is built, and it is now time for the winter teardown 2018. Subframe is removed from the car and is on the deck, the reason for this is all geometry bolts are seized, and the need to deal with rust.
Thought i would share some pictures, and issues of what I'm dealing with, please comment and question throughout the process.
Hopefully it will be of some use to you, if you decide to do the same !
Subframe removed, this is a relatively straight forward process so i will be brief and won't bother with in depth details that are easily researchable on here.
- Exhaust removed back to CAT.Prop shaft unbolted and removed completely.
- Fuel EVAP canister shield and pipe work removed and cable tied out of the way.
- Rear brake callipers disconnected from the Flexi hoses and left in situ on subframe.
- Hand brake cables disconnected and carefully bent out the way.
- Headlight adjuster unit disconnected.
- ABS sensors disconnected from inside the car and removed with the subframe.
- Bilstein coil-overs removed.
- Subframe bolts removed with jack under diff and a mate keeping subframe level whilst being lowered, and heres the results...
Sub Frame out !
Fuel tank shield removed !
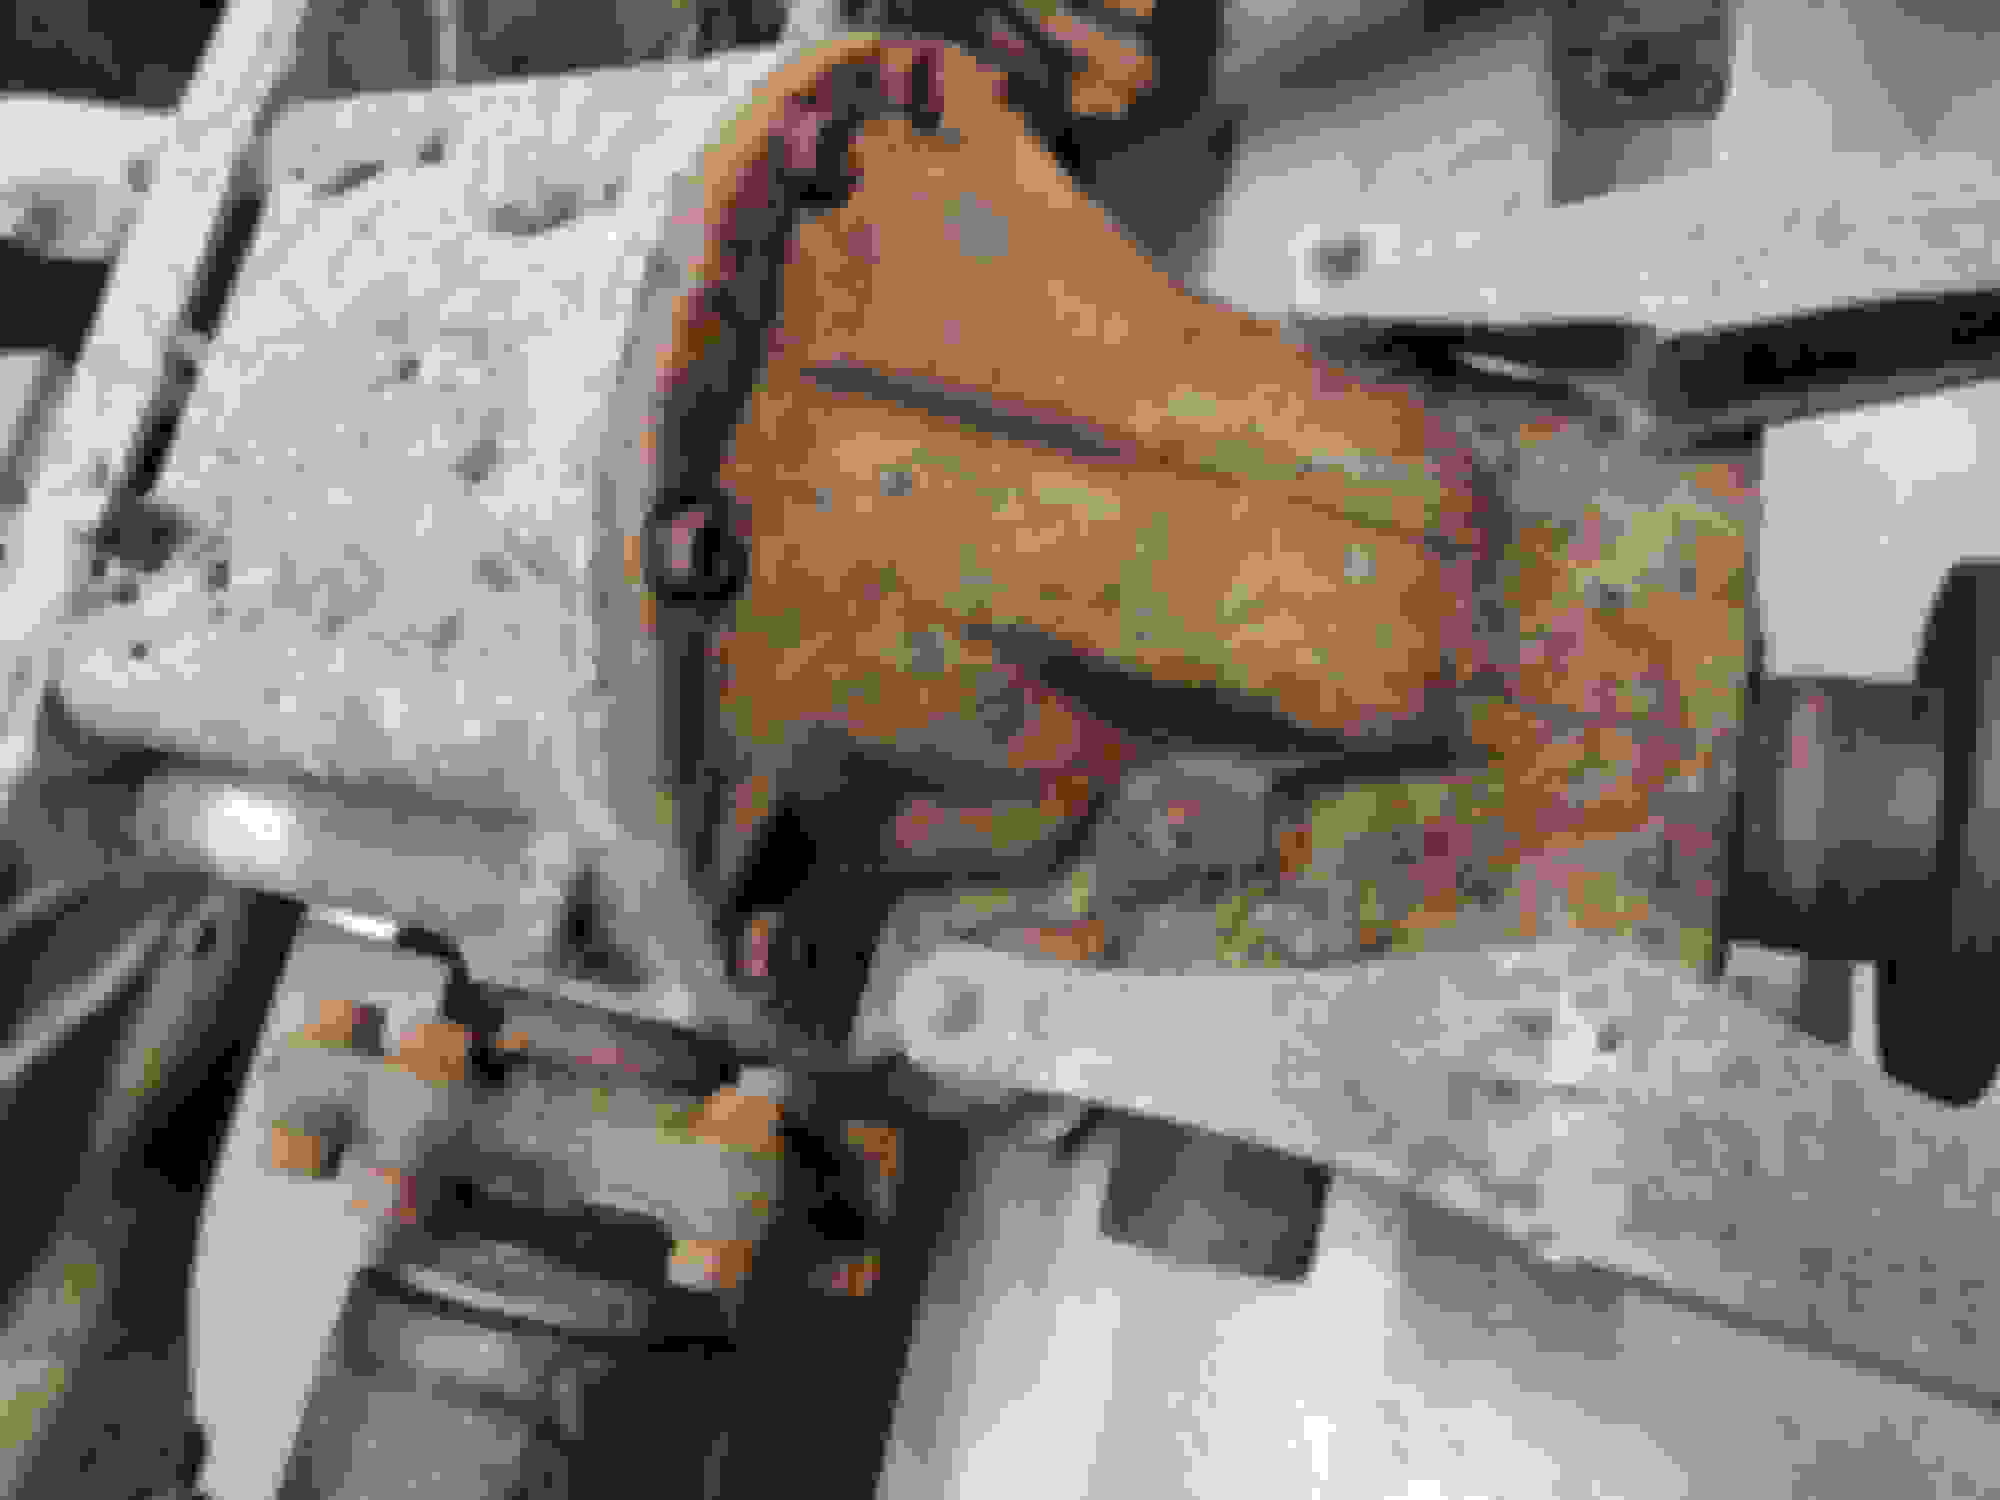
Corrosion on diff !
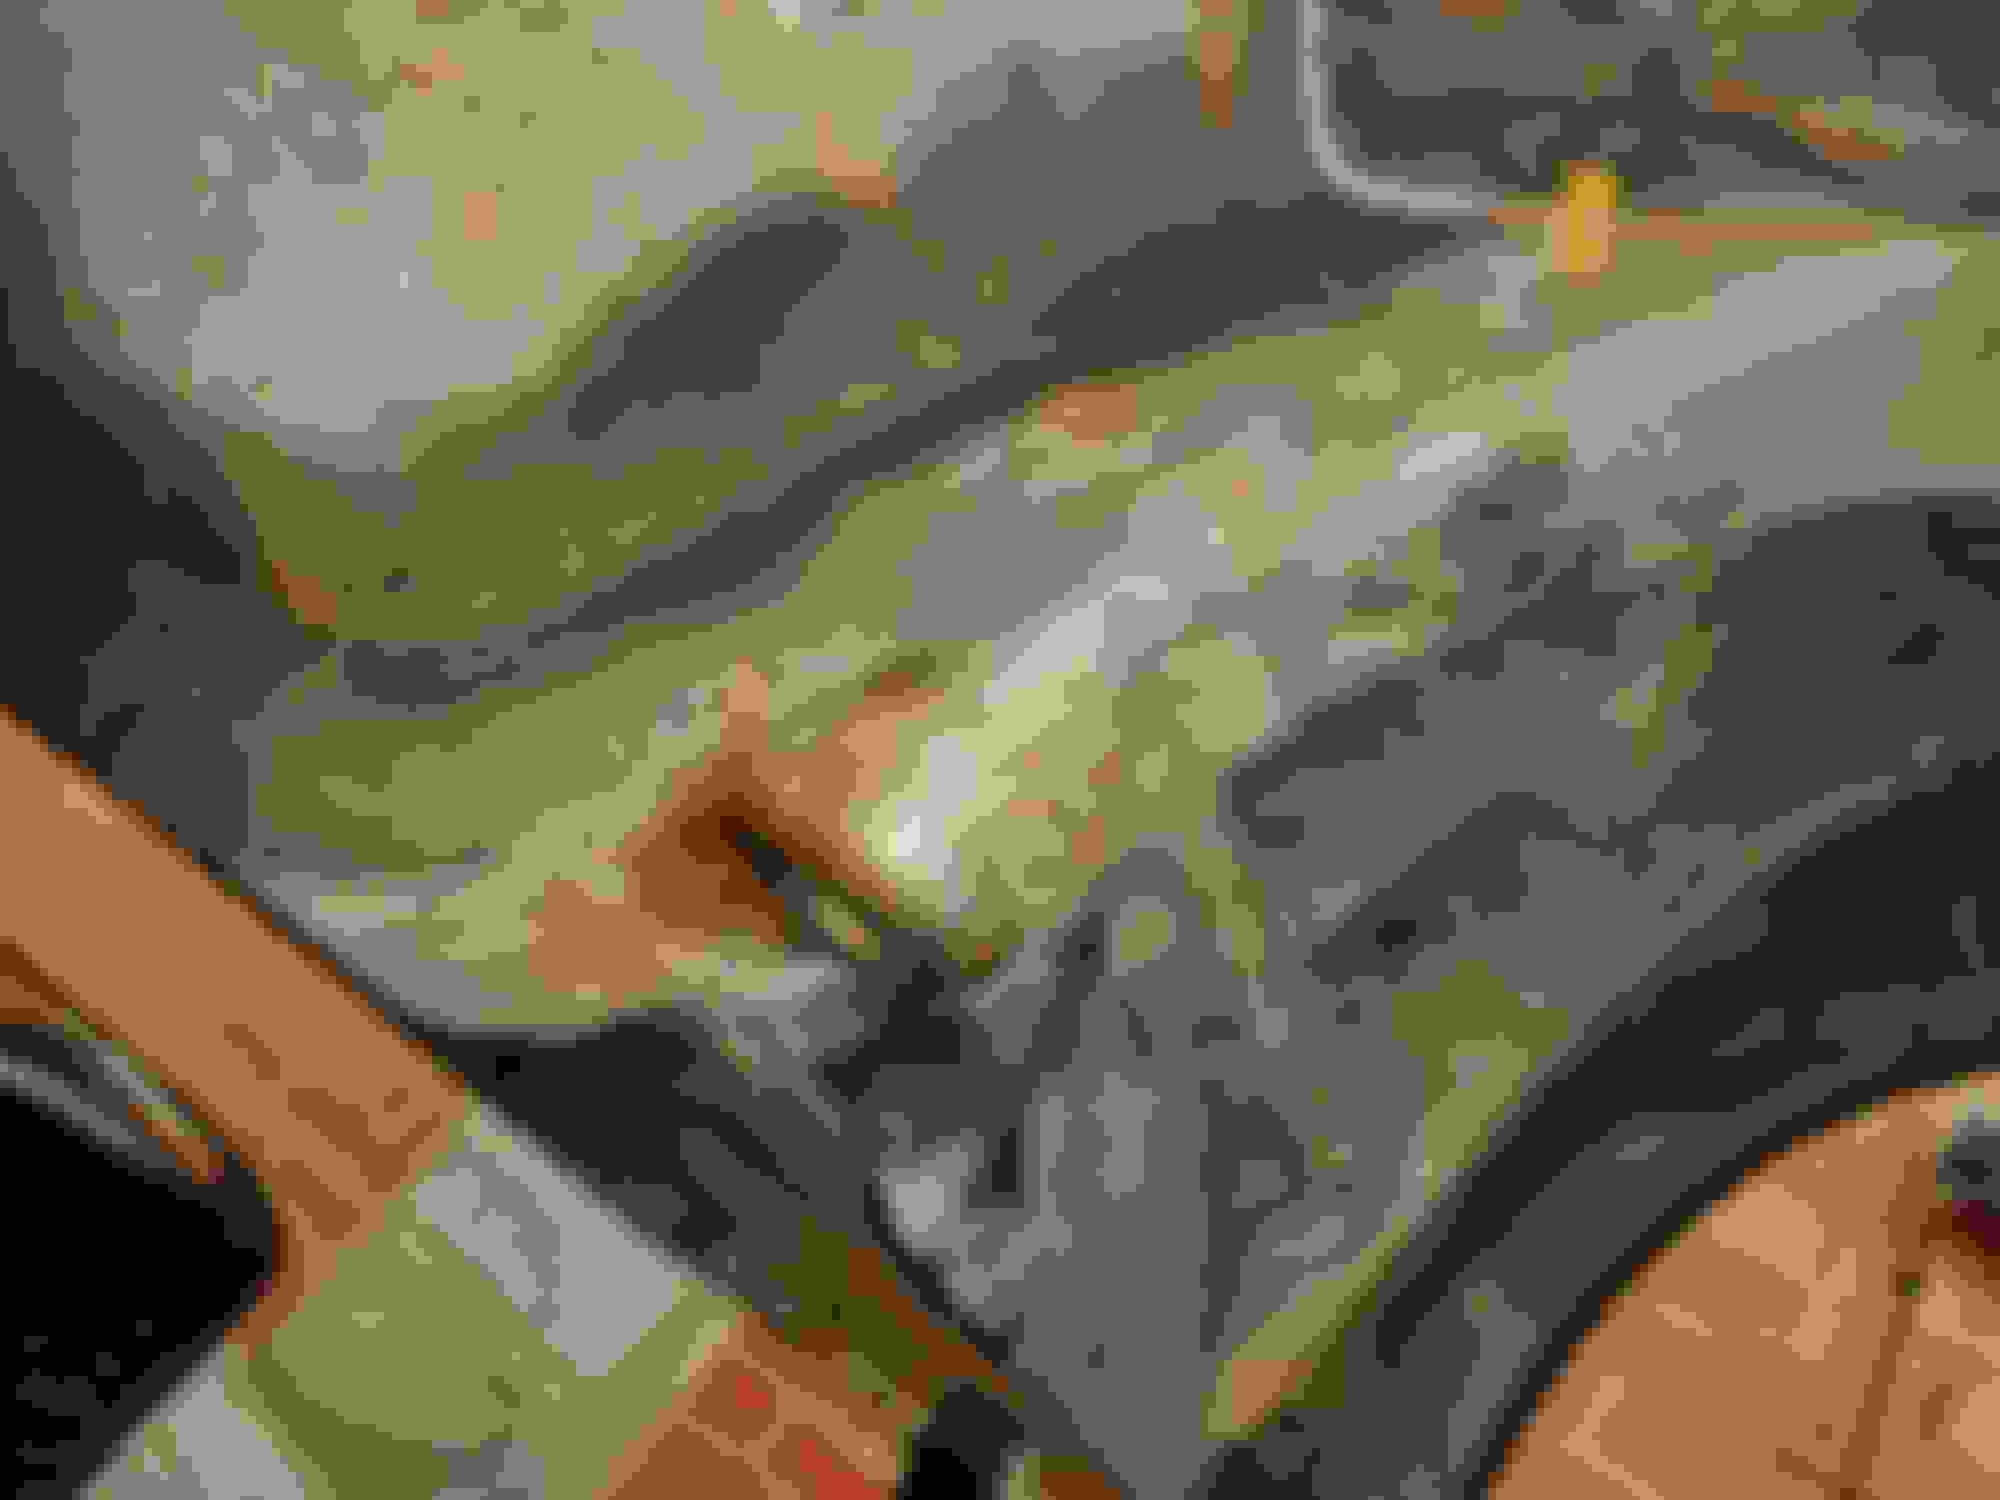
Underneath car !
Underneath car !
Corroded brake line !
General corrosion !
Previous owner used the car for motorway miles and in my opinion this is true.
My theory is the salty water spray from the road from traveling at high speed is what has done most of this damage, as the front subframe is in much better condition.
The differential corrosion had me shocked to be honest, and the corrosion on the brake/fuel lines, glad i decided to do this process.
I have begun to strip one side of the subframe removing the calliper, knuckle etc.
I am now struggling to find a cutting tool, with a narrow cutting width to cut the geo bolts and release the lower wishbone and toe arm, as they are beyond being seized they are bonded with the depths of hell !
Going to try and borrow a reciprocating saw, as the small grinder i have isn't cutting deep enough. These bolts are a major pain
 07-11-2017, 07:24 AM


 The cups have been swapped with each other. Its the left side cup that normally ends up with the pitting. And that was the case on mine. The right side was as good as new. Just swap the two and it gives the bearings a fresh surface to rub against !