When you click on links to various merchants on this site and make a purchase, this can result in this site earning a commission. Affiliate programs and affiliations include, but are not limited to, the eBay Partner Network.
IntroductionsMake your introductions to the S2000 owner community. Discussions and comments from new and future S2000 owners. You will get a warm welcome, friendly and helpful advice. The 'Start Button' of the forums.
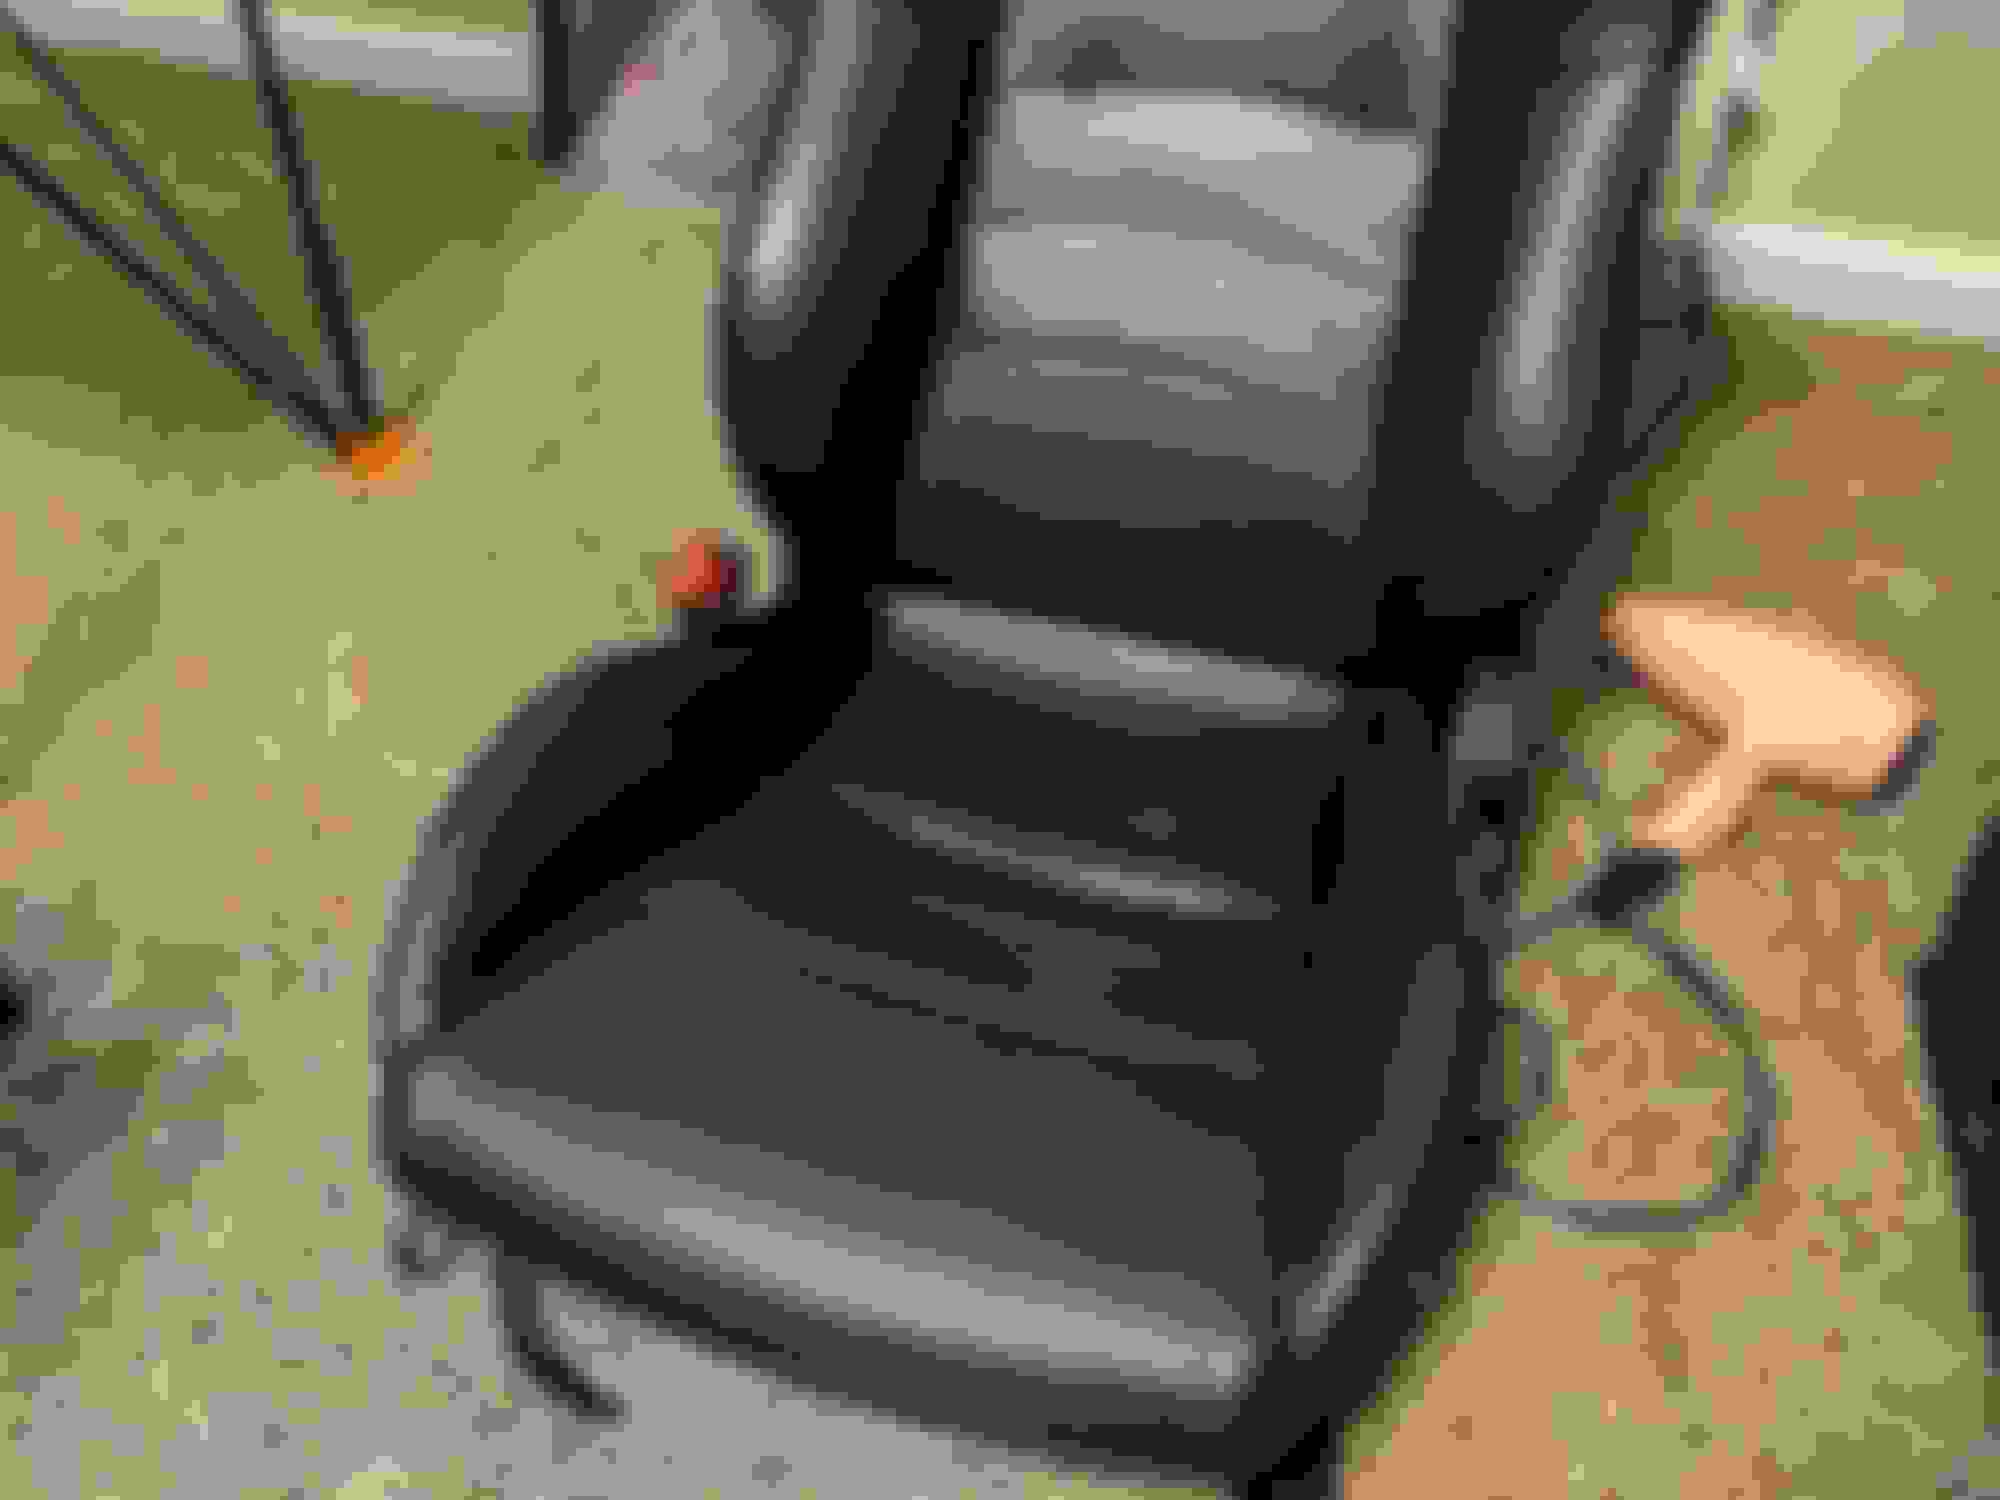
Not many guys I know would go through a high mileage car so thoroughly and competently in such a short time. Unheard of.
You might lose me when/if you start moving away from OEM. But, even then, I will watch and listen and learn.
True, I guess. Guess it's just the way I am. Pops taught me, you can appreciate things more, when you work hard. This meaning differs for everyone. To me, buying a well maintained car for 6500 and making it like a 20k example is more fun than working hard to buy a 20k example with instant gratification. Plus, learning along the way.
Nice job on the seats! Big improvement to say the least.
Dude it is insane the difference.
it's not just the looks, the leather itself is soft and supple instead of hard like a box of rocks.
I knew going into this, I won't have perfect leather - I don't want perfect grain, I want the well worn look of the seats to reflect the mileage - just want them to feel like leather and feel well maintained (soft & rich color and surface). This Dye, did exactly what I wanted, turn the outer shell into a soft plush seat, strengthen the leather so it no longer hinges.
The seat literally feels as soft/plush as a cloth seat, a contrast to the very hard passenger seat with nothing done yet. Once I Steam the passenger seat foam - like the driver seat, and dye the leather.... Man its something you have to feel to believe.
Look great. My driver's seat could use this treatment. How do you expect it to hold up over time?
According to the dye company, regular cleaning every 2-3 weeks, and applying protector every 6 months, it should last another 15-20 years
I'm pretty confident, as I've read lots and lots of reviews on leathertouchupdye.com The stuff honestly blew my mind, because I've worked with leather before. But never seen a dye that was able to soften the leather without also being smelly. This dye, filler and sealer had no smell, no noxious fumes.
Some of the things referenced in the video, you wont be able to appreciate until you are doing it. As youll probably look at it like I did, no way its gonna do that and make that big of a difference, - well it does.
Looking really good. I wouldn't mind knowing how you got the leather skin off of the seat when you rebuilt the thigh bolster. It is just held on by hog rings? I am going to pull my driver's side seat to deal with that.
Last edited by IA-SteveB; Dec 16, 2018 at 01:05 PM.
Lookin' good. When you put the emblems on the fenders it would be a huge help to see the detail of how you place them correctly.
I will make sure i take some pictures during that and try to show the tape placement
Originally Posted by IA-SteveB
Looking really good. I wouldn't mind knowing how you got the leather skin off of the seat when you rebuilt the thigh bolster. It is just held on by hog rings? I am going to pull my driver's side seat to deal with that.
Hey man, the hog rings on the bottom of the seat can be pried open with a flat head for removal, reinstalling can either be done with fresh hog rings and hog ring pliers, or regular pliers to close the old rings. The cover folds up, if you wish to completely remove the cover(not needed for bolster repair) a pair of spreading pliers will be needed to spread the hog rings for complete cover removal.