Tried tinting my back window
#12
OK, I just got some of this stuff and it took about 15 minutes to put on. Here's what you need to do:
1. Cut it to size and shape. I just laid a large piece of it over the window and used a black felt pen to trace the window's outline on it.
2. Remove the tint and put it on the paper it came rolled up in but upside down and laid out flat.
3. Make sure that the car window and the tint are both clean and lint free.
4. Take you water squirt bottle (put 1 drop of dish soap in it and mix) and spray your car window and the tint. Since it's upside down, this is the side that will touch the window. Spray both till they are dripping wet and every sq. inch is covered.
5. Take the tint, flip it over and lay the wet side down onto the window. The soap will now allow you to move it around to get it in the correct place. Spray the outside surface of the tint too to make the squeegie slide easier.
6. With the soft squeegie (or small soft spongue) start from the interior of the tint and work the water out to the edges. Press only hard enough to squeeze the water out but not so hard as to move the tint. If it moves, no biggie, just place your flat hand on it and move it back. Dab the water at the edge as it comes out. I started at one side about 6" in, then went along the top about 6" in till I got to the other side, then you can begin near the top and squeeze all the water out to the bottom.
DONE.
Leave the top up and let it dry real good over night before folding the top down. You should now be able to wash the car without the tint falling off.
HondaGal, thanks for bringing this to my attention. Crappy Tire did not have this last year when I wanted it. Looks like it will do the job as intended.
I think the problem you had was that the instructions were a bit misleading. You sprayed the water on top, which of course doesn't do anything to get the air bubbles out. As I figured, this is just a typical "wet" decal or film install.
#13
Former Moderator


Thread Starter
Cool xviper.. thanks so much!! I am going to go remove my tint and do as you said. I owe you one.
Hey this is why we have clubs right???? to help each other out.
So, now we have the tint material left over, whatcha going to do with it?? I am going to save mine for when I get the window replaced
Hey this is why we have clubs right???? to help each other out.
So, now we have the tint material left over, whatcha going to do with it?? I am going to save mine for when I get the window replaced

#15
Former Moderator


Thread Starter
Well, I am still peed at this tint crap 
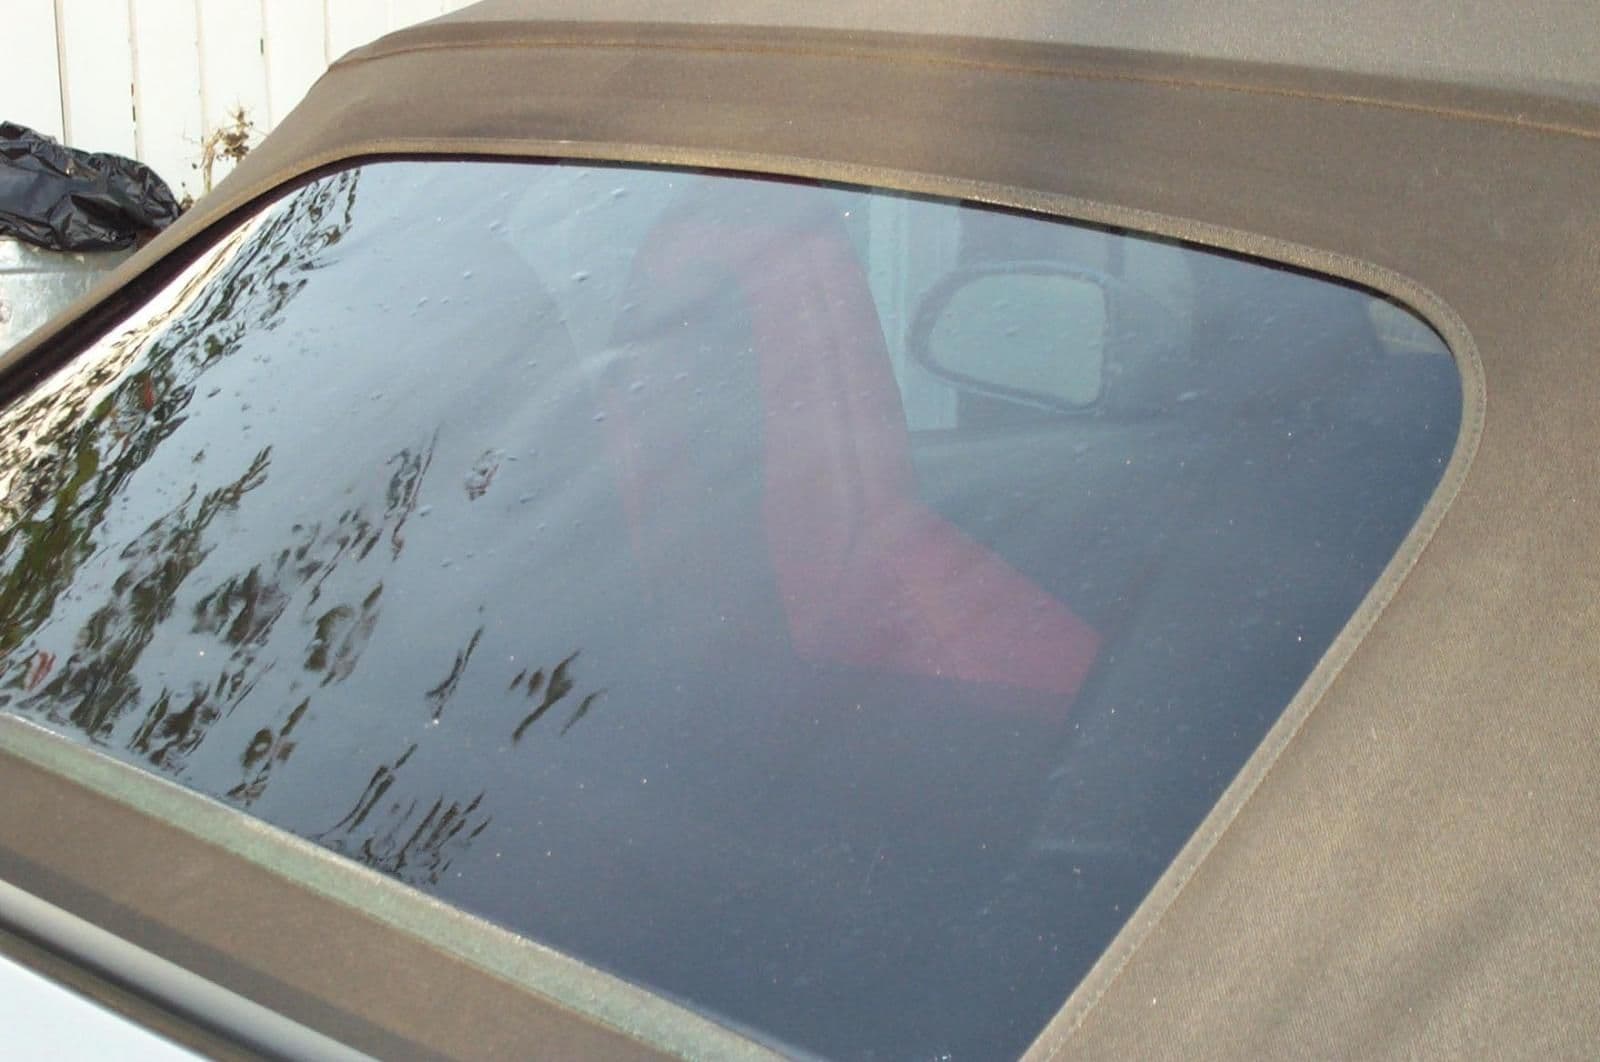
I did as xviper said, to a T ton's of water (light hint of soap) in a spary bottle. I went and bought a soft foam paint roller sponge thingy, this worked aweseome, to get the big bubbles out, then I took my gold card wrapped it in light material, and used the hard edge to work the bubbles out. I worked and worked, so hard that I needed a beer. Anyway, let it dry over night, and backed it out of the garage. Guess what, millions of tiny bubbles.
  it looks like shit. I had the top down all day yesterday and overnight. When I put it up this morning, I was surprised to see the tint looked the same. It hadn't moved and the bubbles are still there.
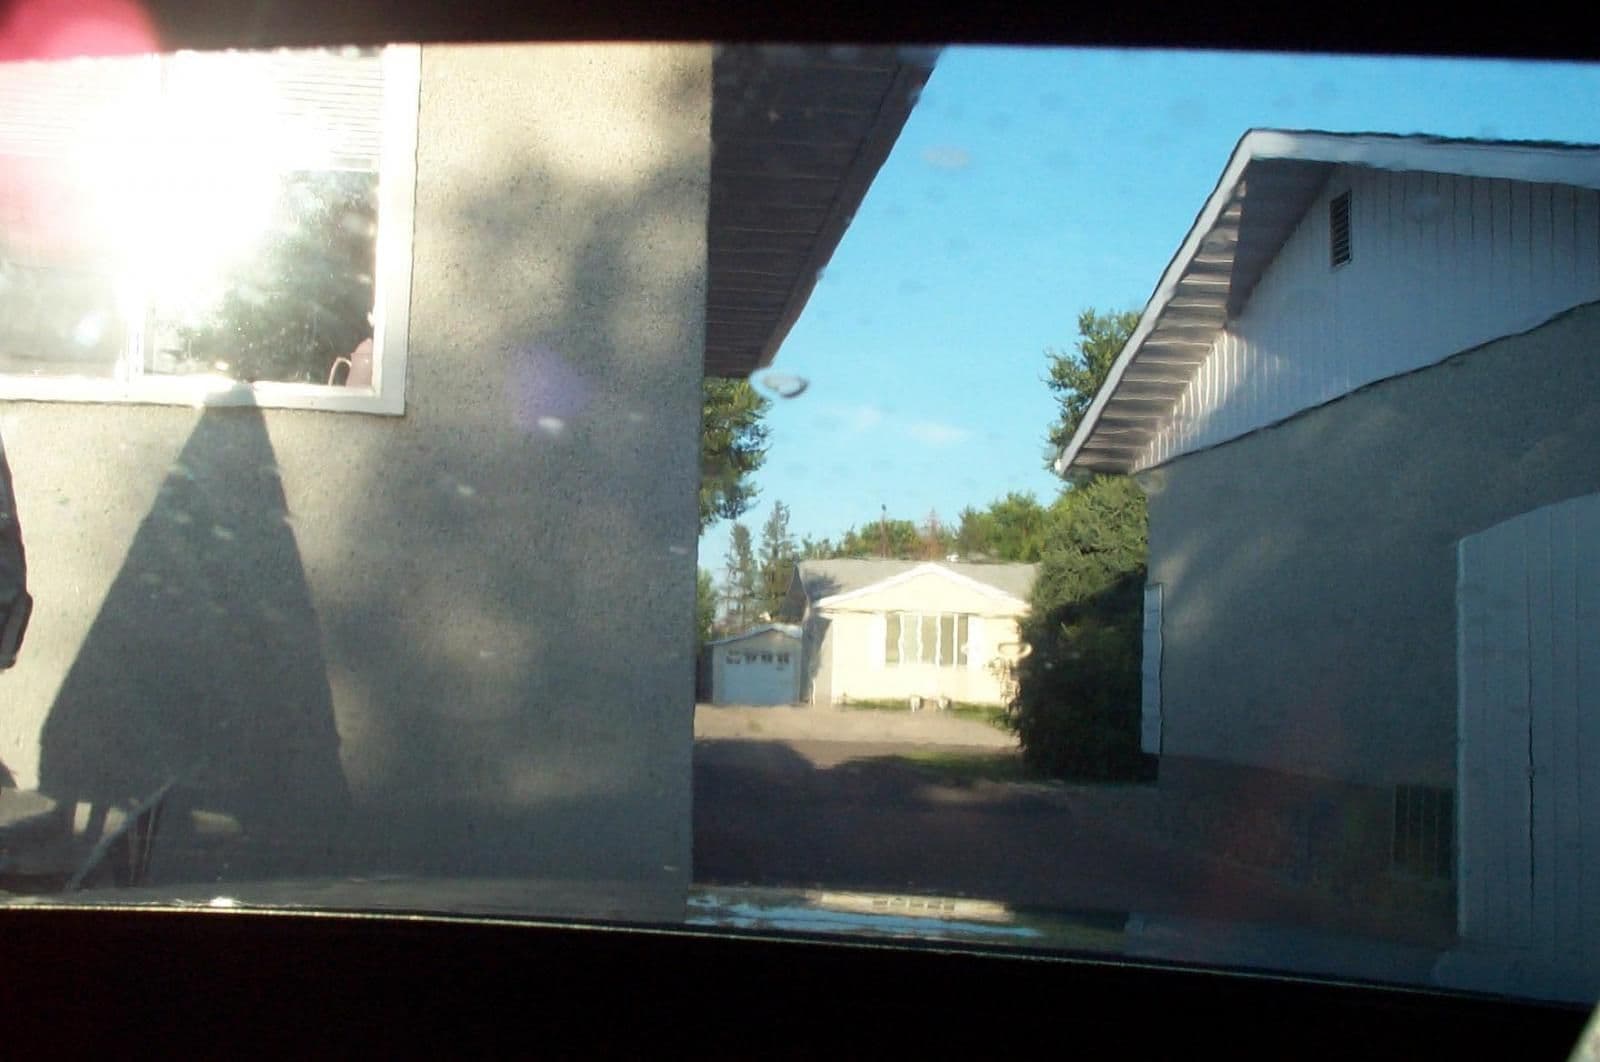
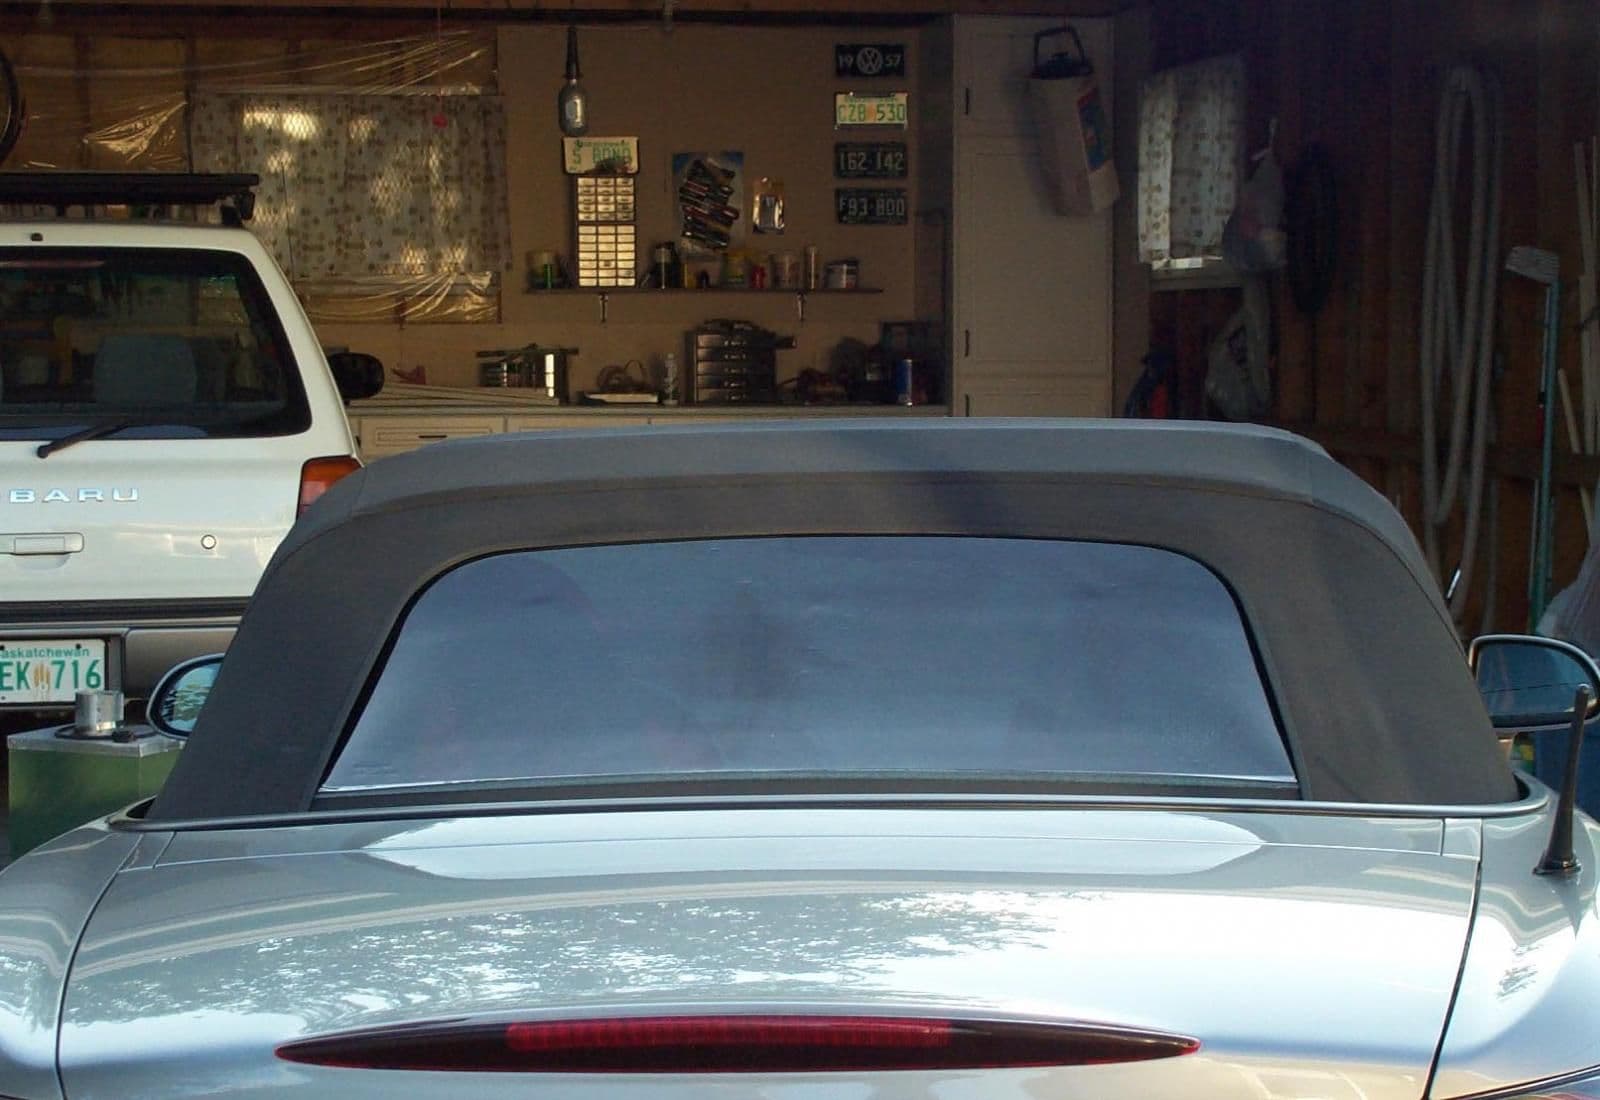
I tend to think my window has to many waves or dimples in it to allow the tint to work. Don't get me wrong, this is the best product found so far, and I believe it would work dandy, but my window is maybe to far gone. See attached pictures for a rough idea.. need to blow them up to see the blemishes.

I did as xviper said, to a T ton's of water (light hint of soap) in a spary bottle. I went and bought a soft foam paint roller sponge thingy, this worked aweseome, to get the big bubbles out, then I took my gold card
 wrapped it in light material, and used the hard edge to work the bubbles out. I worked and worked, so hard that I needed a beer. Anyway, let it dry over night, and backed it out of the garage. Guess what, millions of tiny bubbles.
  it looks like shit. I had the top down all day yesterday and overnight. When I put it up this morning, I was surprised to see the tint looked the same. It hadn't moved and the bubbles are still there.
 I tend to think my window has to many waves or dimples in it to allow the tint to work. Don't get me wrong, this is the best product found so far, and I believe it would work dandy, but my window is maybe to far gone. See attached pictures for a rough idea.. need to blow them up to see the blemishes.
Thread
Thread Starter
Forum
Replies
Last Post


