
My s2k Rebuild Thread


Thread Starter


Joined: Nov 2010
Posts: 6,324
Likes: 206
From: Ballston Spa, NY
2/6/2011
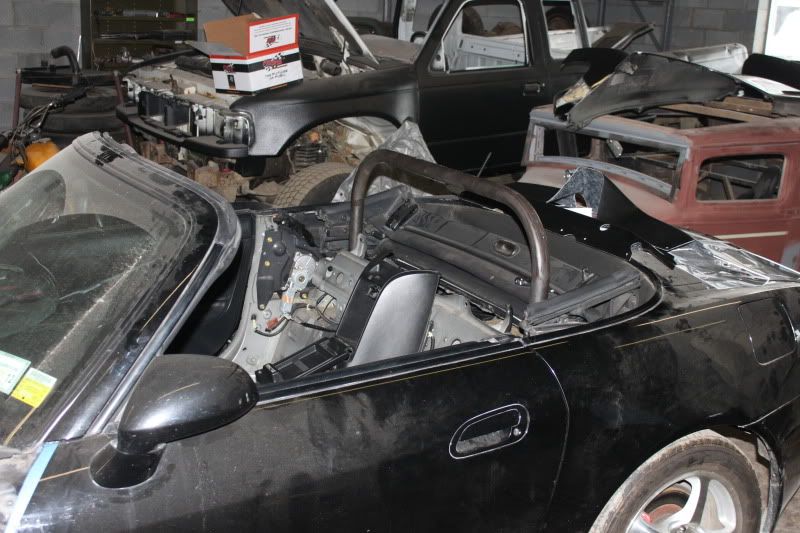
Yesterday we did some more work on the roll cage. We got the main rear hoop finished up, as well as the seatbelt harness mounting bar that attaches to it. I’m extremely happy with the way it’s come out so far. Everything has been dead on, and has matched up to the mugen trim piece 100%. I’d say where it sits right now we are about 30% done with the roll cage. Here are the pics with the step by step process.
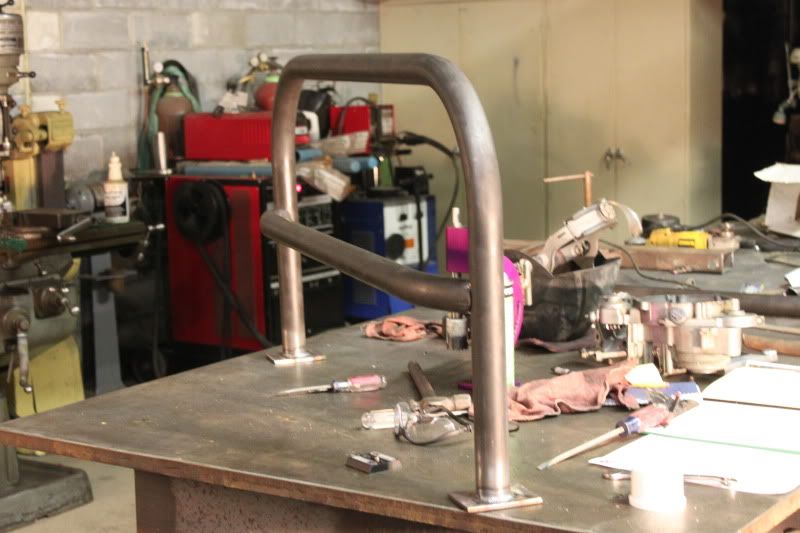
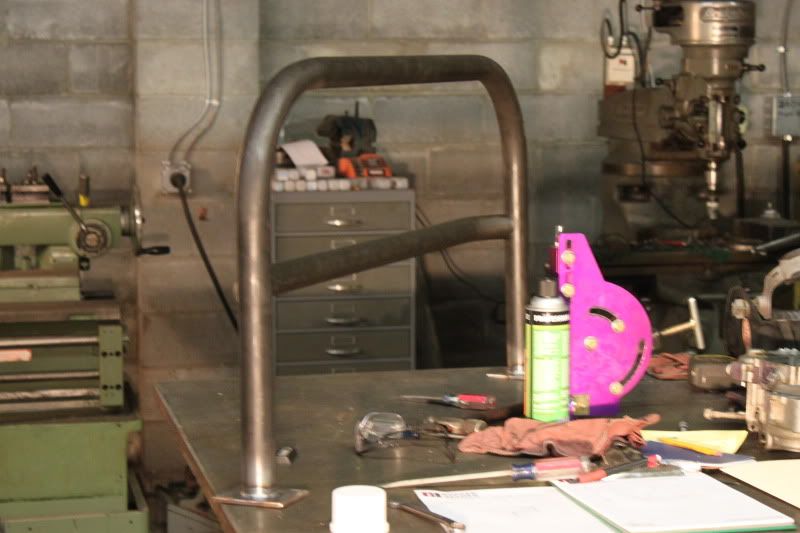
First we made the rear hoop, two 90degree bends on the same plane. Pretty simple. We made this to 22.5” height, the mounting base plates are ¼” so that’ll bring it to 22.75” height total. Top goes up and down no problem.
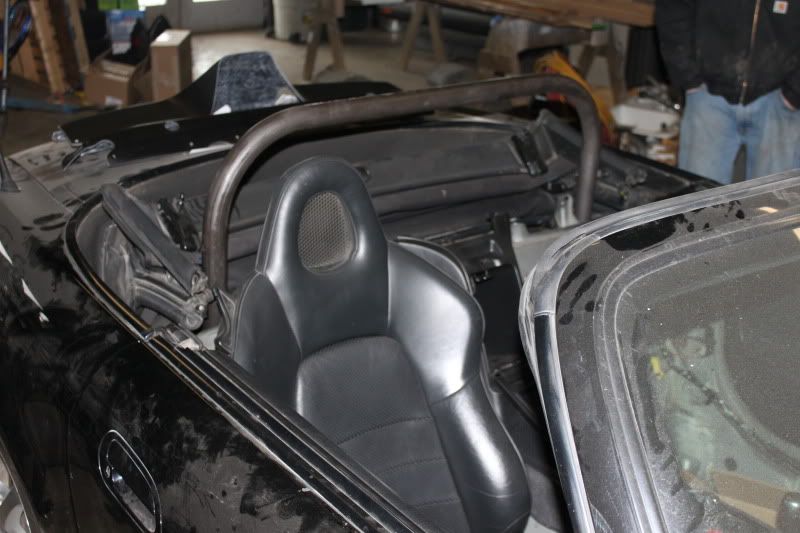
Dropped the seat in to see how it sat. Very pleased with the total height of it.
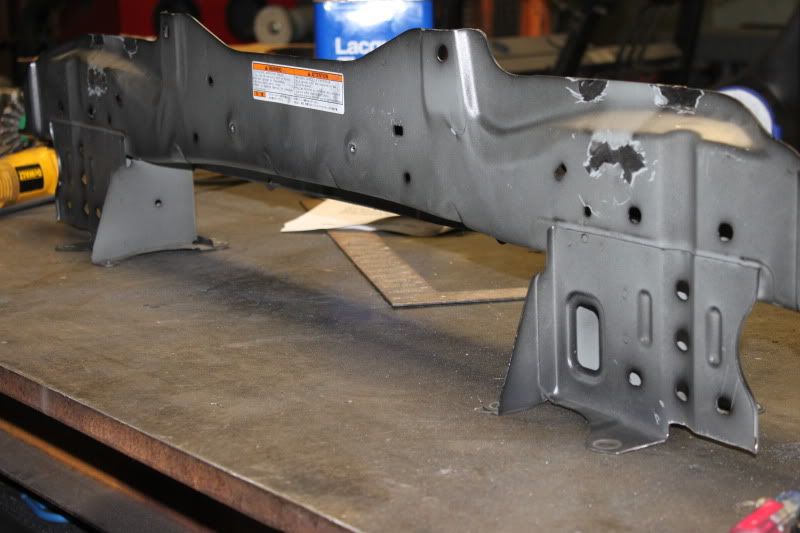
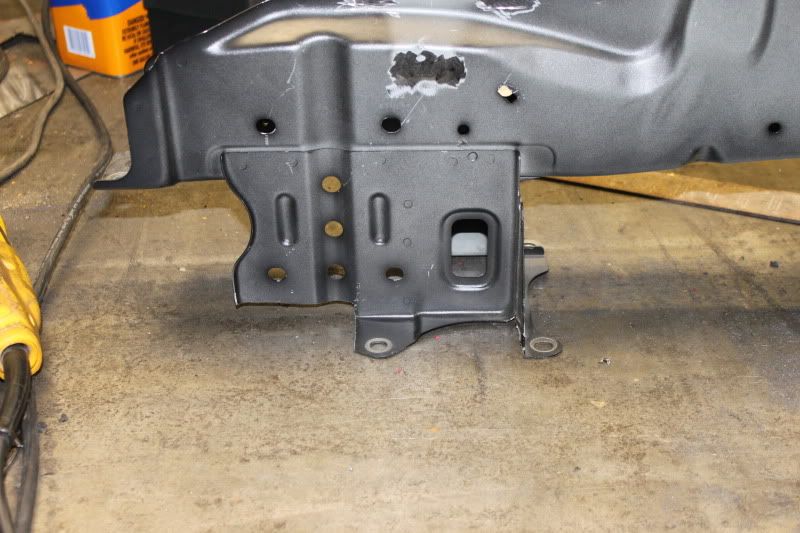
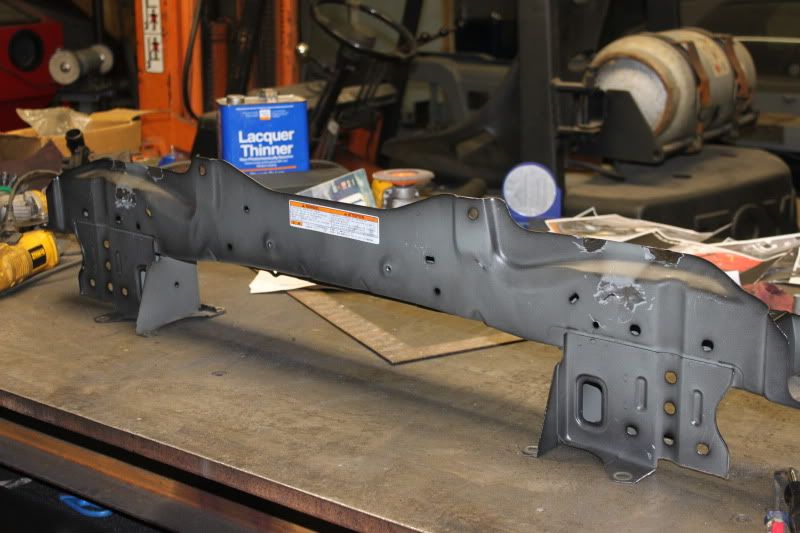
Next I took the rear support and cut out just over 3” from each end of it. Doing so I lost 1 bolt hole on each side. I also removed the stock seatbelt mounting brackets since I wont be using them. The reason for cutting this piece to so the 3”x 4” mounting plates for the rear hoop can be centered on the pipe.
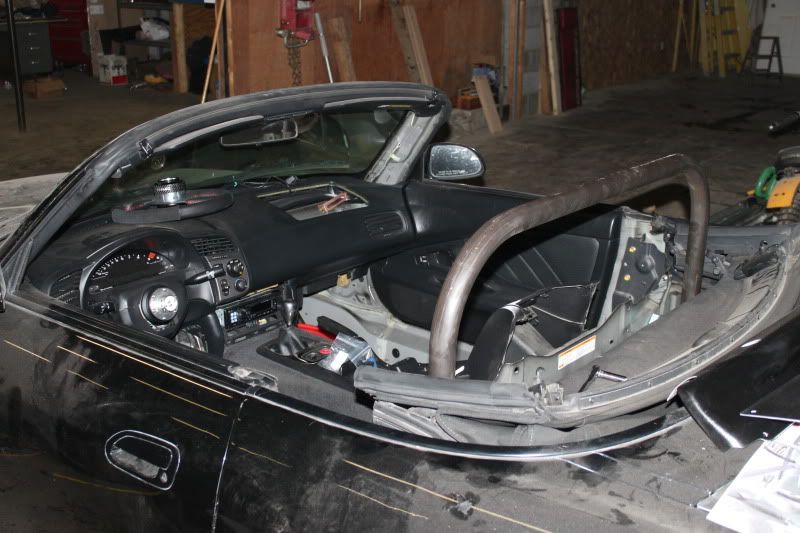
Then we welded on the 3x4” base plates for the main hoop.
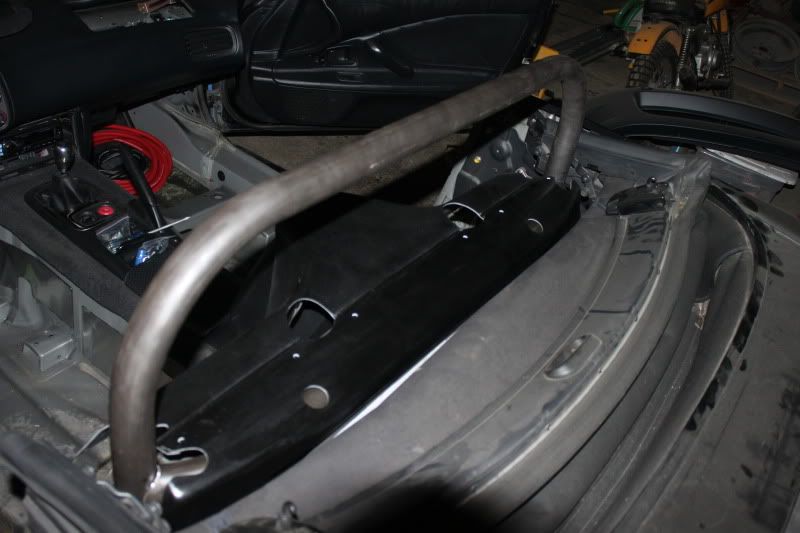
Tested the fit for clearance and everything fit perfectly
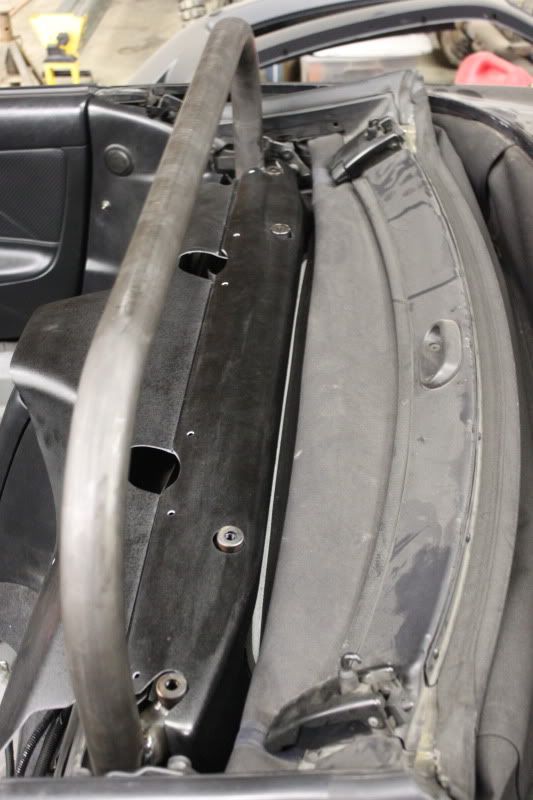
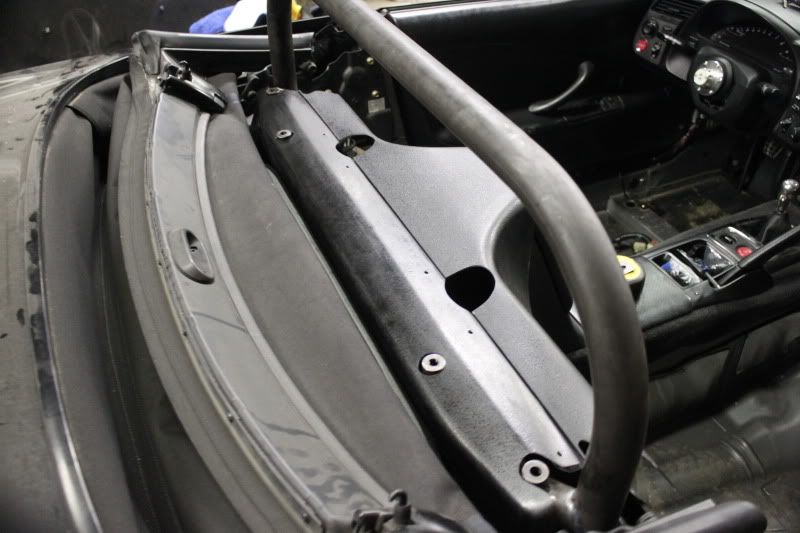
Next we measured up the piece we would need for the seatbelt harness bar. Put a bend in each end to get the bar the sit back 4” and match the mugen trim as it should, then we tacked it in place and gave it a test fit to mark up the holes for the harness mounts.
Then we put it in place with the cover to mark the holes.
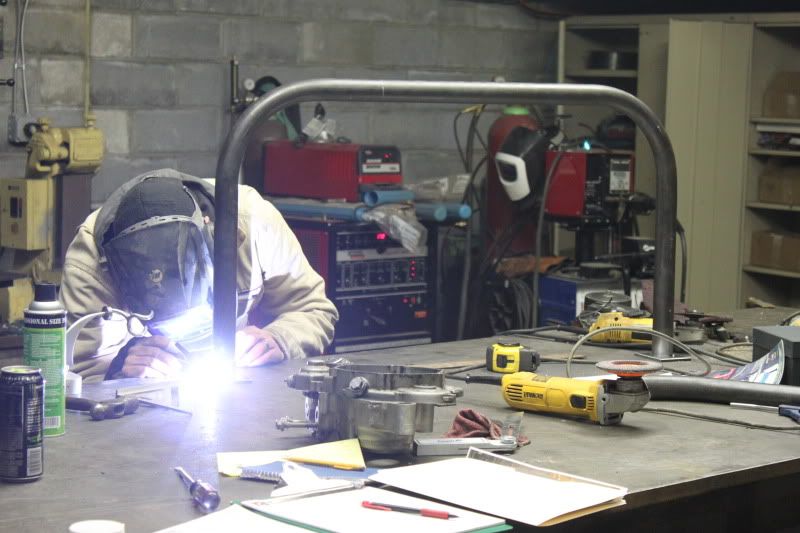
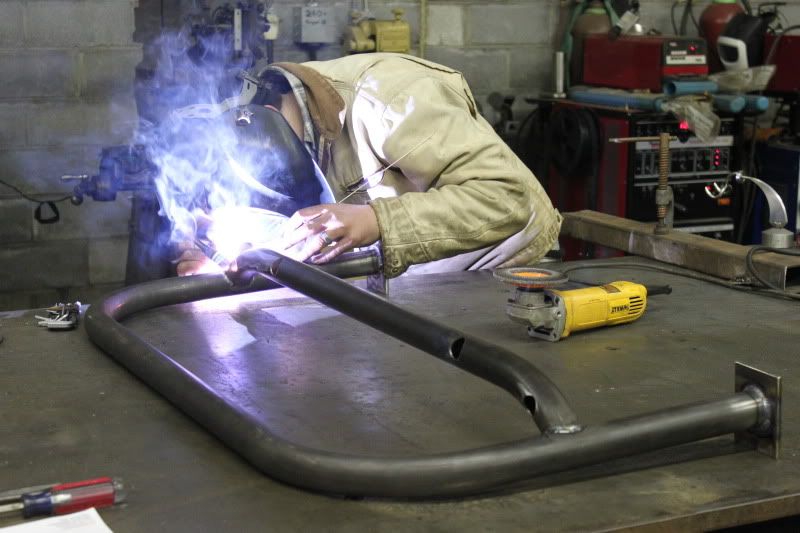
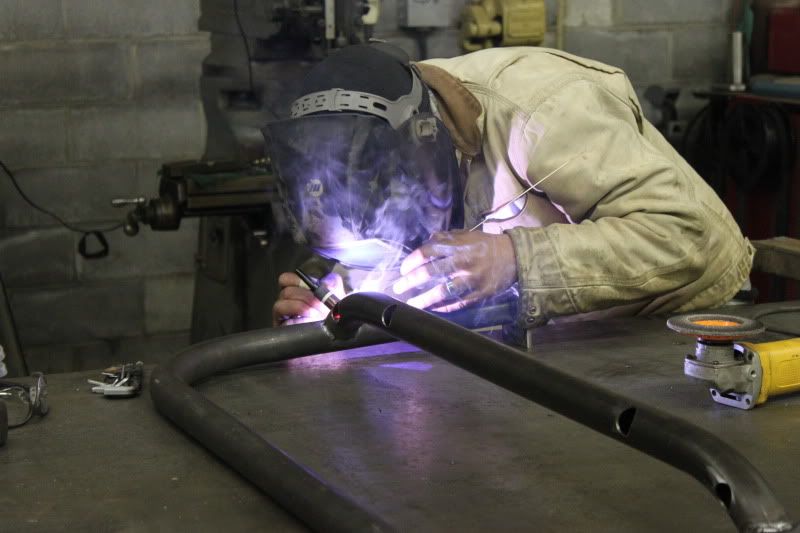
With the holes marked, we broke the tack and removed the harness bar. We then hit the marked holes with a center punch, put the bar on the mill and drilled the 1” holes. Then we tig welded the bar back in place.
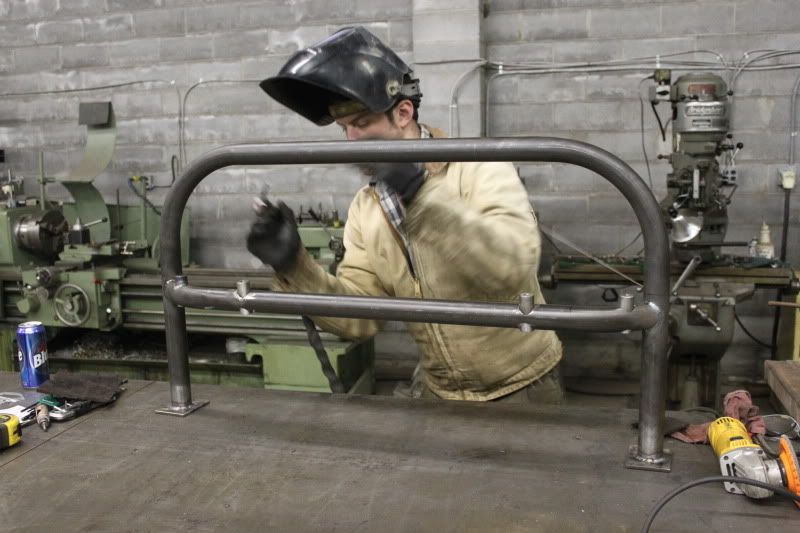
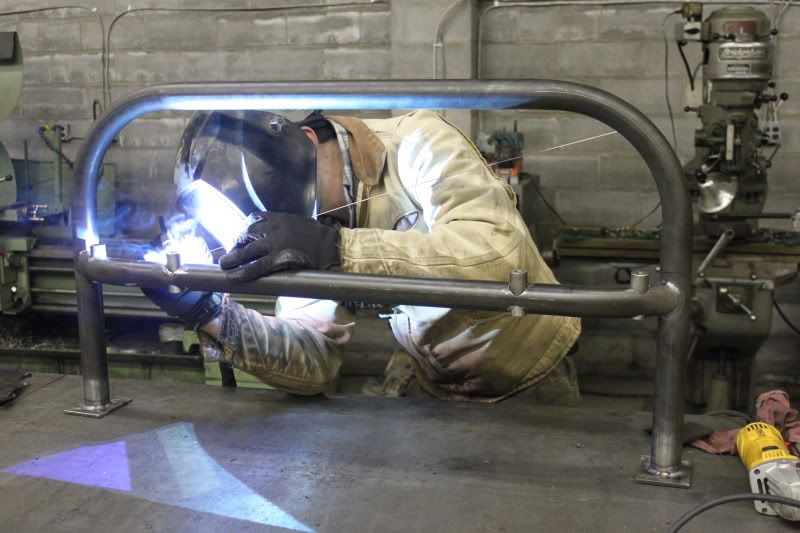
Then we cut some 1” stock to 2.5” lengths. The tube is 1.75” so 2.5” length would allow the slug to sit about ¾” above the bar, which was perfect for the trim piece. After cutting 4 slugs we put them in the mill (because we didn’t have an attachment for the lathe) centered and drilled them out and used a tap to thread them for a 7/16” harness eye bolt. We then welded these into place.

And put in place
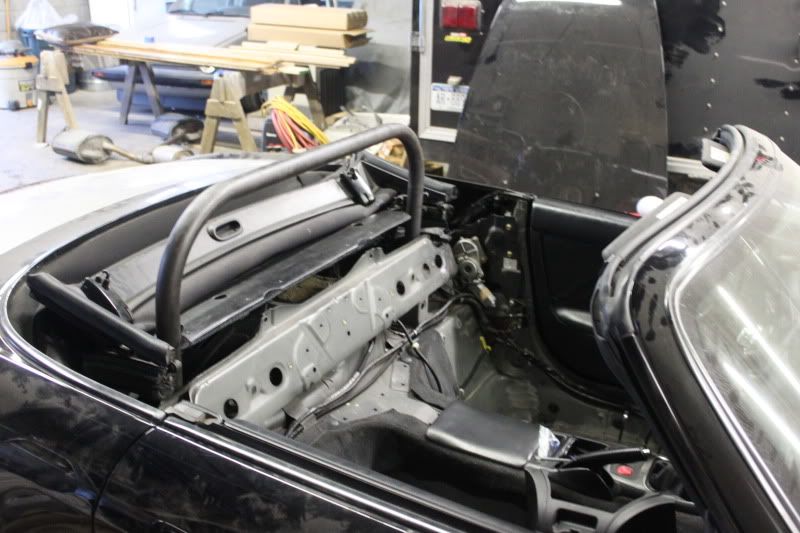
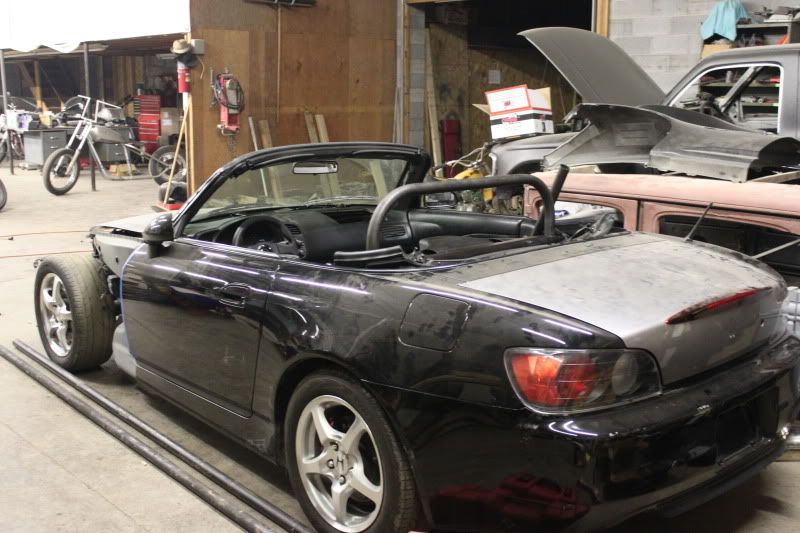
And as it sits now

Yesterday we did some more work on the roll cage. We got the main rear hoop finished up, as well as the seatbelt harness mounting bar that attaches to it. I’m extremely happy with the way it’s come out so far. Everything has been dead on, and has matched up to the mugen trim piece 100%. I’d say where it sits right now we are about 30% done with the roll cage. Here are the pics with the step by step process.
First we made the rear hoop, two 90degree bends on the same plane. Pretty simple. We made this to 22.5” height, the mounting base plates are ¼” so that’ll bring it to 22.75” height total. Top goes up and down no problem.
Dropped the seat in to see how it sat. Very pleased with the total height of it.
Next I took the rear support and cut out just over 3” from each end of it. Doing so I lost 1 bolt hole on each side. I also removed the stock seatbelt mounting brackets since I wont be using them. The reason for cutting this piece to so the 3”x 4” mounting plates for the rear hoop can be centered on the pipe.
Then we welded on the 3x4” base plates for the main hoop.
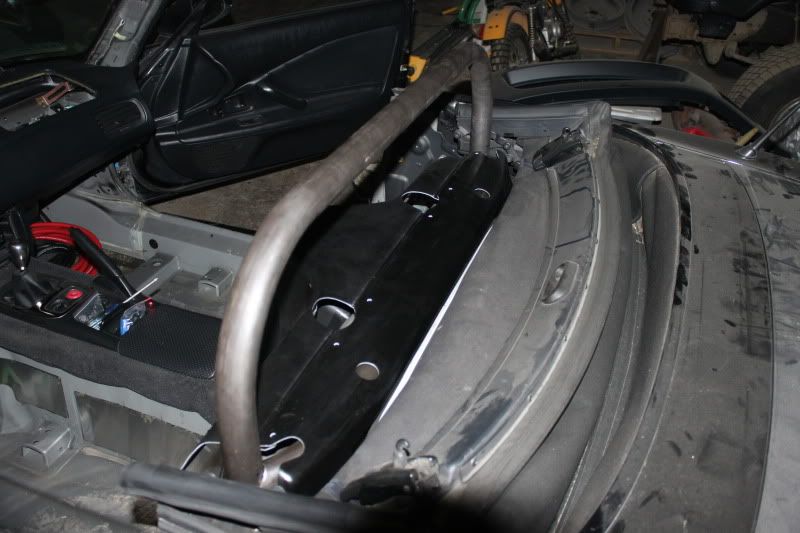
Tested the fit for clearance and everything fit perfectly
Next we measured up the piece we would need for the seatbelt harness bar. Put a bend in each end to get the bar the sit back 4” and match the mugen trim as it should, then we tacked it in place and gave it a test fit to mark up the holes for the harness mounts.
Then we put it in place with the cover to mark the holes.
With the holes marked, we broke the tack and removed the harness bar. We then hit the marked holes with a center punch, put the bar on the mill and drilled the 1” holes. Then we tig welded the bar back in place.
Then we cut some 1” stock to 2.5” lengths. The tube is 1.75” so 2.5” length would allow the slug to sit about ¾” above the bar, which was perfect for the trim piece. After cutting 4 slugs we put them in the mill (because we didn’t have an attachment for the lathe) centered and drilled them out and used a tap to thread them for a 7/16” harness eye bolt. We then welded these into place.
And put in place
And as it sits now


