

Custom Headlight Scoop

Joined: Aug 2009
Posts: 1,810
Likes: 7
None to happy... UPS was suppose to deliver today... usually here by 4.. almost 6 still not here... Don't think he is coming... I had some time tonight that would let me at least start getting the tube through the headlight body... 
But I did get the headlight pulled apart. Ended up doing the oven thing and it worked with only 10mins at 225, house didn't stink either, just a bit when you open the oven the first time...
Going to keep the reflector in, it will let me be a bit messier on the back side with enlarging the back of the light....

Thread Starter
Registered User
Joined: Jul 2010
Posts: 1,023
Likes: 0
From: Geneva, NY 14456
Dang, that stinks, hopefully it comes tomorrow if you don't get it tonight. Ugh i don't think i have the balls to throw it in the oven. If my ma found out shed probably cut my newly aquired balls right off lol. Did you preheat the oven first? Whats your secret any special herbs or spices? lol.
Do you plan on painting the reflector or just leaving it the way it is?
Do you plan on painting the reflector or just leaving it the way it is?
Joined: Aug 2009
Posts: 1,810
Likes: 7
 UPS came at 6:30! Just as I was finishing dinner!
 Already cut the back up, you don't need to trim the ring holding the reflector (the one with the screws) if you move the tubing closer to the low beam about an 3/16" (which I ended up doing, screw ring is aluminum) Dremel battery is recharging so I can start cutting through the reflector.
I will post progress pics in a couple of hours.
As far as doing it in the oven, I will say you mom will likely never know unless she catches you... There really is no smell except for initially opening the oven door. My wife will never know but then again she doesn't know how to cook...
I basically followed the Rick's Accessories directions. I used a baking sheet with a damp towel with the light sitting on it, throw it in the oven then turned it to 225 for 10mins (no preheat). Wearing gloves I used a flat head screw driver on the high beam side of the light to start to work the lens free from the housing, I worked along the top of the light and then just kept pulling away from the housing and using the lower side like a hinge and it eventually came free. I probably should have reheated the lens when I was about halfway as it was getting tough to pull apart but I got it.
Right now I plan on keeping the reflector chrome, but we will see how the trimming of it goes, I may have to black it out to hide a mistake....
Stay tuned...
Joined: Aug 2009
Posts: 1,810
Likes: 7
 All right update!
 After 2hrs of grinding, thinking, grinding, thinking, fitting, grinding, thinking,fitting, grinding, fitting..... Headlight Housing and Reflector modified to accept 3" OD Tube!!!

Headlight to start with...
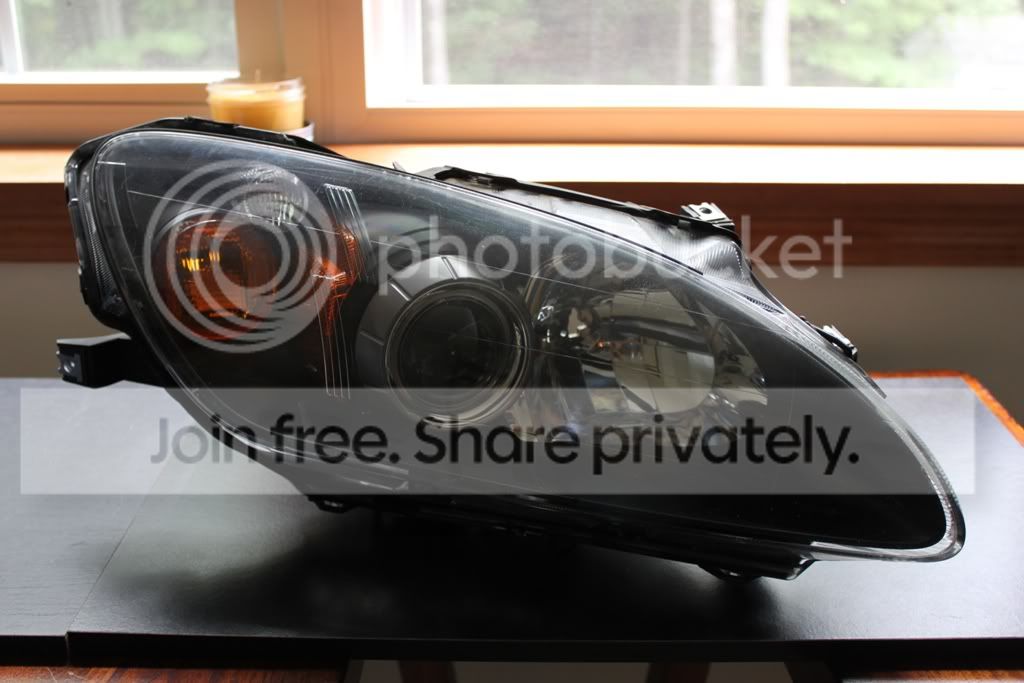

Lens separated from Housing... Used oven method... 225* for 10mins on a baking sheet and a damp towel...


Little bit of inspection... Reflector is mounted to a main rail that controls both the low beam and high beam alignment... I would have to disassemble the whole headlight.. Don't want to do that...

Bit of checking on location and marking for the 3" pipe to come through...

2hrs later.... Using a dremel with a cut off wheel for the back of the housing and a rough cut out on the reflector, then a large grinding bit... Housing and Reflector cut out to accept 3" OD pipe... (I HIGHLY RECOMMEND, wearing a dust mask and having a vacuum running in the work area, grinding creates a TON of dust...)


3" pipe test section inserted...


So what I found and Bnag0 was correct, the main reflector mount rail is in the way for a 3" pipe to come straight in. After getting the pipe down to that level I found that it only hit it by a bit. I started to grind on it and found it was aluminum... hrmmm that will take awhile... More thinking and looking and I found that I could push the tubing 3/16" closer to the low beam and clear the main reflector mount rail...

The tubing gets pinched between the main reflector mount rail and the housing now...

What's next.... Well I need to clean up the work I did today, bit more fitting/cleanup of the reflector and back of the housing... Then working on how to fit the pipe to the lens... I have some ideas but won't know until I start getting into it.. Project so far isn't taking as long as I expected so I might have the modification done by the end of the weekend... But we will see how time permits and the next step takes...
Thread Starter
Registered User
Joined: Jul 2010
Posts: 1,023
Likes: 0
From: Geneva, NY 14456
Very nice job so far!!
I am waiting for my pictures to upload . Seeing that 3" tube in there makes me want to do it all over agian because i opted for the 2.75". I just have to keep telling myself "hey whats .25" anyhow.." 
"Dust" you said it brother lol. I didn't plan on taking my lense off but i think ill have to now because of all the dust inside or maybe run some water through it and blow it out real good? idk
I am waiting for my pictures to upload
. Seeing that 3" tube in there makes me want to do it all over agian because i opted for the 2.75". I just have to keep telling myself "hey whats .25" anyhow.." "Dust" you said it brother lol. I didn't plan on taking my lense off but i think ill have to now because of all the dust inside or maybe run some water through it and blow it out real good? idk
Thread Starter
Registered User
Joined: Jul 2010
Posts: 1,023
Likes: 0
From: Geneva, NY 14456
So here we are...
To start i bought a 2.75" hole saw.. $15 wtf. Cut through the high beam reflector and had to file the opening a bit to fit the 2.75" tube through. I then took a few measurments and set a center line on tube and back of headlight as a reference point. Trim/check/trim/check for about 30-45min finally got it mostly all flush to the lense. Not sure if you can tell but there is a significant amount of plstic dust from cutting out the reflector. Before i trace and cut the lense i might want to take the lense off to clean it. Hopefully going to find some other way...
pictures...
Joined: Aug 2009
Posts: 1,810
Likes: 7
Nice.
Can I ask a favor...
1. Where was your referece line? 12 o'clock?
2. Can you take a few side shots of the tube as it sits nows and some rough measurements in height change between your reference (say 12 and 6) and 90degs to it at (3 and 9)? I imagine this has a bit of a compound shape to fit the lens and getting this will speed up my fitting process as it will let me get it roughed in faster... Ideally I want to just cut out the center of the lens and butt the tubing up to it like you seem to be doing...
As far as the dust... It has gotten under neath the lens bezels also so it could migrate out... Also the powder is so fine getting it wet will probably make it stick more....
Thread Starter
Registered User
Joined: Jul 2010
Posts: 1,023
Likes: 0
From: Geneva, NY 14456
What i sketched on the tube was pretty rough but i will explain how i did it.
First thing is first make a reference point on the back of the headlight and mark the tube so you put the tube in the same way every time you go to trim and check. Marking each quadrant on the entire length of the tube would be helpful even though i didn't. Now with the lens on, stick the tube in so it reaches the lens.
Take a look at the picture below...
The right side of the tube was 2.5" away from contact, so i had to trim 2.5" away from the left side. Try to remember where the tube actually touched the lens, this is where you will measure down 2.5" and make your mark. With this mark you will draw a rough ellipse that will travel back to the longest point (the point that was 2.5" away) You will repeat this but looking from the side. No matter how many angles of reference you have it really comes down to patience trial/error. Hope that helps...
 ....
....