

GP Fabrication DIY + Input -UP NOW


Thread Starter
Registered User
Joined: May 2010
Posts: 1,408
Likes: 1
From: Columbia, South Carolina
Monday i will have them showing up so i will be writing the Installs and a little review of each as i did for his mater cylinder covers and diffuser:
https://www.s2ki.com/s2000/topic/903...stallsreviews/
GPFAB Website as per several requests: http://gladfab.myshopify.com/
I figured i would see if anyone wanted to post questions or anything they would like a better picture of before i do the installs. this would make it easier to have the questions as i write the DIYs and can address anything asked better.
RESERVED BELLOW FOR:
Battery Shield:
Alright, tools you need:
Drill
7/32 or larger drill bit
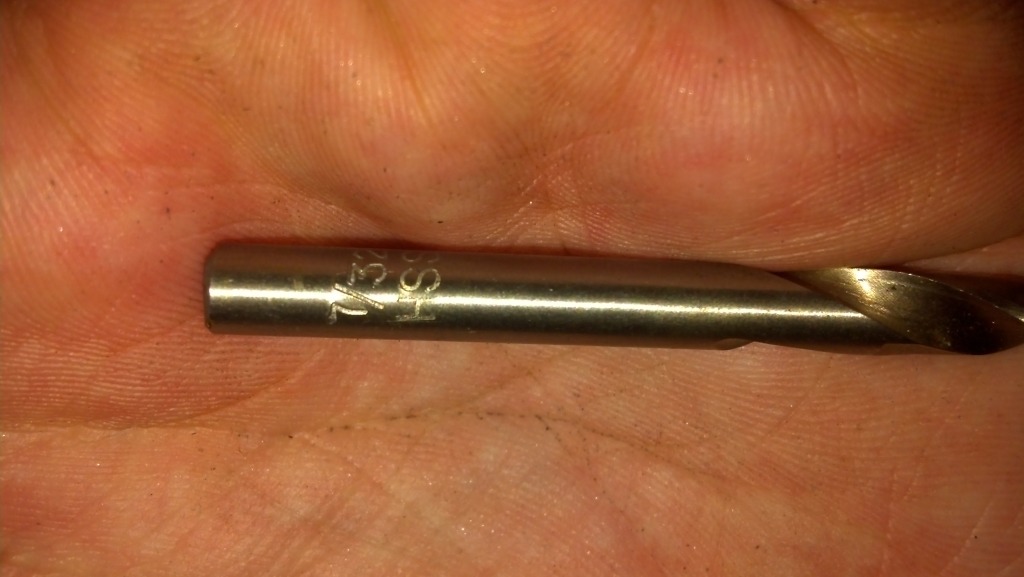
5/32 allen wrench
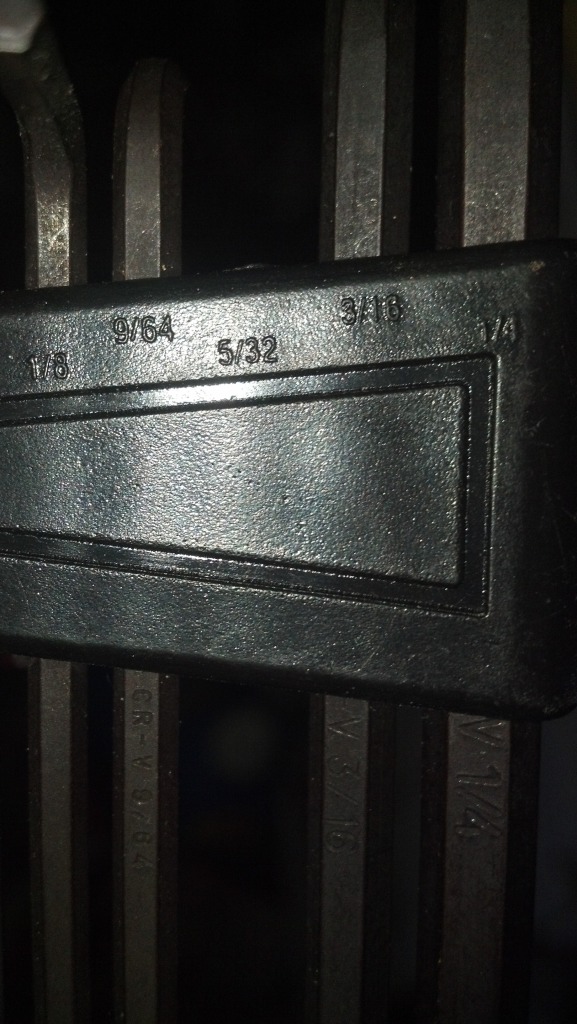
12mm socket/wrench
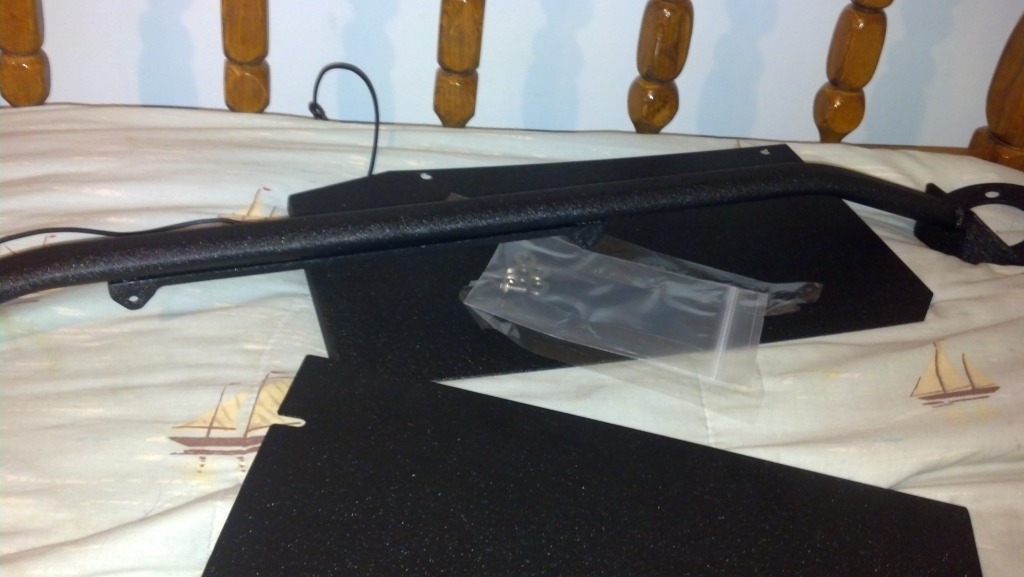
Unboxed:
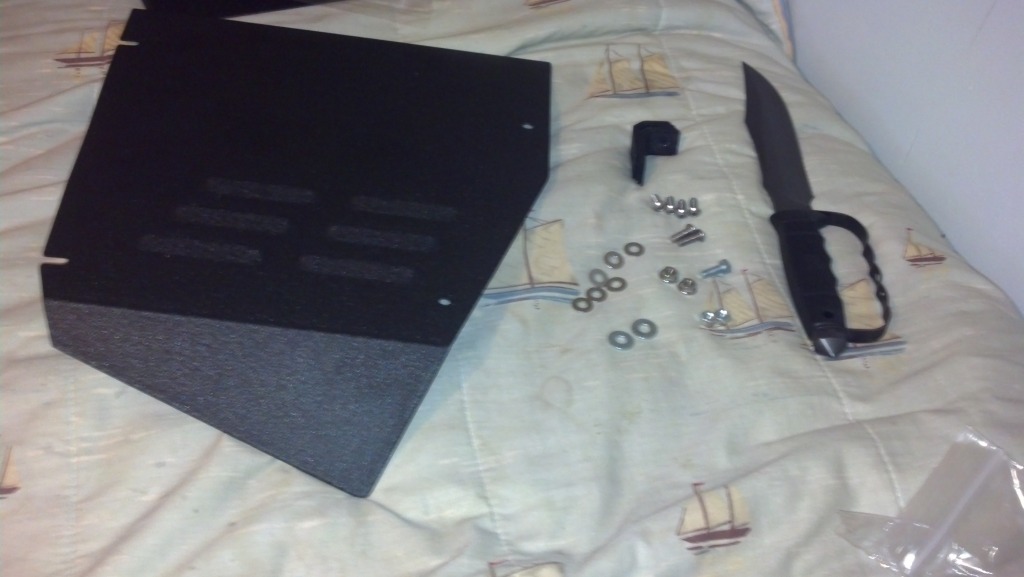
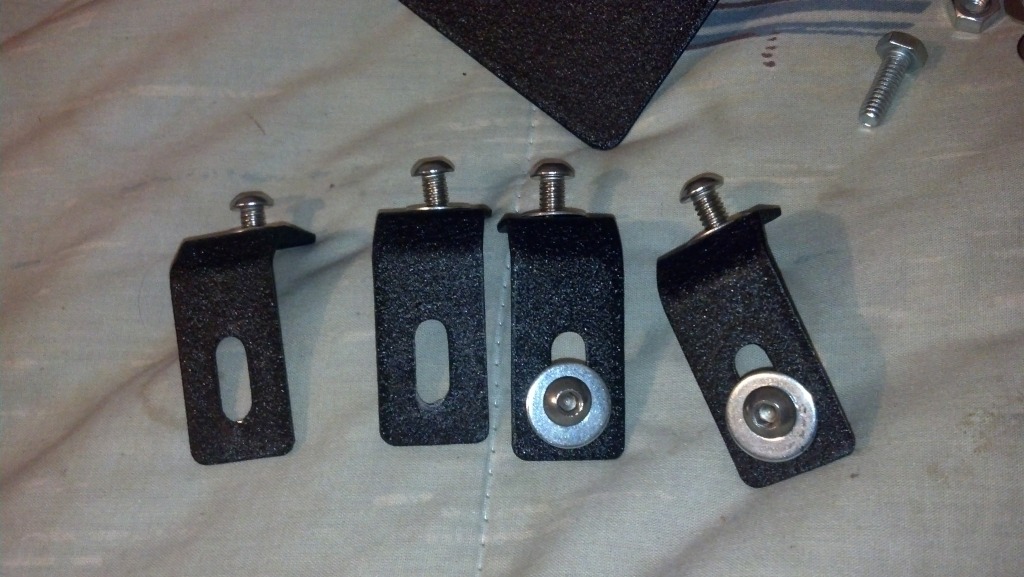
This is how the bolts go:
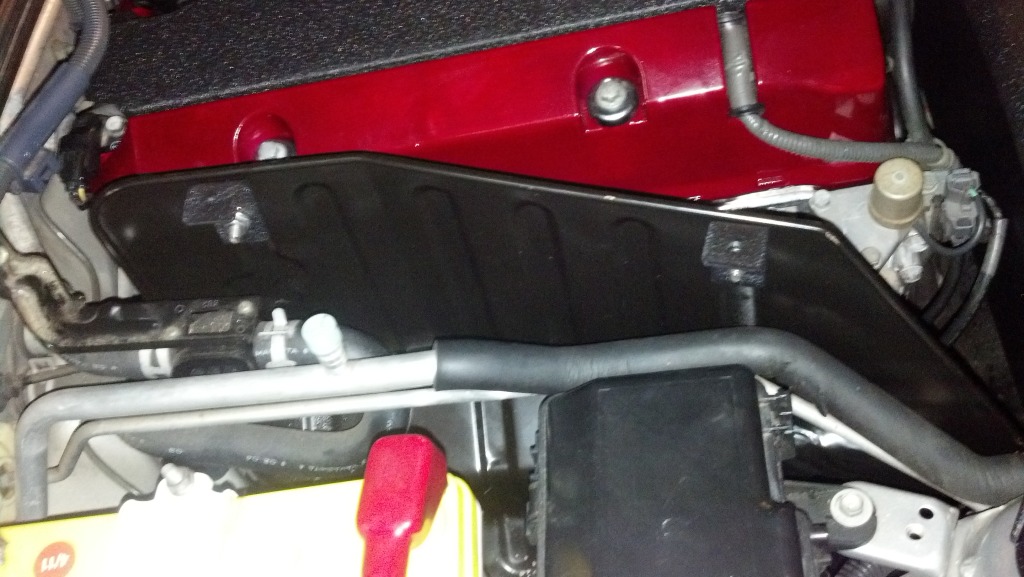
Step one, Lay the shield across the area it is supposed to occupy.
I saw roughly where everything was supposed to sit, although i have a battery that is not stock, it is a little taller so the battery cover is warped ever so slightly around the top when i tightened it down.
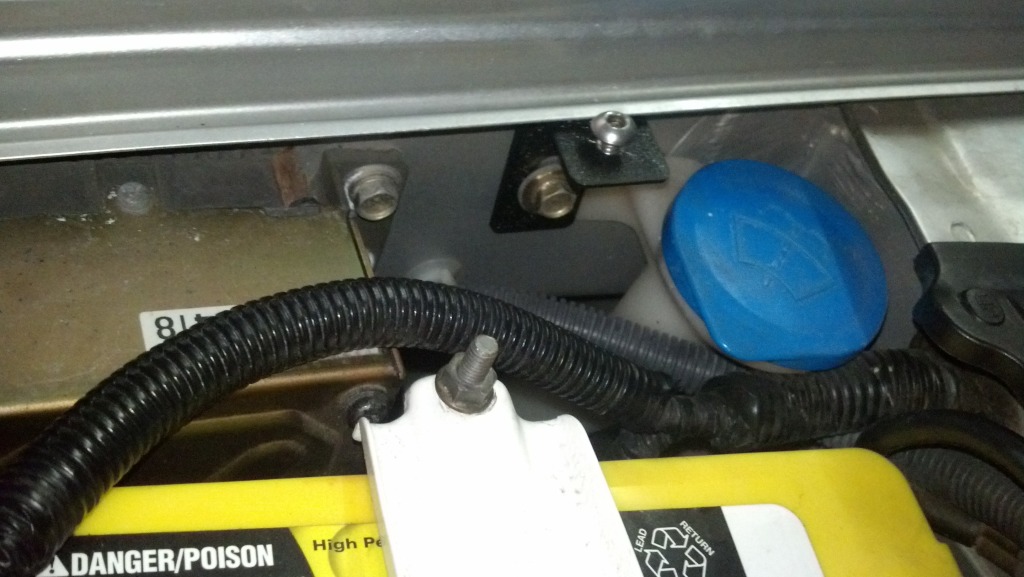
Step two:
Mark the parts out where you would like them to be drilled into the stock heat shield. they fall dead center of the first and last raised ridge of the stock heat shield.
DRILLLL
Step three:
The third one is pretty easy clearly
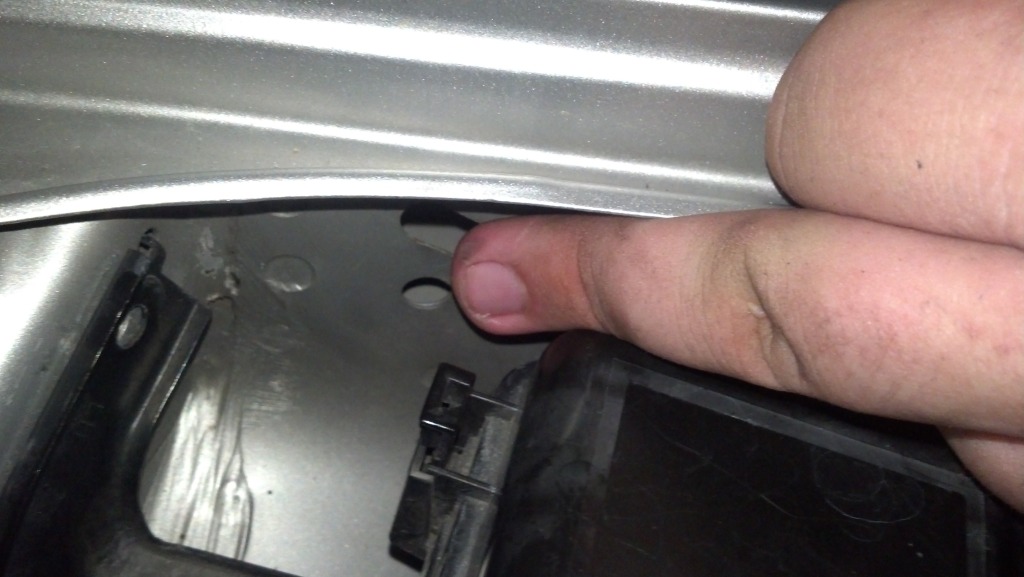
Step four:
You have to twist this pain in the ass into place, yes that is my middle finger, and yes it was a pain.
Step five:
Just start with adjustable ones, and then shift things over as you go around then tighten all down once they are started.
I used my own washers with the rubber inside of them, it makes me feel special and they don't rattle or come loose as easy.

https://www.s2ki.com/s2000/topic/903...stallsreviews/
GPFAB Website as per several requests: http://gladfab.myshopify.com/
I figured i would see if anyone wanted to post questions or anything they would like a better picture of before i do the installs. this would make it easier to have the questions as i write the DIYs and can address anything asked better.
RESERVED BELLOW FOR:
Battery Shield:
Alright, tools you need:
Drill
7/32 or larger drill bit
5/32 allen wrench
12mm socket/wrench
Unboxed:
This is how the bolts go:
Step one, Lay the shield across the area it is supposed to occupy.
I saw roughly where everything was supposed to sit, although i have a battery that is not stock, it is a little taller so the battery cover is warped ever so slightly around the top when i tightened it down.
Step two:
Mark the parts out where you would like them to be drilled into the stock heat shield. they fall dead center of the first and last raised ridge of the stock heat shield.
DRILLLL
Step three:
The third one is pretty easy clearly
Step four:
You have to twist this pain in the ass into place, yes that is my middle finger, and yes it was a pain.
Step five:
Just start with adjustable ones, and then shift things over as you go around then tighten all down once they are started.
I used my own washers with the rubber inside of them, it makes me feel special and they don't rattle or come loose as easy.
Thread Starter
Registered User
Joined: May 2010
Posts: 1,408
Likes: 1
From: Columbia, South Carolina
RESERVED FOR:
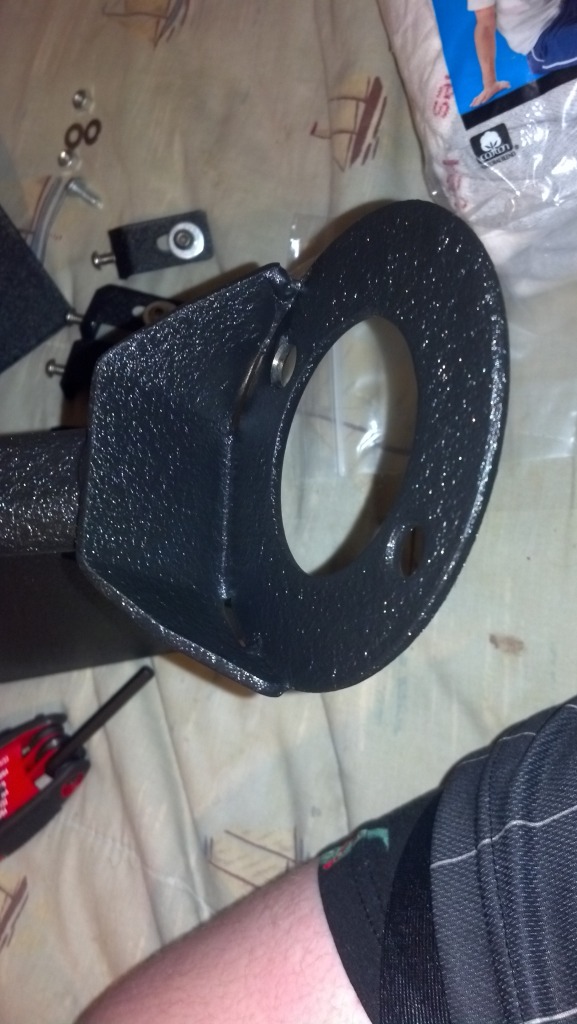
Strut Bar:
Unboxed:
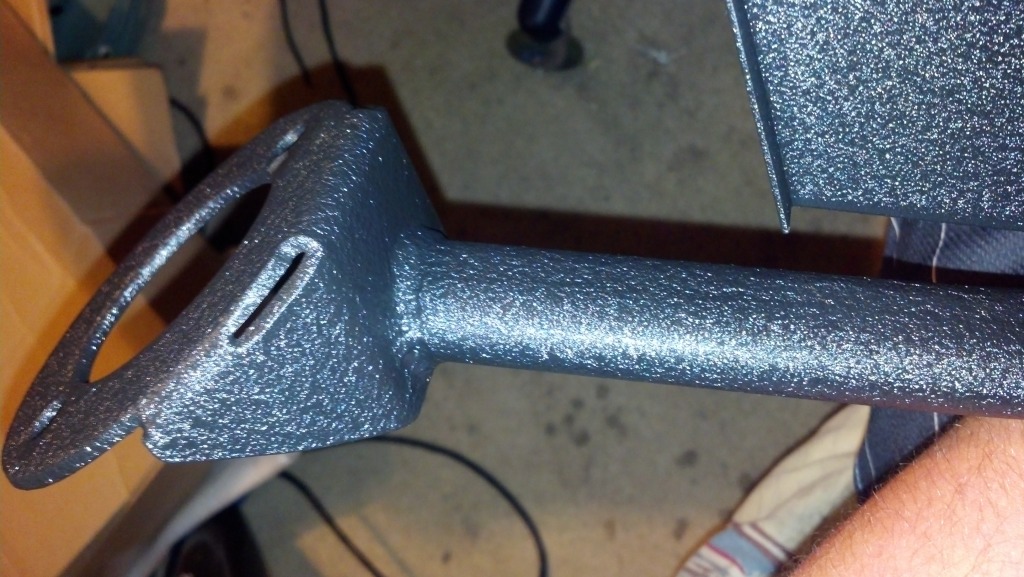
Install:
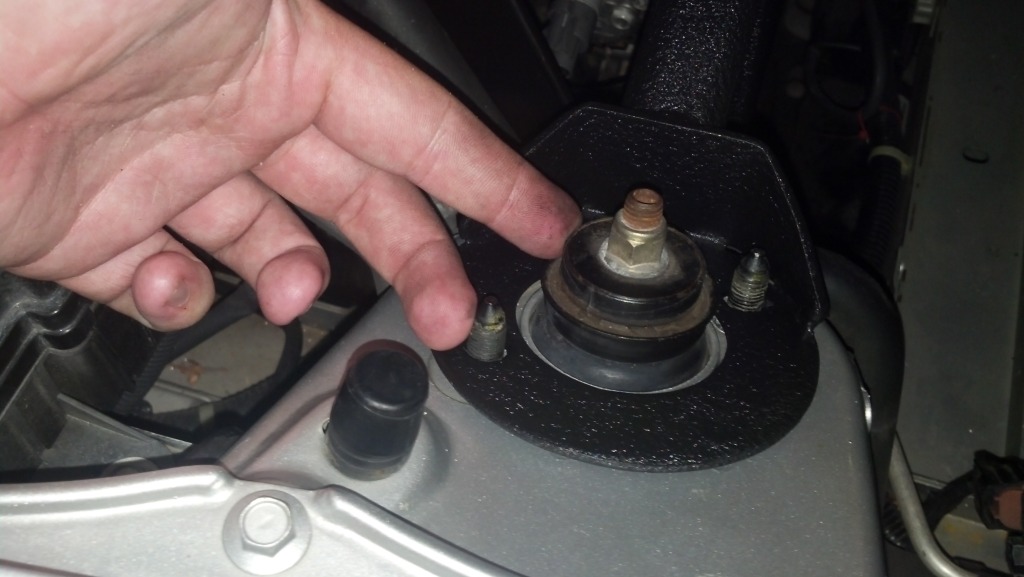
YOU NEED 2 PEOPLE
I believe it was a 14mm socket as well. Also, i removed the cruise control and set it off to the side. ( dont remove the cable)
take off the two bolts on each strut top.
Then jack up one side, passenger side is easier.

This is the fun part... the bar is an EXACT fit. You cannot get the bar to go on easily in any way shape or form without help. I put it completely on but not tightened on the driver side, then had the second person bounce up and down on my front wheel while i pushed down. that side being jacked up the strut came down far enough to get the bar in place as it rebounded back into place. took a few tries.
but i got it on!
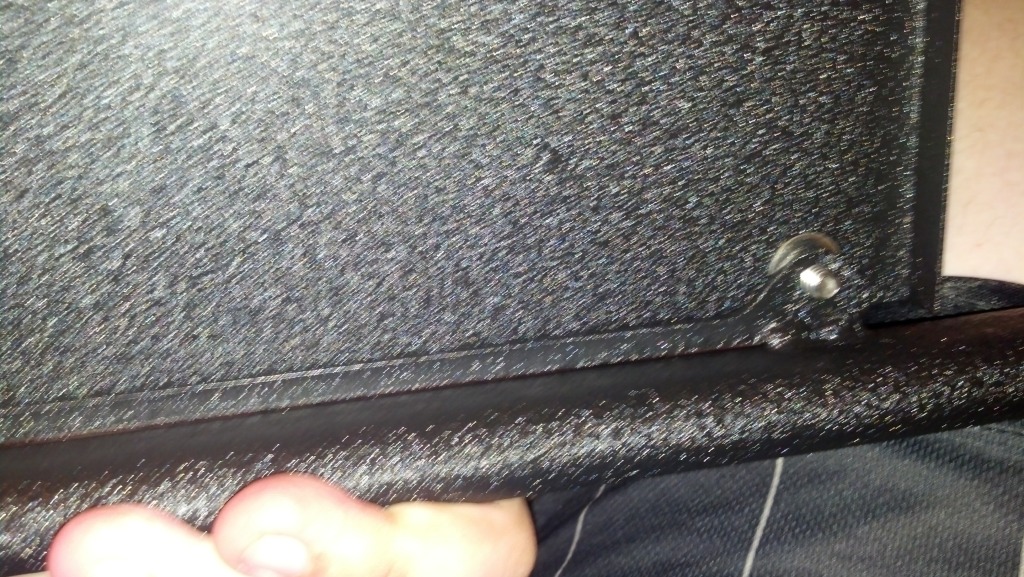
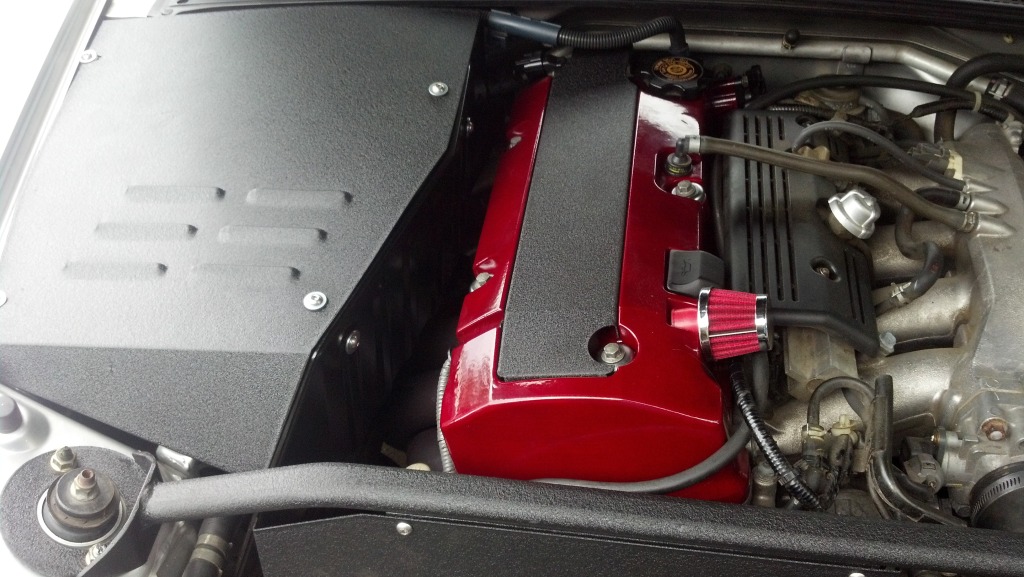
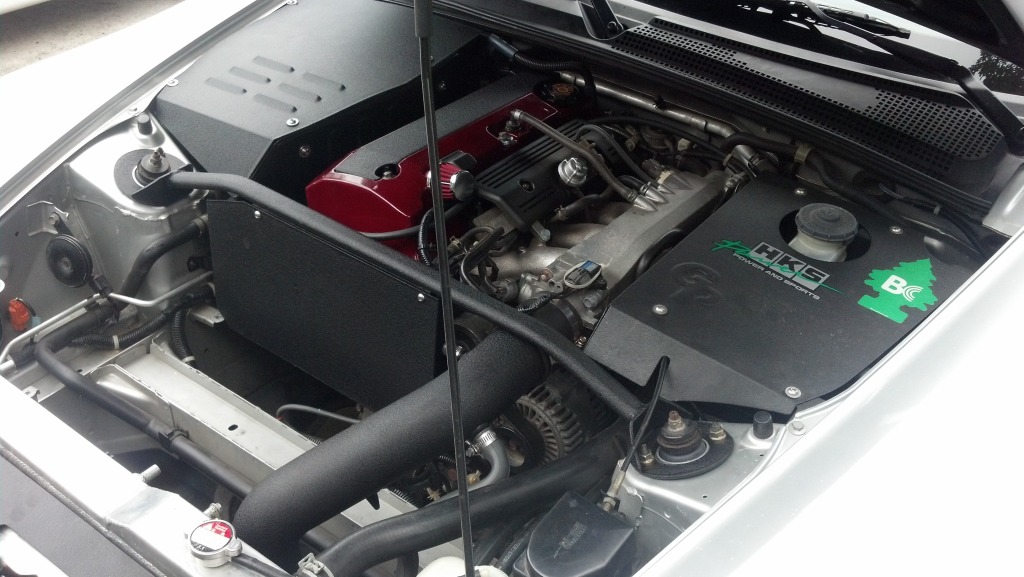
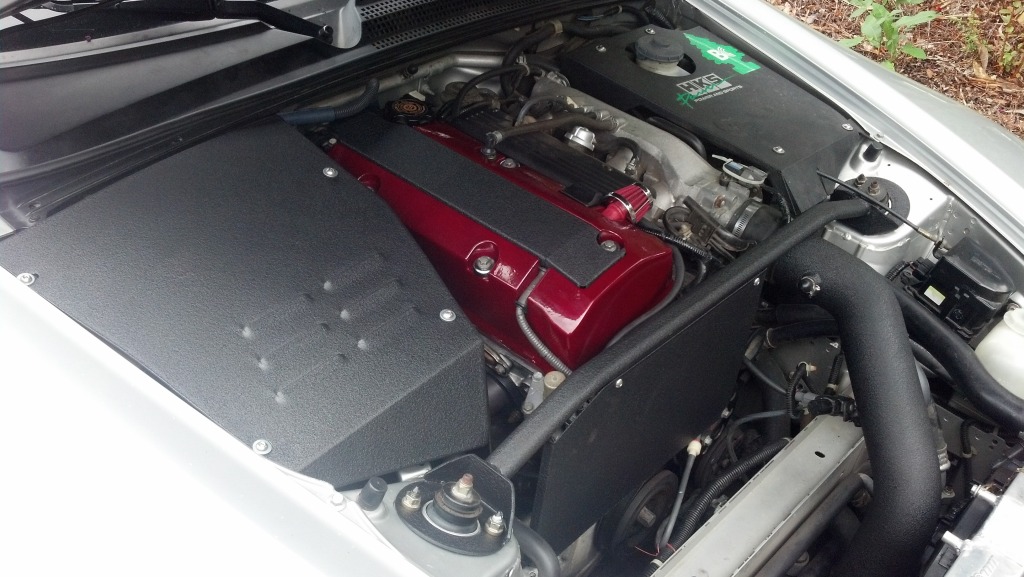
Overall i liked both products a lot. the fit was good on both, but a little frustrating with the battery shield at times. i love how it cleans up the look of the bay:
Strut Bar:
Unboxed:
Install:
YOU NEED 2 PEOPLE
I believe it was a 14mm socket as well. Also, i removed the cruise control and set it off to the side. ( dont remove the cable)
take off the two bolts on each strut top.
Then jack up one side, passenger side is easier.
This is the fun part... the bar is an EXACT fit. You cannot get the bar to go on easily in any way shape or form without help. I put it completely on but not tightened on the driver side, then had the second person bounce up and down on my front wheel while i pushed down. that side being jacked up the strut came down far enough to get the bar in place as it rebounded back into place. took a few tries.
but i got it on!
Overall i liked both products a lot. the fit was good on both, but a little frustrating with the battery shield at times. i love how it cleans up the look of the bay:


Trending Topics
Thread Starter
Registered User
Joined: May 2010
Posts: 1,408
Likes: 1
From: Columbia, South Carolina
I linked my previous DIY in the top post, there are the Master Cylinder cover as well as the diffuser pictures given.
https://www.s2ki.com/s2000/topic/903...stallsreviews/
Just to get this out there about the alloy craft vs gp fab...
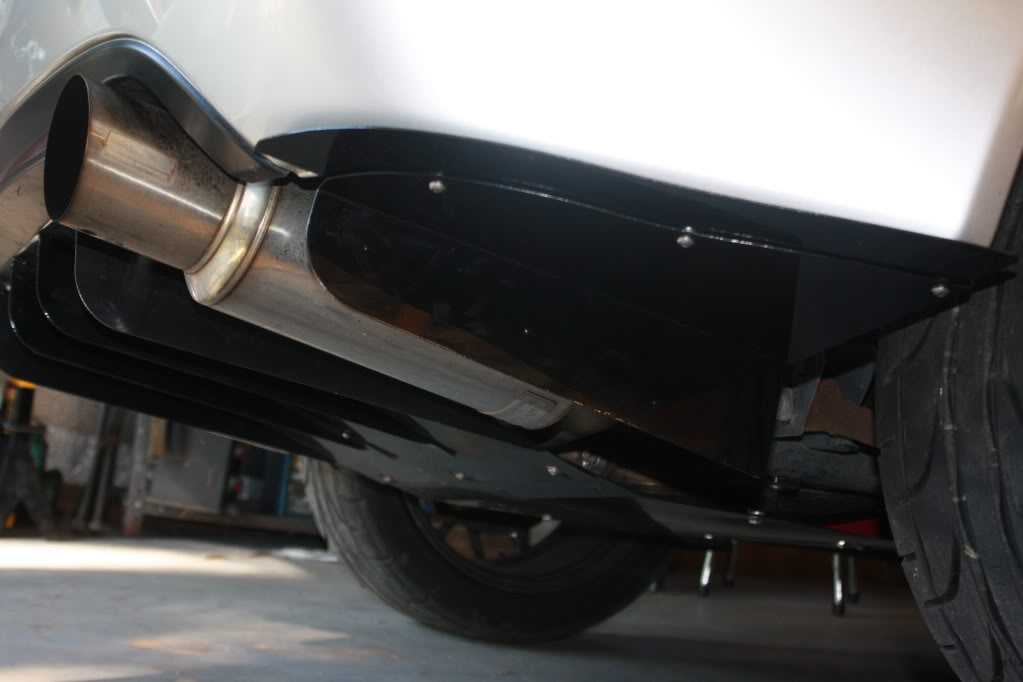
Both are good companies, and both have great service. Also, both fit very well. The alloy craft is a little smaller in the way of the fins and its pressed a little more angular (and slightly thicker) which results in a more... "solid" diffuser. The GP Fab was my choice because his is much easier to adjust as he he has multiple holes that are elongated so that you can adjust it to fit how you want. when i swapped from my skunk2 to my HKS Single, i was able to take a couple washers and space the diffuser down about 5mm to get the clearance i needed. the Alloy Craft is a little more difficult to adjust. I do not OWN and alloy craft, but i have seen a few and played with them side by side.
Also, The GP Fab has side diffusers which i absolutely love the look up, and they are very easy to swap out the side with long blade vs no blade for a more subtle look. I have scraped my diffuser several times between insane Columbia SC speed bumps and a few times on the dragon and it has help up just fine because it can flex a bit.
https://www.s2ki.com/s2000/topic/903...stallsreviews/
Just to get this out there about the alloy craft vs gp fab...
Both are good companies, and both have great service. Also, both fit very well. The alloy craft is a little smaller in the way of the fins and its pressed a little more angular (and slightly thicker) which results in a more... "solid" diffuser. The GP Fab was my choice because his is much easier to adjust as he he has multiple holes that are elongated so that you can adjust it to fit how you want. when i swapped from my skunk2 to my HKS Single, i was able to take a couple washers and space the diffuser down about 5mm to get the clearance i needed. the Alloy Craft is a little more difficult to adjust. I do not OWN and alloy craft, but i have seen a few and played with them side by side.
Also, The GP Fab has side diffusers which i absolutely love the look up, and they are very easy to swap out the side with long blade vs no blade for a more subtle look. I have scraped my diffuser several times between insane Columbia SC speed bumps and a few times on the dragon and it has help up just fine because it can flex a bit.
Thread Starter
Registered User
Joined: May 2010
Posts: 1,408
Likes: 1
From: Columbia, South Carolina
Sorry it took me a while to post some better pictures. Had some issues. Car has been at the shop for almost a month now.
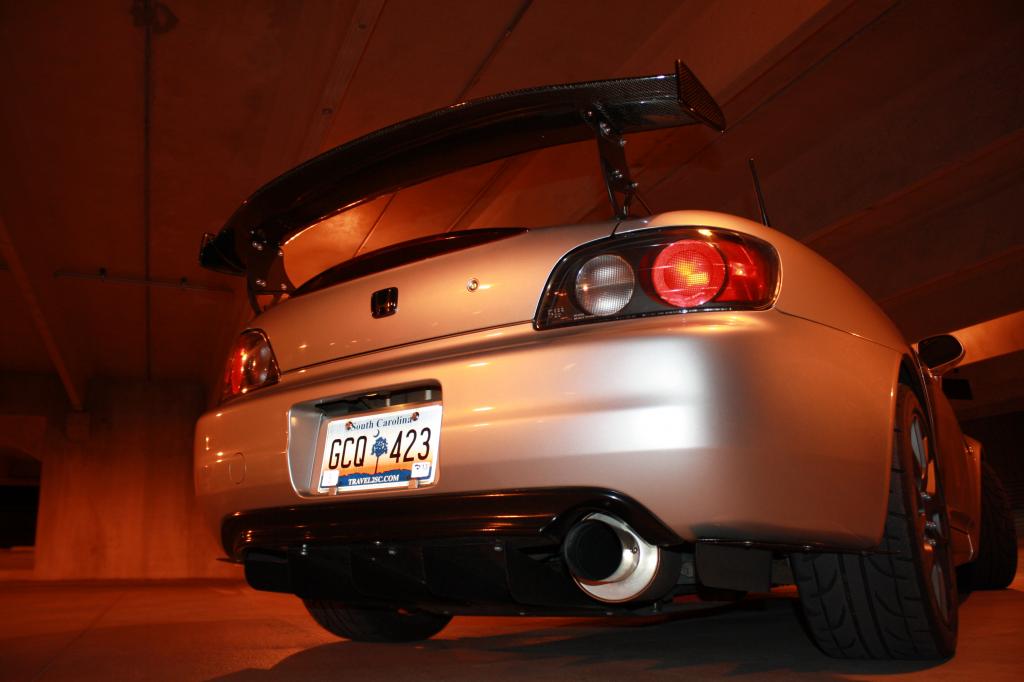
A photo from a shoot my friend did for me ^
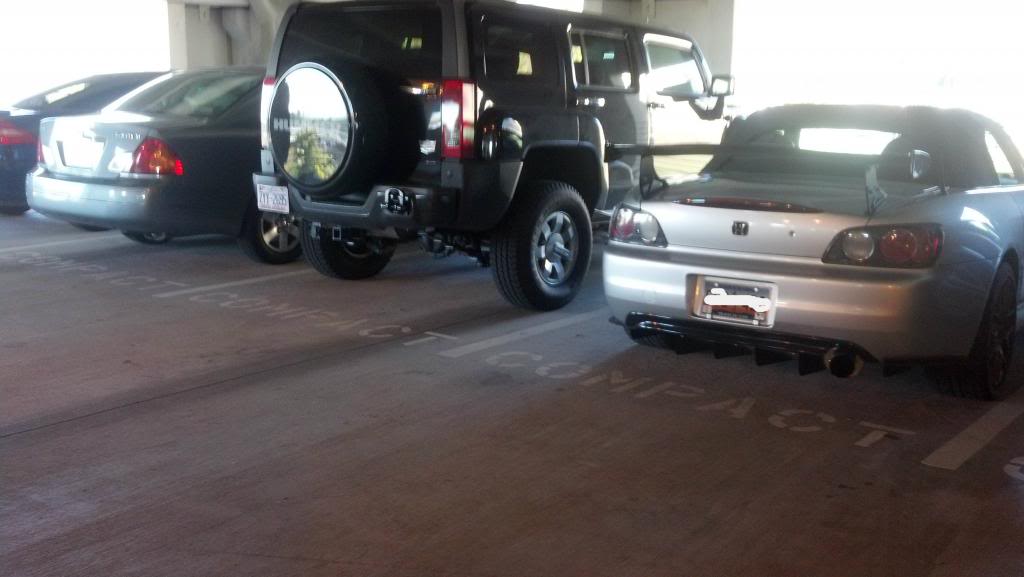
Some shitty parking, courtesy of USC.
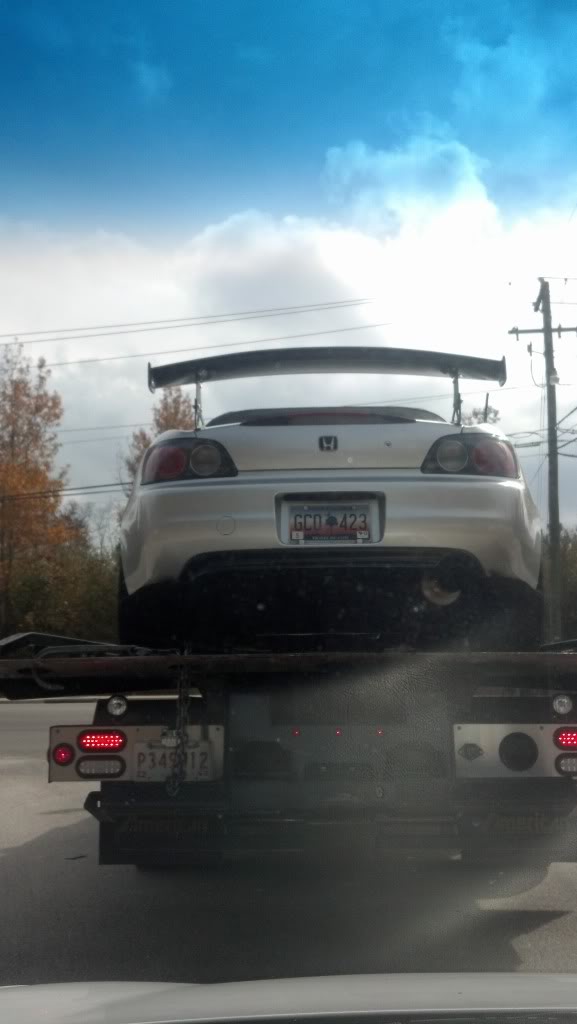
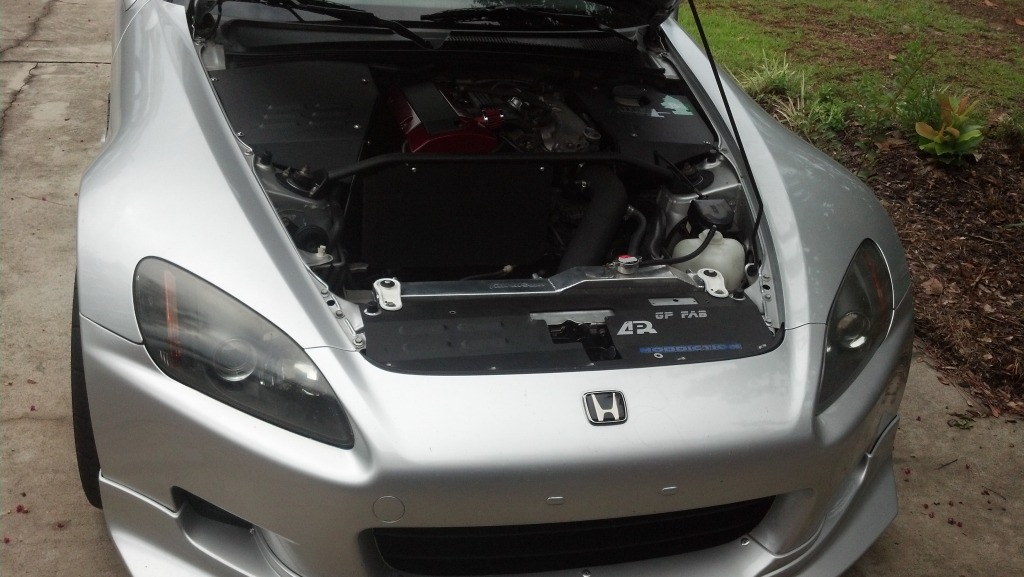
Pic of the car going to the shop.
Hopefully you can make the diffuser out a bit better in these pics. I am doing this from my phone so i cant see it too well.
A photo from a shoot my friend did for me ^
Some shitty parking, courtesy of USC.
Pic of the car going to the shop.
Hopefully you can make the diffuser out a bit better in these pics. I am doing this from my phone so i cant see it too well.

Thread
Thread Starter
Forum
Replies
Last Post
s2konroids
UK & Ireland S2000 Community
5
Apr 27, 2012 06:50 AM
Vik2000
S2000 Under The Hood
8
Feb 10, 2009 04:20 PM