When you click on links to various merchants on this site and make a purchase, this can result in this site earning a commission. Affiliate programs and affiliations include, but are not limited to, the eBay Partner Network.
I tried looking for threads online involving how this is installed but can't seem to find anything. The hardware I was sent was just 4 screws. Can this be retrofitted with the OEM mounting hardware? I have the OEM hardware mounting kit and molding. I'd rather not drill arbitrary holes into my bumper to mount this lip. I have a dremel, rivet gun, etc. I can easily add the OEM notches in the lip and rivet in the brackets. Just trying to do a clean OEM install if possible. Trying my best to keep my original vin bumper intact as opposed to drilling non-oem holes through it.
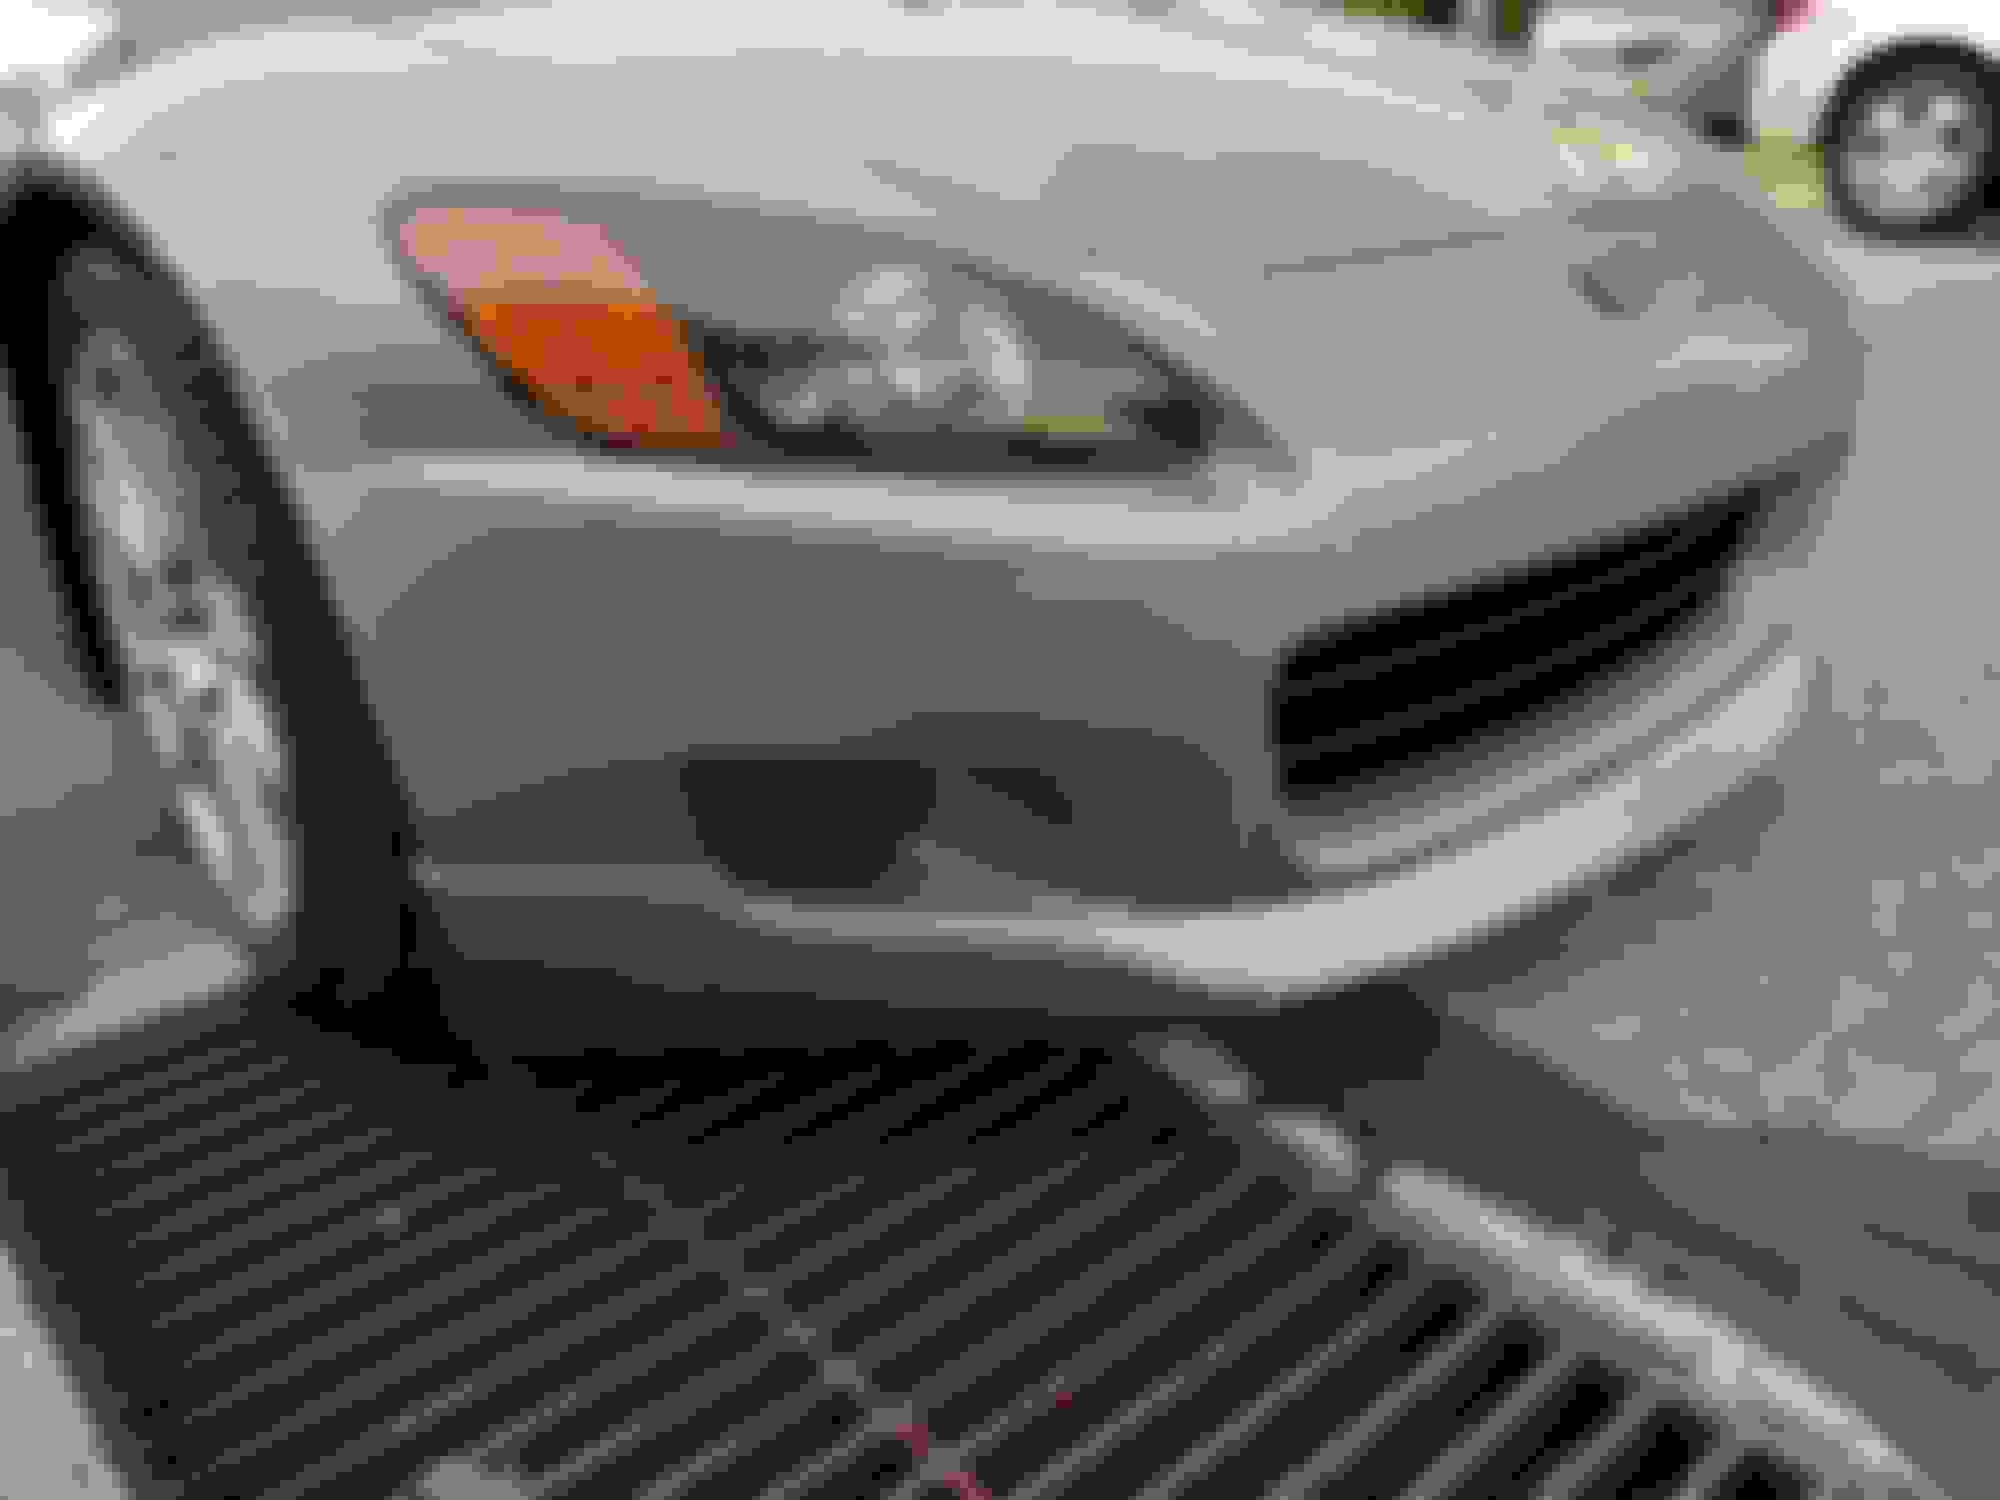
I am going to resurrect this thread. I just ordered and installed this lip (pre-painted), it wasn't as hard as described. Before you start wash the bumper. There are tabs on the bottom of the lip that line up with two of the OEM screw holes under the OEM bumper. During your first test fitting take those two screws out of the bumper with a 10mm, you'll use them later to help attach the lip to the bumper. You will have to fit the lip and remove it a couple of times before you commit and screw it on for good. If your car is lowered put it up on jack stands to save yourself the pain...
Make sure everything lines up and looks good and straight. Walk away from the car and look. Be very judgmental, really look at it, then come back and measure it all with a caliper and move the lip around. Look again and if it's all straight, you're good. If your lip doesn't fit right take it off and check the underside to make sure it's smooth and flat. A heat gun is always useful for these lips, use one so it settles onto the OEM bumper's shape. Don't melt it or burn off the paint just heat it up so you can feel it warm to the touch, never hot.
The lip was nearly a perfect fit for me. I used a heat gun on it a little bit to make sure it sat perfectly on the oem bumper and to set my 3M tape. I didn't have to work the lip much at all. I also used 3M permanent double sided tape on the underside of the lip where it meets the center of the OEM bumper (you'll see a little tab there and at where the lip meets the fake intake ducts. Before you put on the 3M tape check the underside of the lip, the unpainted side and make sure its nice and smooth. Also clean it up with a micro fiber cloth and some rubbing alcohol. There's probably primer and paint dust on there. If it is not smooth then file or sand it with 300 grit sand paper until it's nice and flat. Do this to all of the surfaces on the underside of the lip that will touch the OEM bumper. This will make sure you don't have any weird issues later when you do your final fit.
Clean it off with a cloth or old rag, then clean it again with rubbing alcohol and a microfiber cloth. If you have some, hit it with a little adhesion promoter. If you don't have adhesion promoter don't worry...it doesn't matter that much. Apply your 3M double sided tape making sure you leave a nice long end past the edge of the lip. Peel back the red plastic off the foam all the way back to the edge of the lip. Then clip off the excess foam sticky bit. This long, red, bit of plastic is your pull tab for after you attach the lip to the bumper. You'll pull on this to expose the other side of the double sided tape to your OEM bumper. make sure as you put the lip to the car that bit of plastic is kept on the outside so you can pull on it.
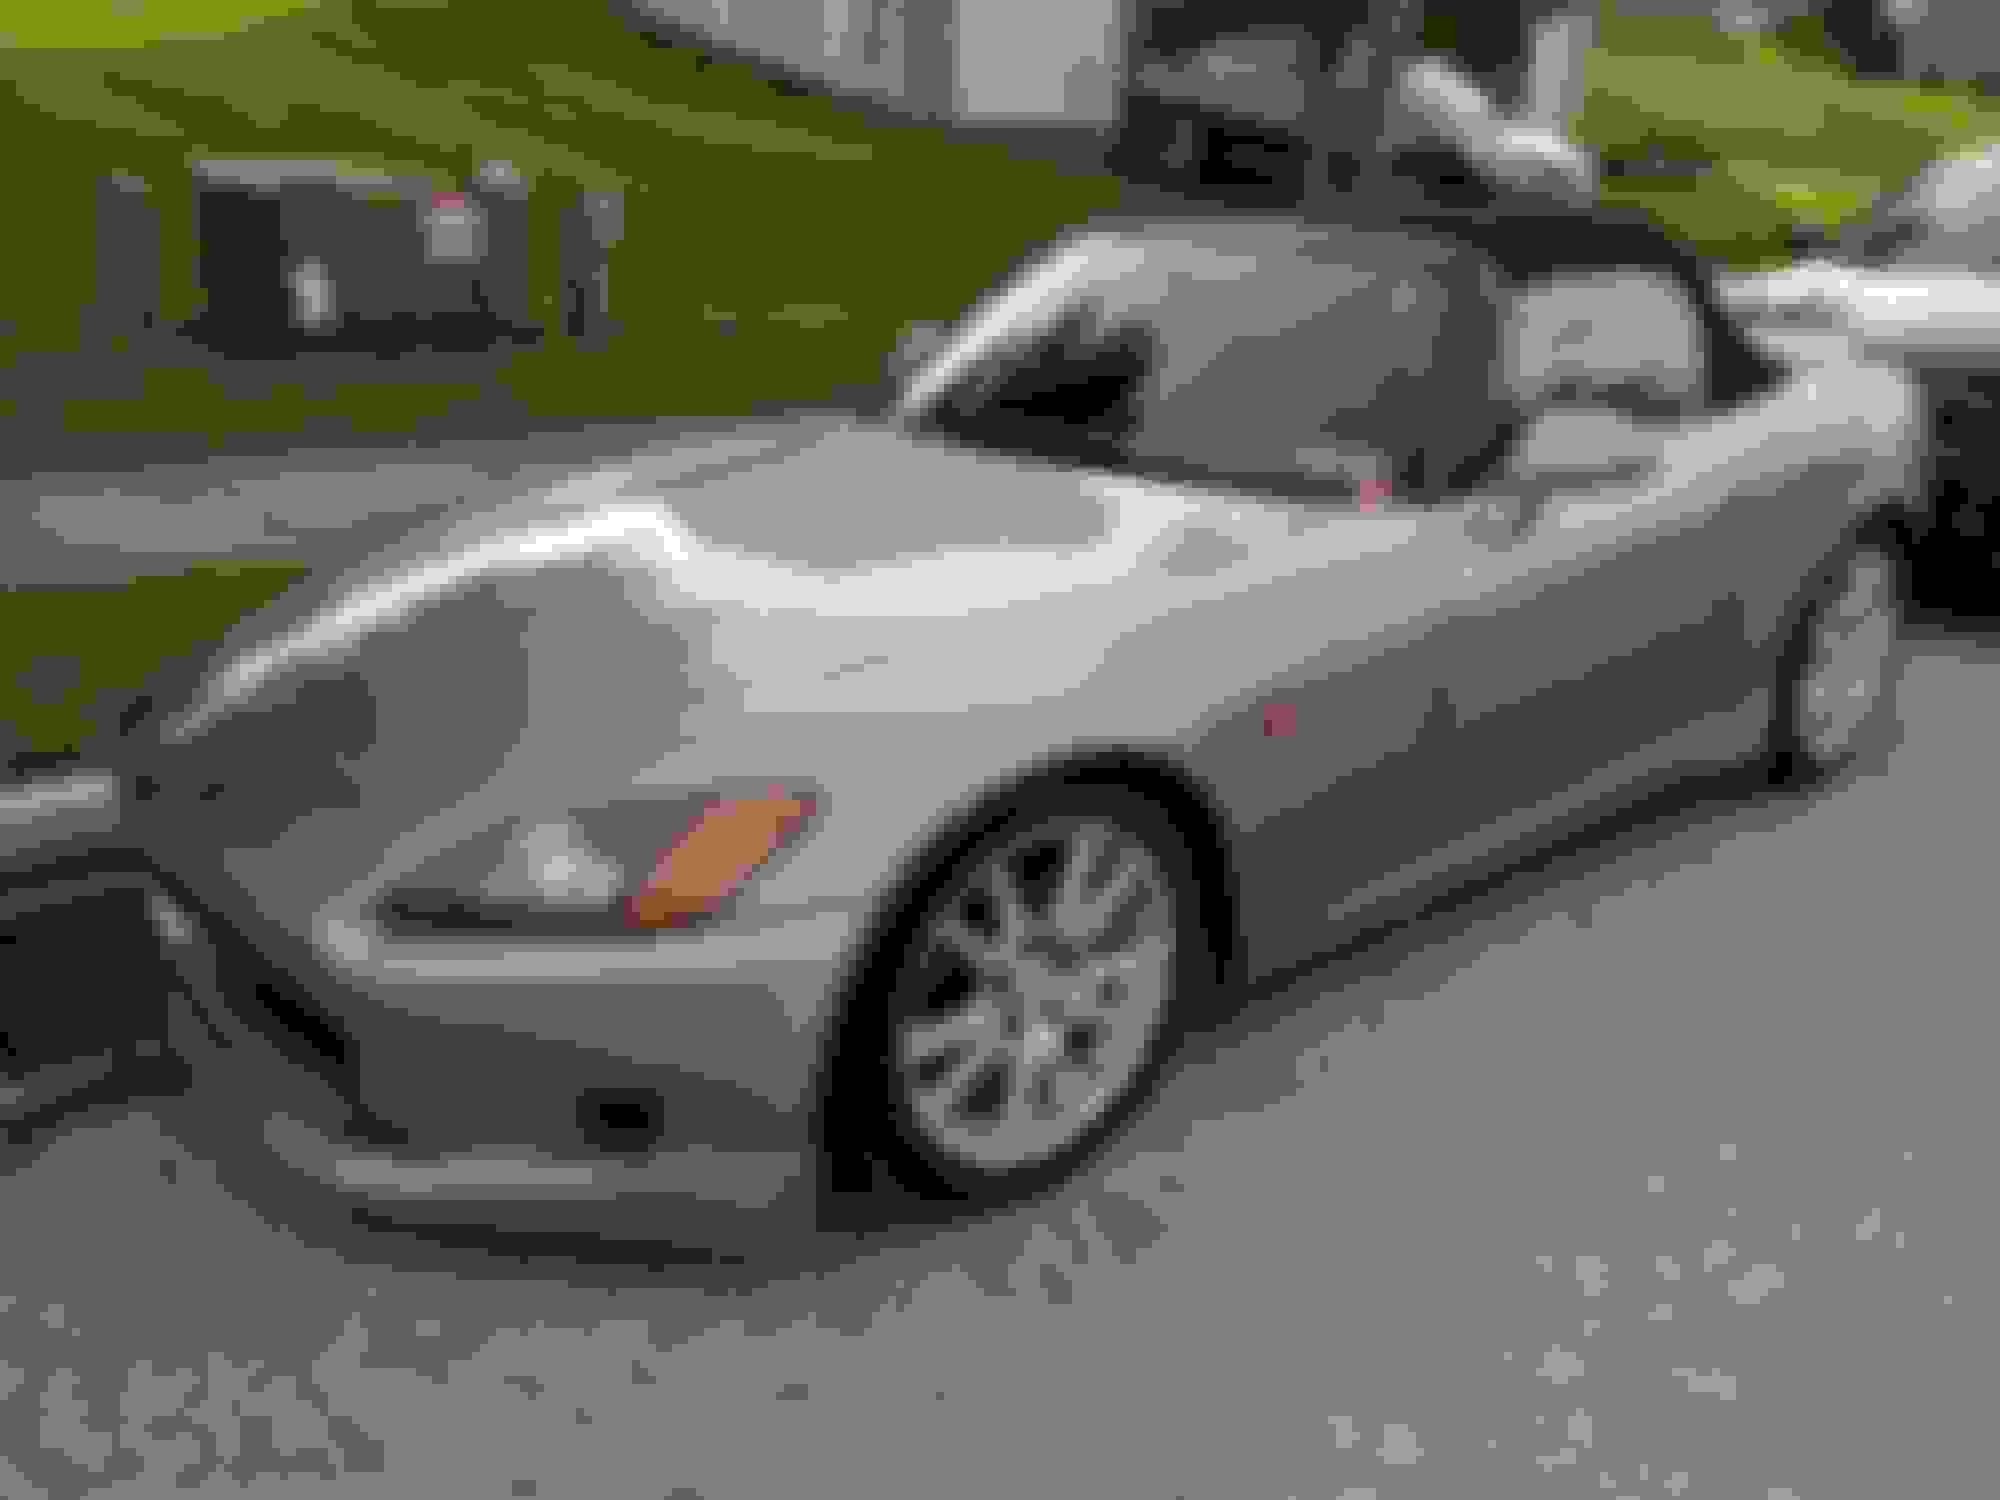
Then just put the lip on. It practically snapped right into place for me. It might have helped that it's 95* outside right now and I left the car and lip outside in the sun to warm up for 4 hours before I started the work. I screwed in the two OEM pumper screws I took out this time pushing the screw through the pre-drilled hole in the tab on the underside of the lip. If the hole in your lip doesn't line up just drill another and line it up with the OEM hole. I put two screws on each side of the lip in the wheel well. One high on the lip and one low, I didn't go nuts and measure it all to the 9th degree. I just eyeballed the two screws the wheel well. They're almost impossible to mess up. Get in the car and turn the wheel for easier access. I just grabbed some nice wide, black painted self tapping screws and zipped em in with my screw gun. Pulled the red plastic off my 3M tape after I had the side fitted and lined up perfectly. I hit it with a little heat to help set the tape and that was it. It took about 1 hour.
I am going to resurrect this thread. I just ordered and installed this lip (pre-painted), it wasn't as hard as described. Before you start wash the bumper. There are tabs on the bottom of the lip that line up with two of the OEM screw holes under the OEM bumper. During your first test fitting take those two screws out of the bumper with a 10mm, you'll use them later to help attach the lip to the bumper. You will have to fit the lip and remove it a couple of times before you commit and screw it on for good. If your car is lowered put it up on jack stands to save yourself the pain...
Make sure everything lines up and looks good and straight. Walk away from the car and look. Be very judgmental, really look at it, then come back and measure it all with a caliper and move the lip around. Look again and if it's all straight, you're good. If your lip doesn't fit right take it off and check the underside to make sure it's smooth and flat. A heat gun is always useful for these lips, use one so it settles onto the OEM bumper's shape. Don't melt it or burn off the paint just heat it up so you can feel it warm to the touch, never hot.
The lip was nearly a perfect fit for me. I used a heat gun on it a little bit to make sure it sat perfectly on the oem bumper and to set my 3M tape. I didn't have to work the lip much at all. I also used 3M permanent double sided tape on the underside of the lip where it meets the center of the OEM bumper (you'll see a little tab there and at where the lip meets the fake intake ducts. Before you put on the 3M tape check the underside of the lip, the unpainted side and make sure its nice and smooth. Also clean it up with a micro fiber cloth and some rubbing alcohol. There's probably primer and paint dust on there. If it is not smooth then file or sand it with 300 grit sand paper until it's nice and flat. Do this to all of the surfaces on the underside of the lip that will touch the OEM bumper. This will make sure you don't have any weird issues later when you do your final fit.
Clean it off with a cloth or old rag, then clean it again with rubbing alcohol and a microfiber cloth. If you have some, hit it with a little adhesion promoter. If you don't have adhesion promoter don't worry...it doesn't matter that much. Apply your 3M double sided tape making sure you leave a nice long end past the edge of the lip. Peel back the red plastic off the foam all the way back to the edge of the lip. Then clip off the excess foam sticky bit. This long, red, bit of plastic is your pull tab for after you attach the lip to the bumper. You'll pull on this to expose the other side of the double sided tape to your OEM bumper. make sure as you put the lip to the car that bit of plastic is kept on the outside so you can pull on it.
Then just put the lip on. It practically snapped right into place for me. It might have helped that it's 95* outside right now and I left the car and lip outside in the sun to warm up for 4 hours before I started the work. I screwed in the two OEM pumper screws I took out this time pushing the screw through the pre-drilled hole in the tab on the underside of the lip. If the hole in your lip doesn't line up just drill another and line it up with the OEM hole. I put two screws on each side of the lip in the wheel well. One high on the lip and one low, I didn't go nuts and measure it all to the 9th degree. I just eyeballed the two screws the wheel well. They're almost impossible to mess up. Get in the car and turn the wheel for easier access. I just grabbed some nice wide, black painted self tapping screws and zipped em in with my screw gun. Pulled the red plastic off my 3M tape after I had the side fitted and lined up perfectly. I hit it with a little heat to help set the tape and that was it. It took about 1 hour.
damn i wish u did video or something pics. I still have the lip and never put it on... when they sent me the lip one of the tabs was already kinda busted and it looked like they had maybe used some plastic bonder which didn't work obviously.... but I never messaged Rockstar back.... I just took the L then when I did try to install it I cracked the lip in the center trying to hold it up... I put bondo on it and it's been collecting dust ever since... waste of money
Grab an OEM lip fitting kit from hardtopguy.com. It will have additional hardware you can use to add mounting points. https://hardtopguy.com/store/671.html
I have an RSG Gears Replica lip in my garage, too. I fitted it prior to a trip to Tampa and wound up removing it. I purchased the hardware kit posted above but have not gotten back to trying to fit it properly. I did purchase a rivet gun to fix the hardware to the lip -- I'm sure that will be needed if I choose to fit it again.
I was able to score one of the brand new, OEM AP1 lips from Si in the UK, so that will be my focus this year, I think. But I so love the look of the RSG unit. Decisions, decisions!
I'm going to swap my RSG lip for an OEM lip tonight, probably put the RSG Gears lip up for sale. I love the OEM look, I just couldn't find them for the longest time. I hope this means Honda is slowly releasing S2000 parts on the low...