When you click on links to various merchants on this site and make a purchase, this can result in this site earning a commission. Affiliate programs and affiliations include, but are not limited to, the eBay Partner Network.
Question for Autoleads dash control adapter owners...
UK & Ireland S2000 CommunityDiscussions related to the S2000, its ownership and enthusiasm for it in the UK and Ireland. Including FAQs, and technical questions.
Question for Autoleads dash control adapter owners...
Hi,
If anyone owns the autoleads interface that enables the dash controls to work with a Pioneer head unit, please could you let me know what each dash button does when it's fitted?
I'm considering fitting a gauge where the Mode button is, and I'm trying to work out if I can do without it. I've got a Modifry DCI at the moment and it uses the Mode button to skip tracks, which is kind of important!
IIRC on my Alpine, that Autoleads unit switches source ... i *think*. All i really use the controls for are next track / volume control.
It's largely pointless as it's always set to either iPod or Bluetooth and most of the time, i do that via the head unit as i can reach it without stretching.
I have a Celsus adapter on an Alpine headunit and my mode button changes source too - the "CH" button is the skip tracks one
Having said that, I'm building an Arduino-powered OLED display for oil pressure (Like this but have written my own code to measure and display the values ) and have been looking into mounting in the Mode hole - and as CynicG mentions, mounting a gauge there isn't as easy as it looks. I think you have to pretty much do away with all button use as the circuit board behind is an all-in-one unit - plus the mode button isn't easily removed and appears to require being cut out in some way.
Thanks everyone. Sounds like my question is pointless anyway, if the whole circuit board needs removing. Maybe I'll just put up with a single pillar pod. They're expensive though!
Having said that, I'm building an Arduino-powered OLED display for oil pressure (Like this but have written my own code to measure and display the values ) and have been looking into mounting in the Mode hole.
Sounds like an interesting project! I wonder if the AEM EMS could output an analogue voltage for the values I want to display, and I could make my own display instead of using the serial gauge.
It's been a (deliberately, because; keep me occupied in the winter) long process, and stared of with the usual PLX idea , went round the houses looking at the prosport 45mm gauges as I reckon they'd be a better fit with a bezel but would still mean losing the buttons (possibly !! depending on the depth available with the circuit board in place) Then I came across 4D systems round TFT but thought it was a bit pricey for messing around with - still might get one at some point but it's TFT (so poor daytime viewing and no polarised driving glasses)
On my travels I did come across a can bus tool called canbus triple https://canb.us/ and a thread on the AEM site that mentions it CAN Bus translator AEM that might meet your needs, or I'm sure you could create a display to listen to the AEM serial signal and decode and display with a an microcontroller like the Arduino Nano I've been using (the AEM feed seems to be 8-bit values 0-255 you could then convert that back to 0-5V analogue). I think those 4D systems displays might even be able to take the place of the AEM serial display to save the conversion back to analogue but don't know enough about them to say for sure.
The tricky part is getting a nice looking guage (I'm not too hot on my 8-bit graphics programming) there's a bit of source code from this video
- so I've basically gone for a nice late-90s digital font that is the same as the speedo - ideally I'd like it to match the fuel gauge on the facelift dash with the incremental segments in a 180 degree arc but, baby steps !
I'll update when I have something worthwhile but attached is my arduino code if anyone finds it useful
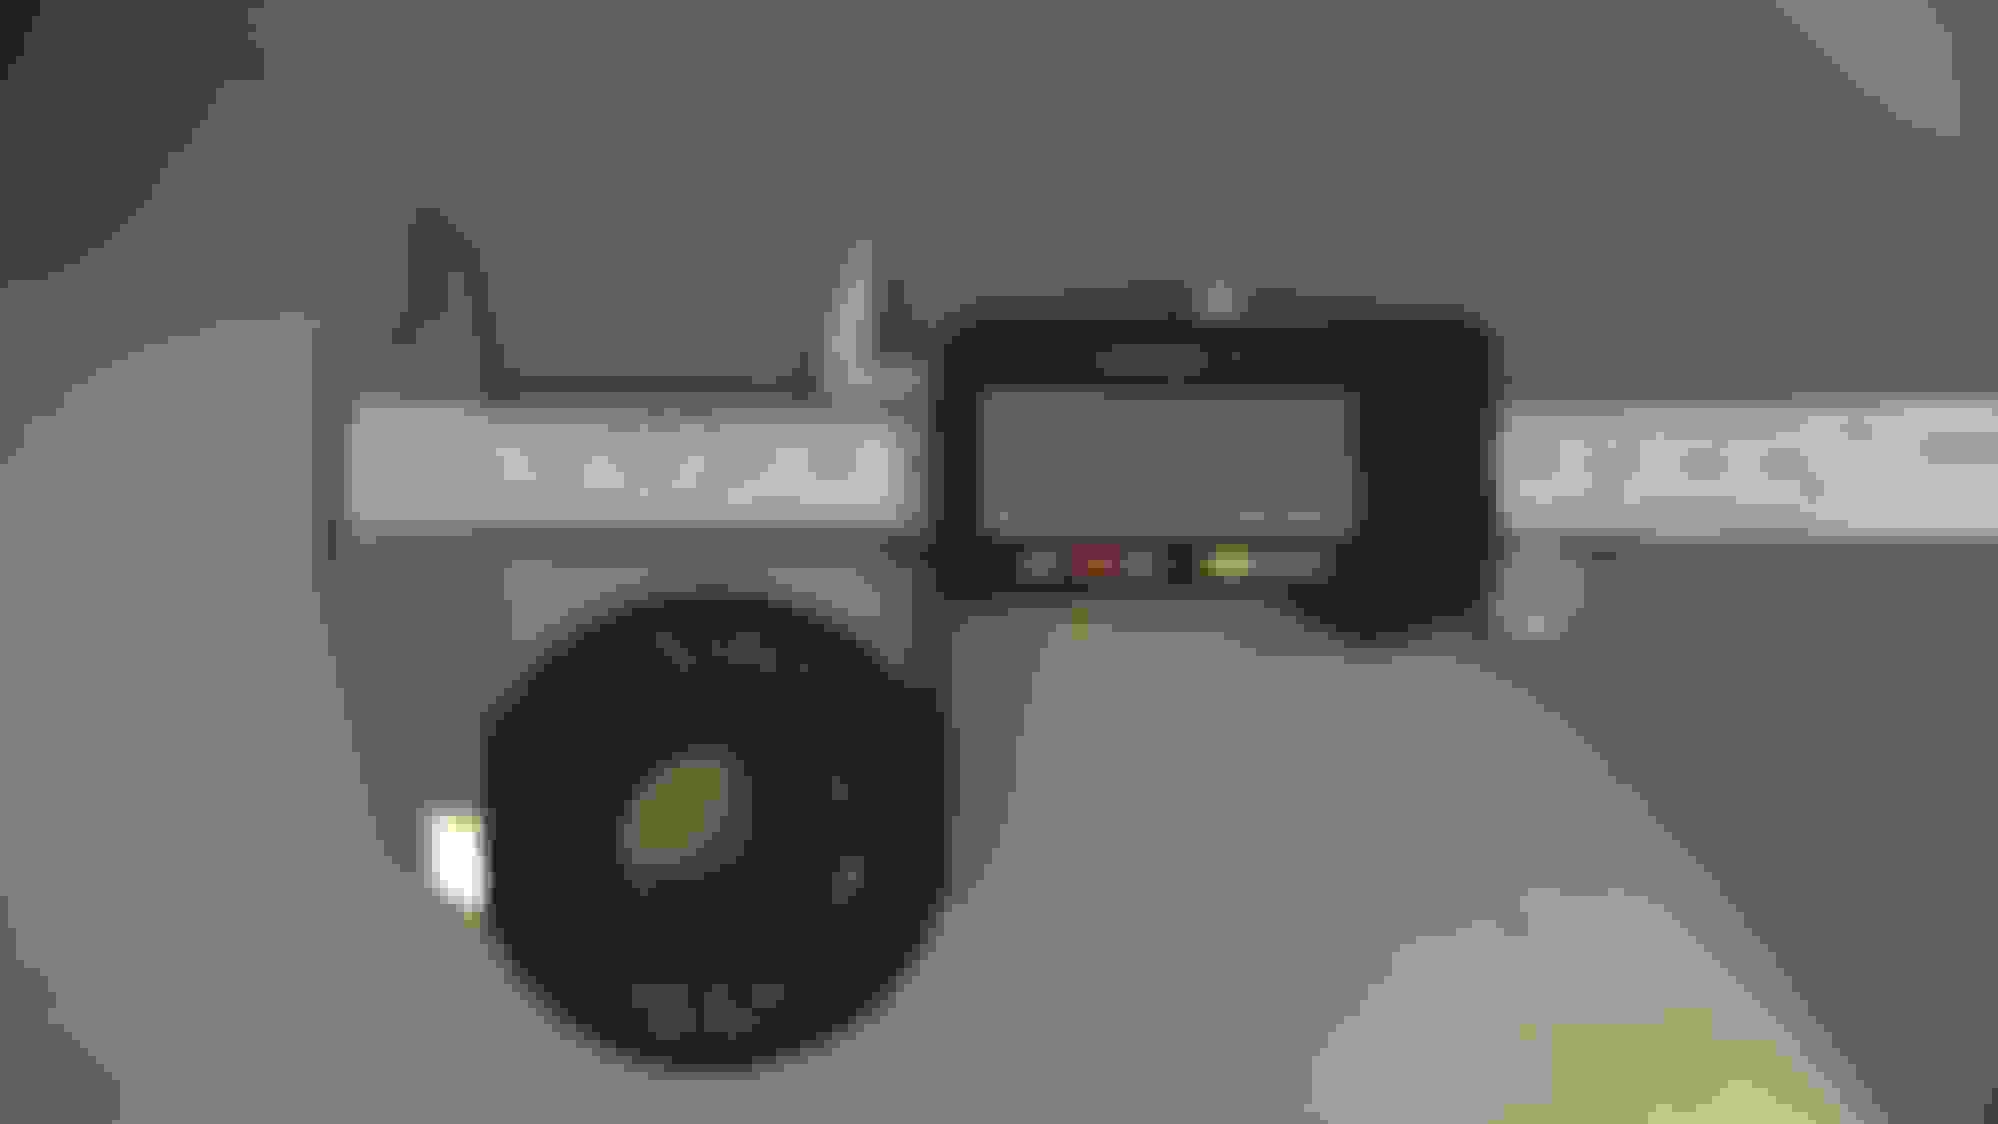
I bought a second set of controls to dismantle as there aren't really some decent pictures out there on what you need to destroy to fit a gauge. The button can be levered out and it's possible to retain the circuit board. If you remove the microswitch and the bowtie shaped plastic you can get 25mm depth before you hit the multi-pin connector soldered on to the board - it's touch and go whether a prosport 45mm gauge would fit as they seem to have a mounting depth of either 25mm or 1" depending on where you read your info.
I've got about 10mm to play with as it is with the X-shaped reinforcements and button housing removed and that's more than enough to get a 1.3" OLED in there - now to try and make it so it's not fugly ! ( I may still end up buying a 45mm gauge)